
Explore PSX Tracker
How it works
Watch the walkthrough, then explore the written feature guide at your own pace.
Watch the basics
Create a portfolio → set up your broker → record and review your trades.
5 min 36 sec · English voice and captions · Demo account. Use the player controls for full screen and playback speed.
Know what you own. Understand how it is performing.
PSX Tracker helps you organise Pakistan Stock Exchange investments and mutual fund records in one place. Record transactions, include your broker charges, review open holdings, and follow changes in value over time. Research tools give you another way to explore stocks, sectors and price charts without losing sight of your own portfolio.
Start with one portfolio and one broker. Add your opening cash and actual trades, check the figures against your broker statement, then confirm that your Google Drive backup has synced. As you become familiar with the app, try document scanning, broker email imports, watchlists and the research tools.
PSX Tracker records and analyses your investments. It does not place real trades or move money through your broker account. Feature availability and usage limits depend on your plan; see the current pricing page for details.
Screenshots use illustrative demo records. Tap an image to enlarge it. Availability and data can vary by plan and account.
1. Create your portfolio first
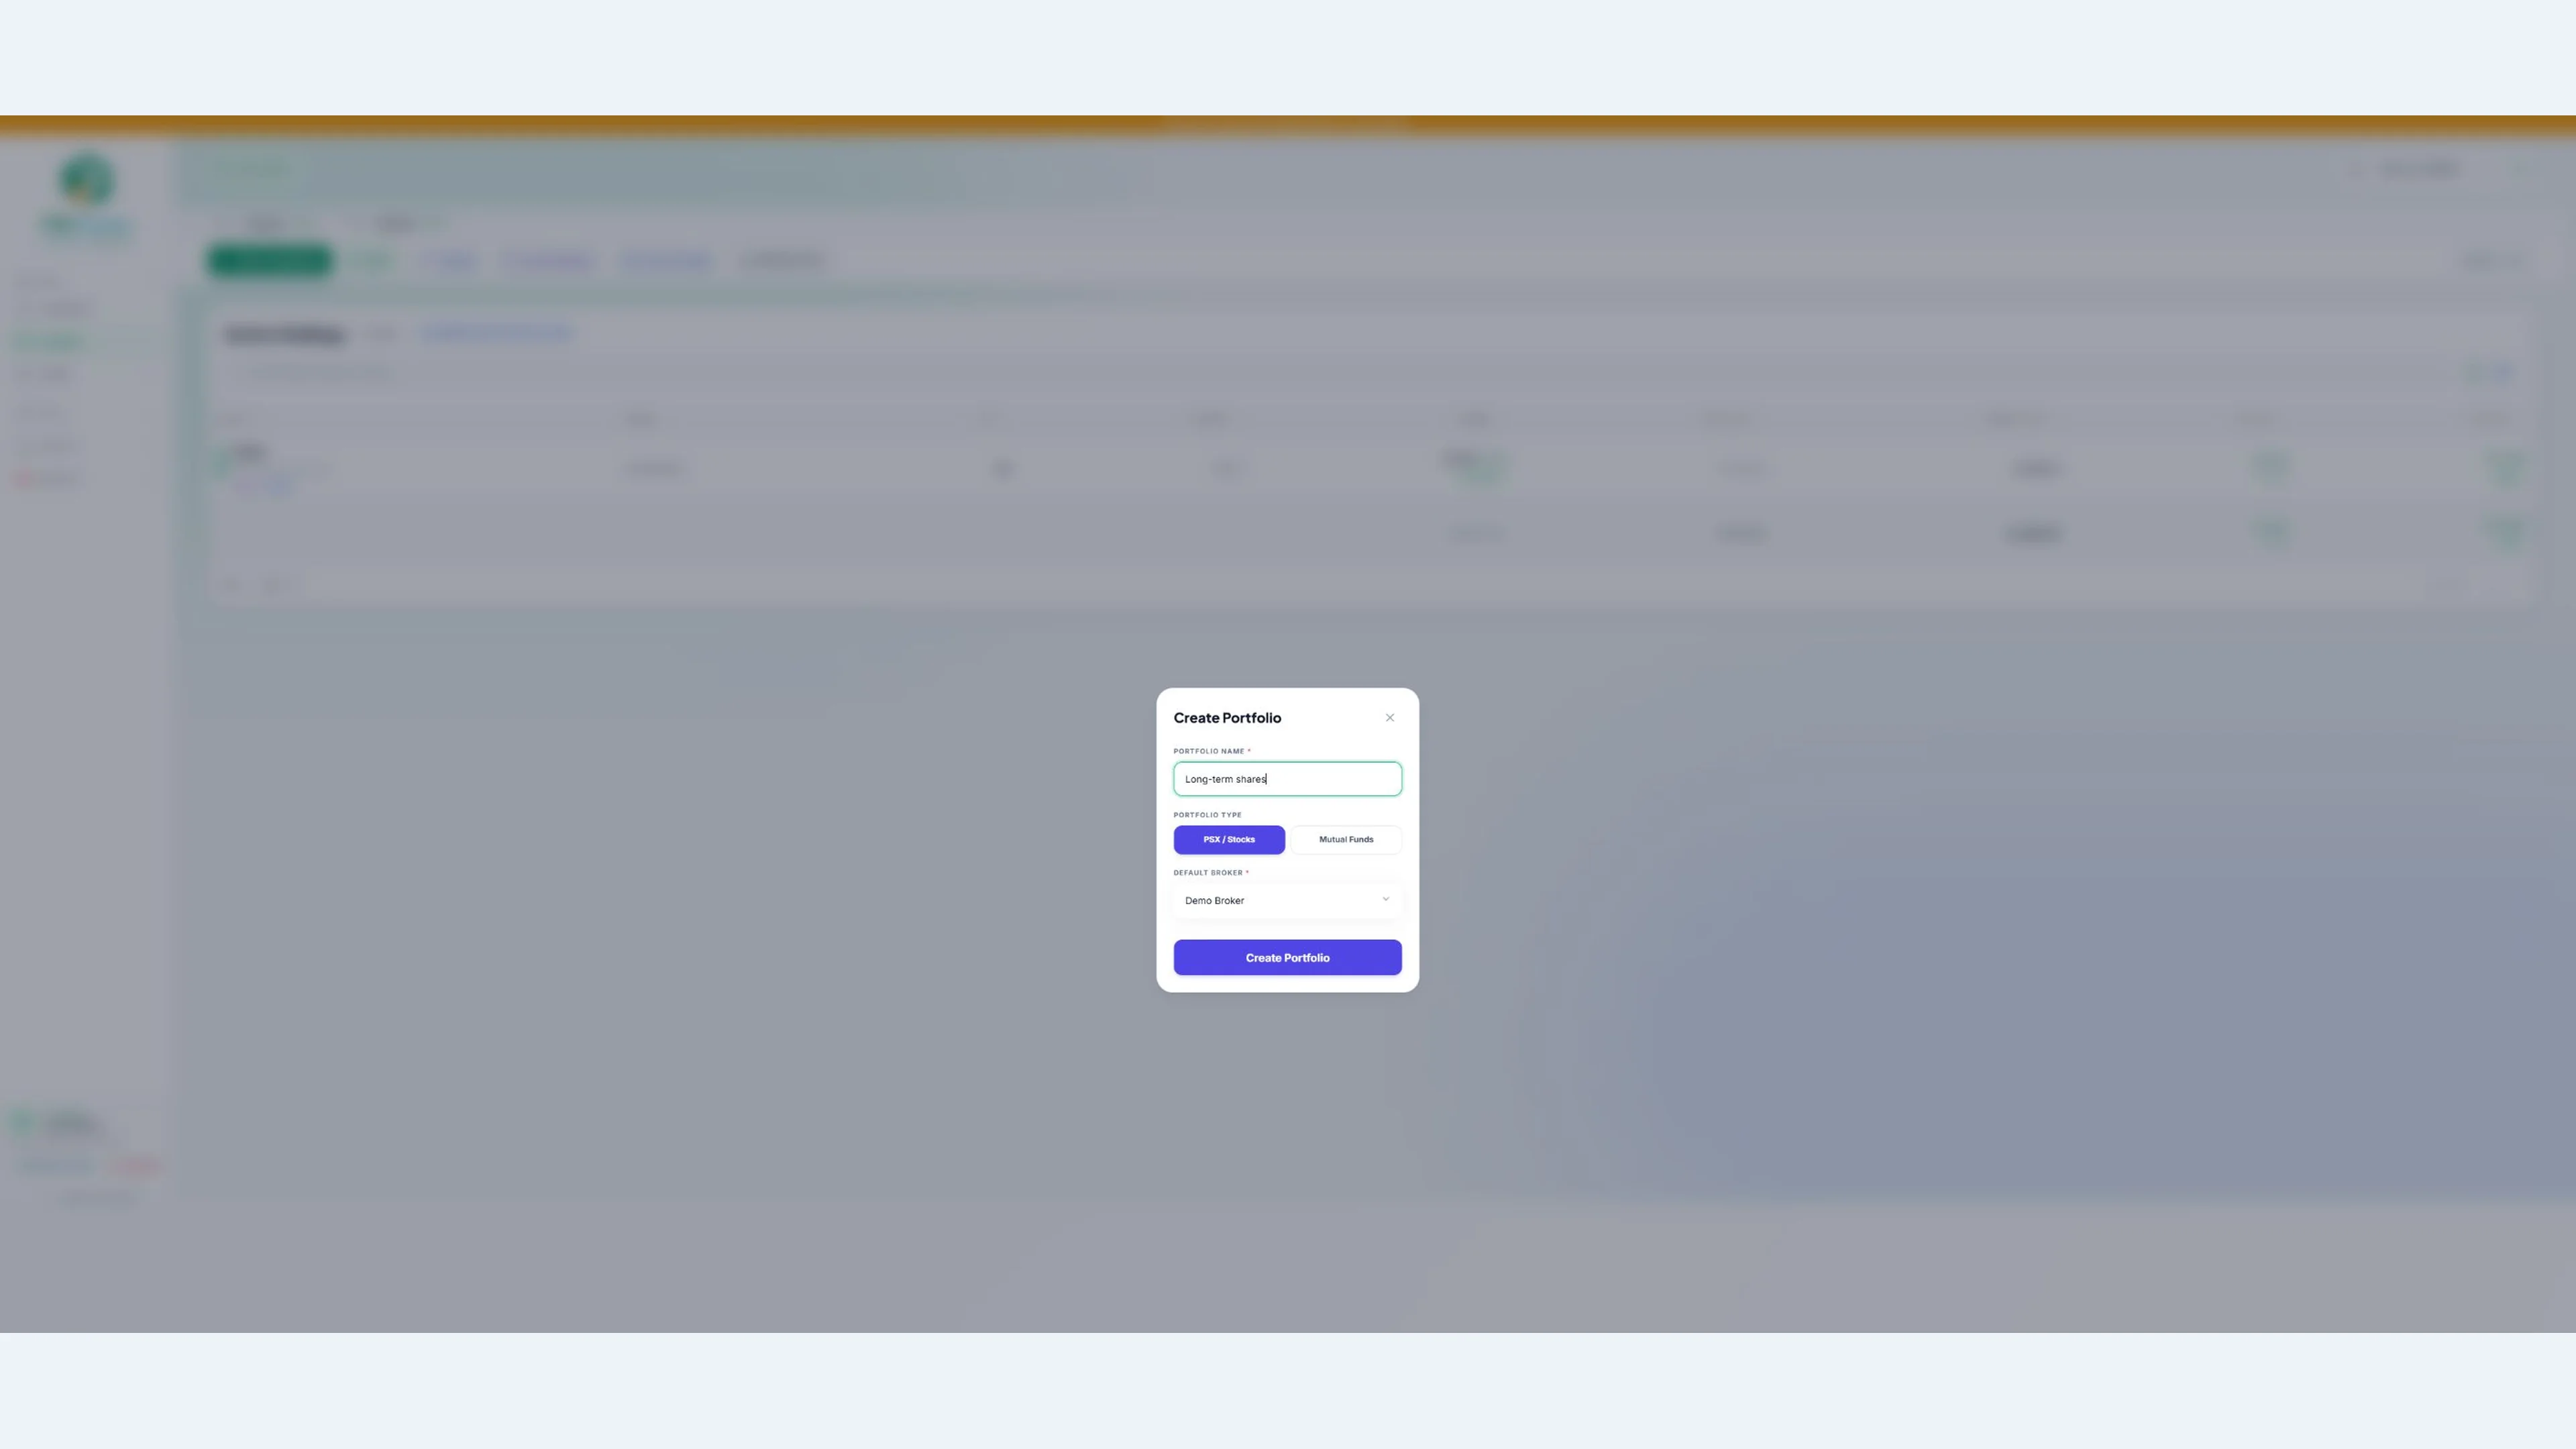
After signing in, use the + beside the portfolio selector. Give the portfolio a meaningful name, such as “Long-term shares.” Choose PSX / Stocks for share transactions or Mutual Funds for fund records. These portfolio types use different instruments and pricing, so keep them separate.
Choose an available default broker and create the portfolio. Next, configure that broker's charges. If you need to add a different broker, do so in Broker Setup, then return to the pencil beside the portfolio name to select it. Check the selected portfolio before entering transactions so your records go to the intended place.
2. Set up your broker
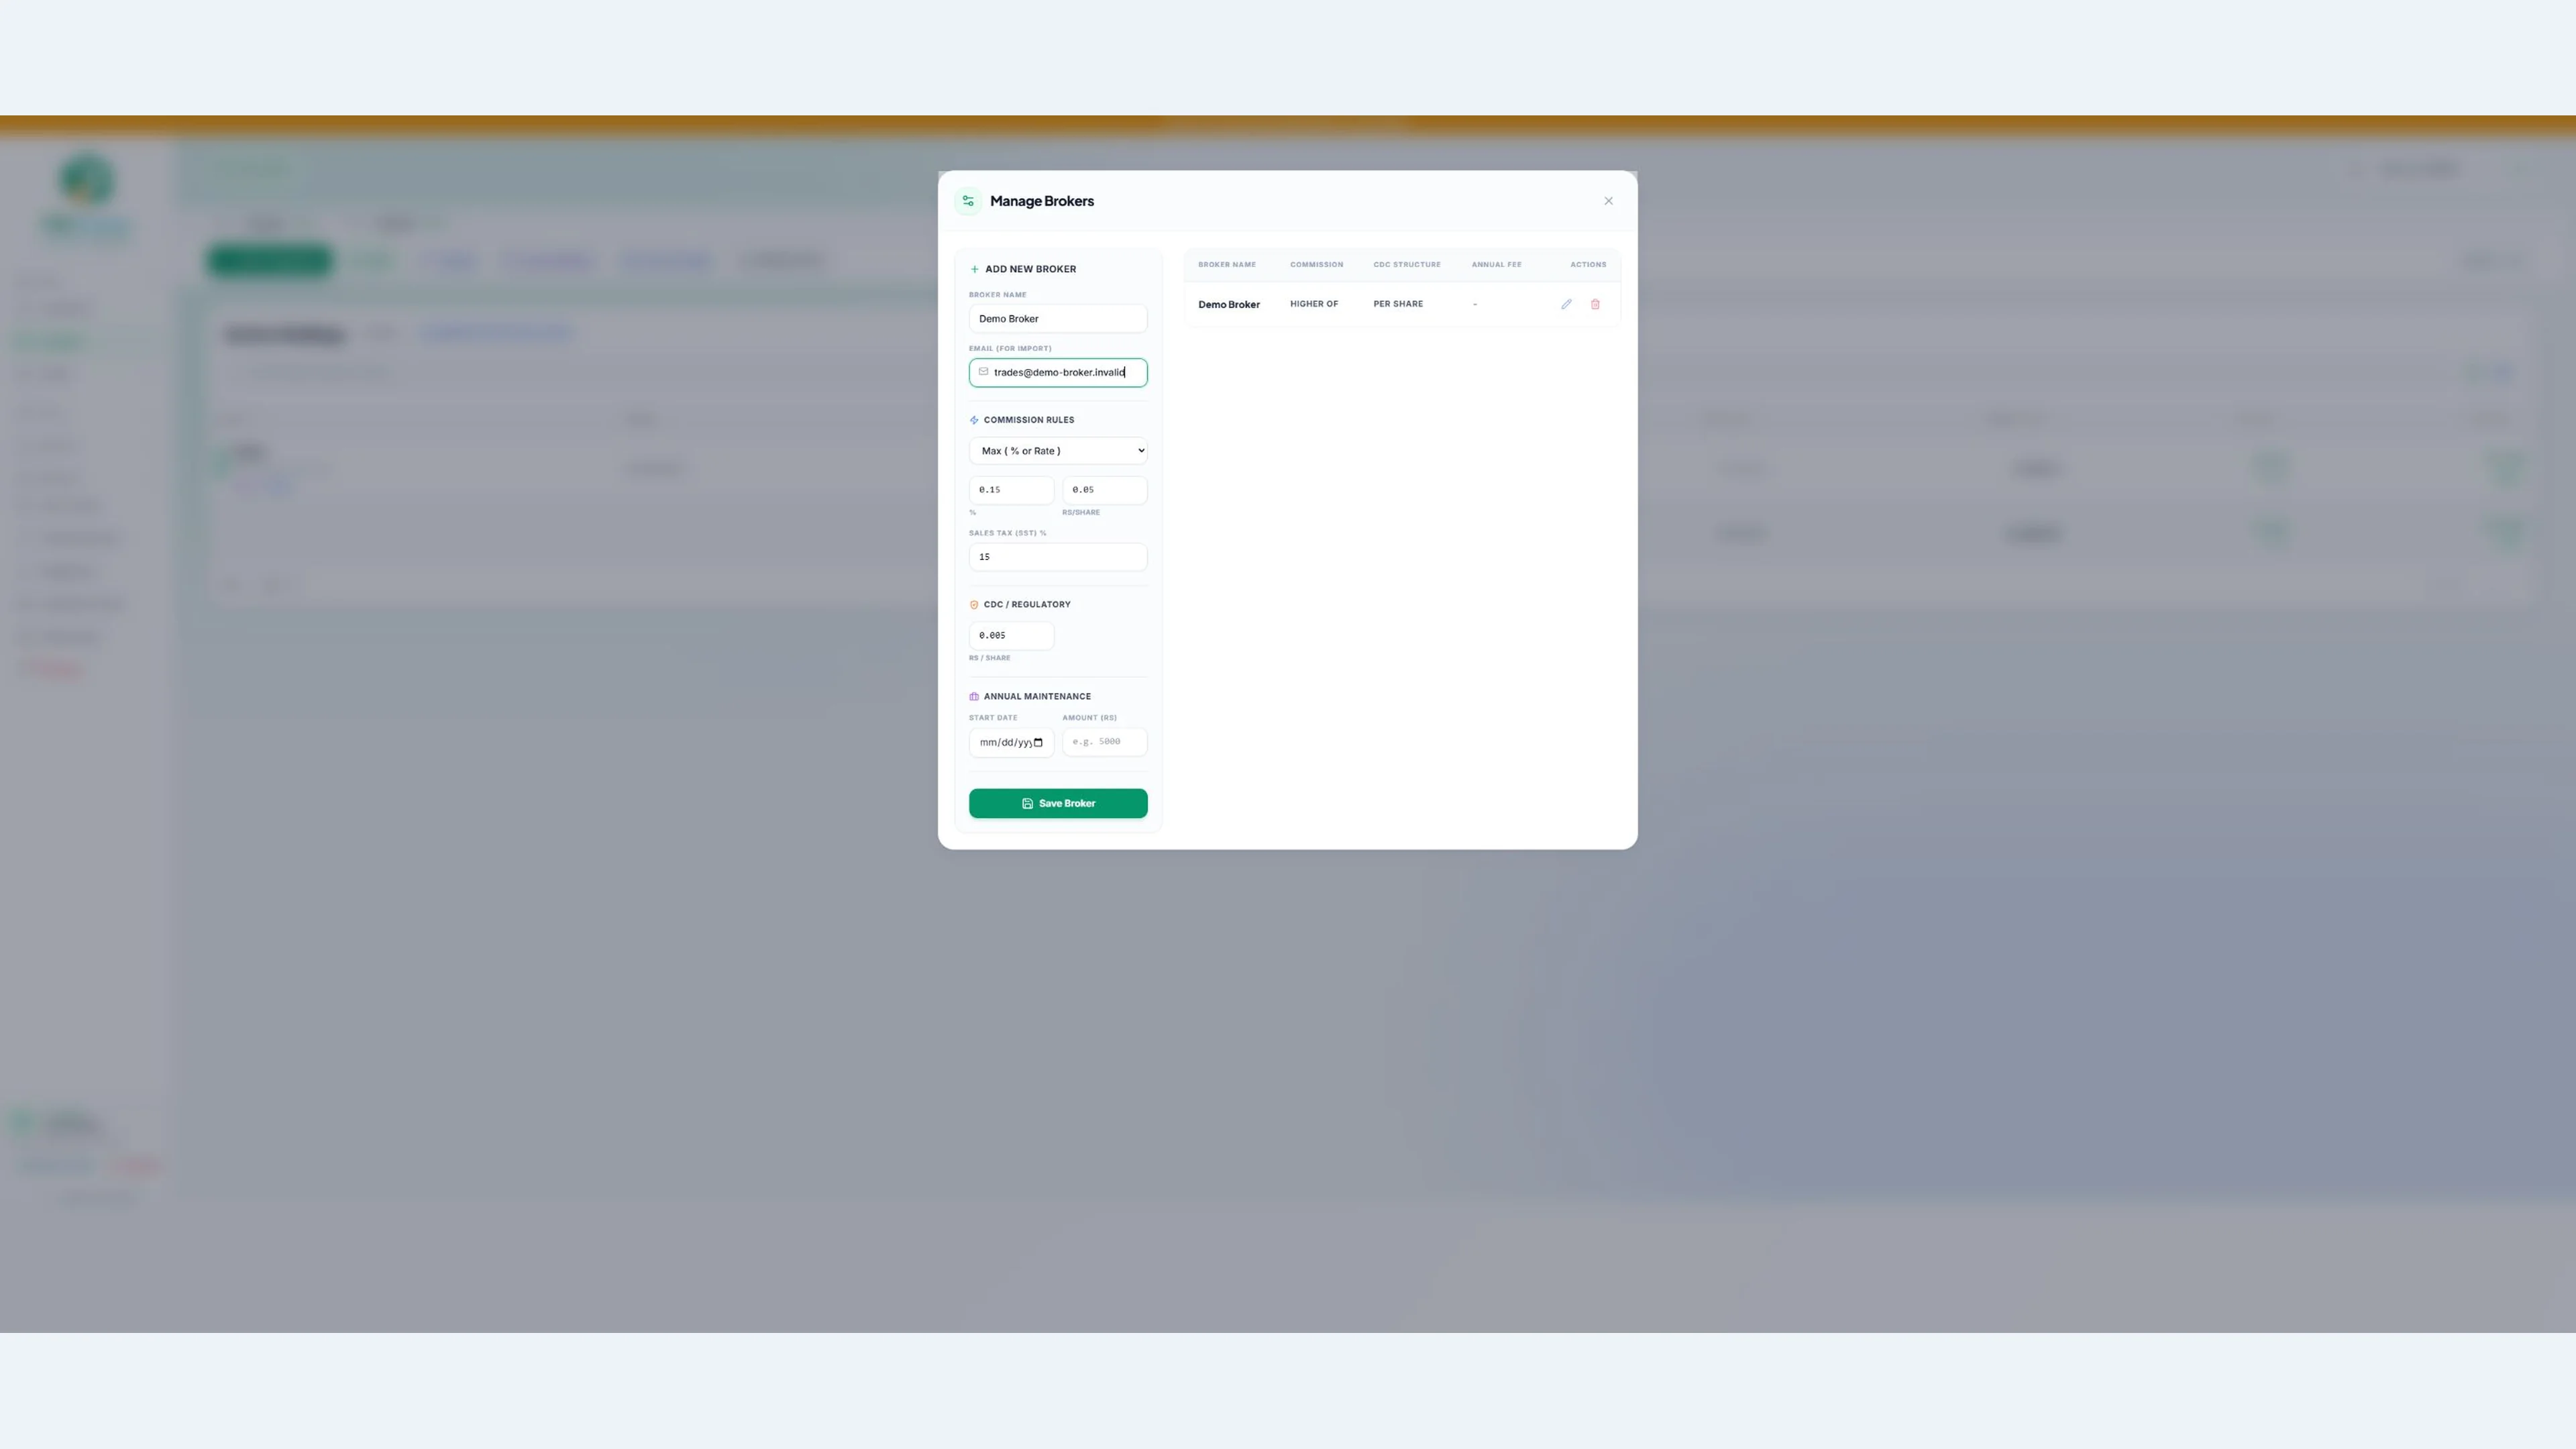
Open Settings → Broker Setup. Add a broker or use the pencil to edit an existing entry. Enter the broker name and, if you will import emailed confirmations, the sender address used for those emails.
Choose the commission rule that matches your broker tariff. For example, a broker may charge a percentage, an amount per share, or the higher of the two. Enter the applicable rates, sales tax percentage, CDC or regulatory charge, and any relevant maintenance charge. The numbers in the video are examples, not a recommended tariff.
Save the configuration and confirm it is selected as the portfolio's default broker. When you enter a trade, compare the calculated charges with the actual contract note. A correct broker setup makes repeated entry easier, but the broker's actual confirmation remains the reference for each transaction.
3. Record cash and your first trade
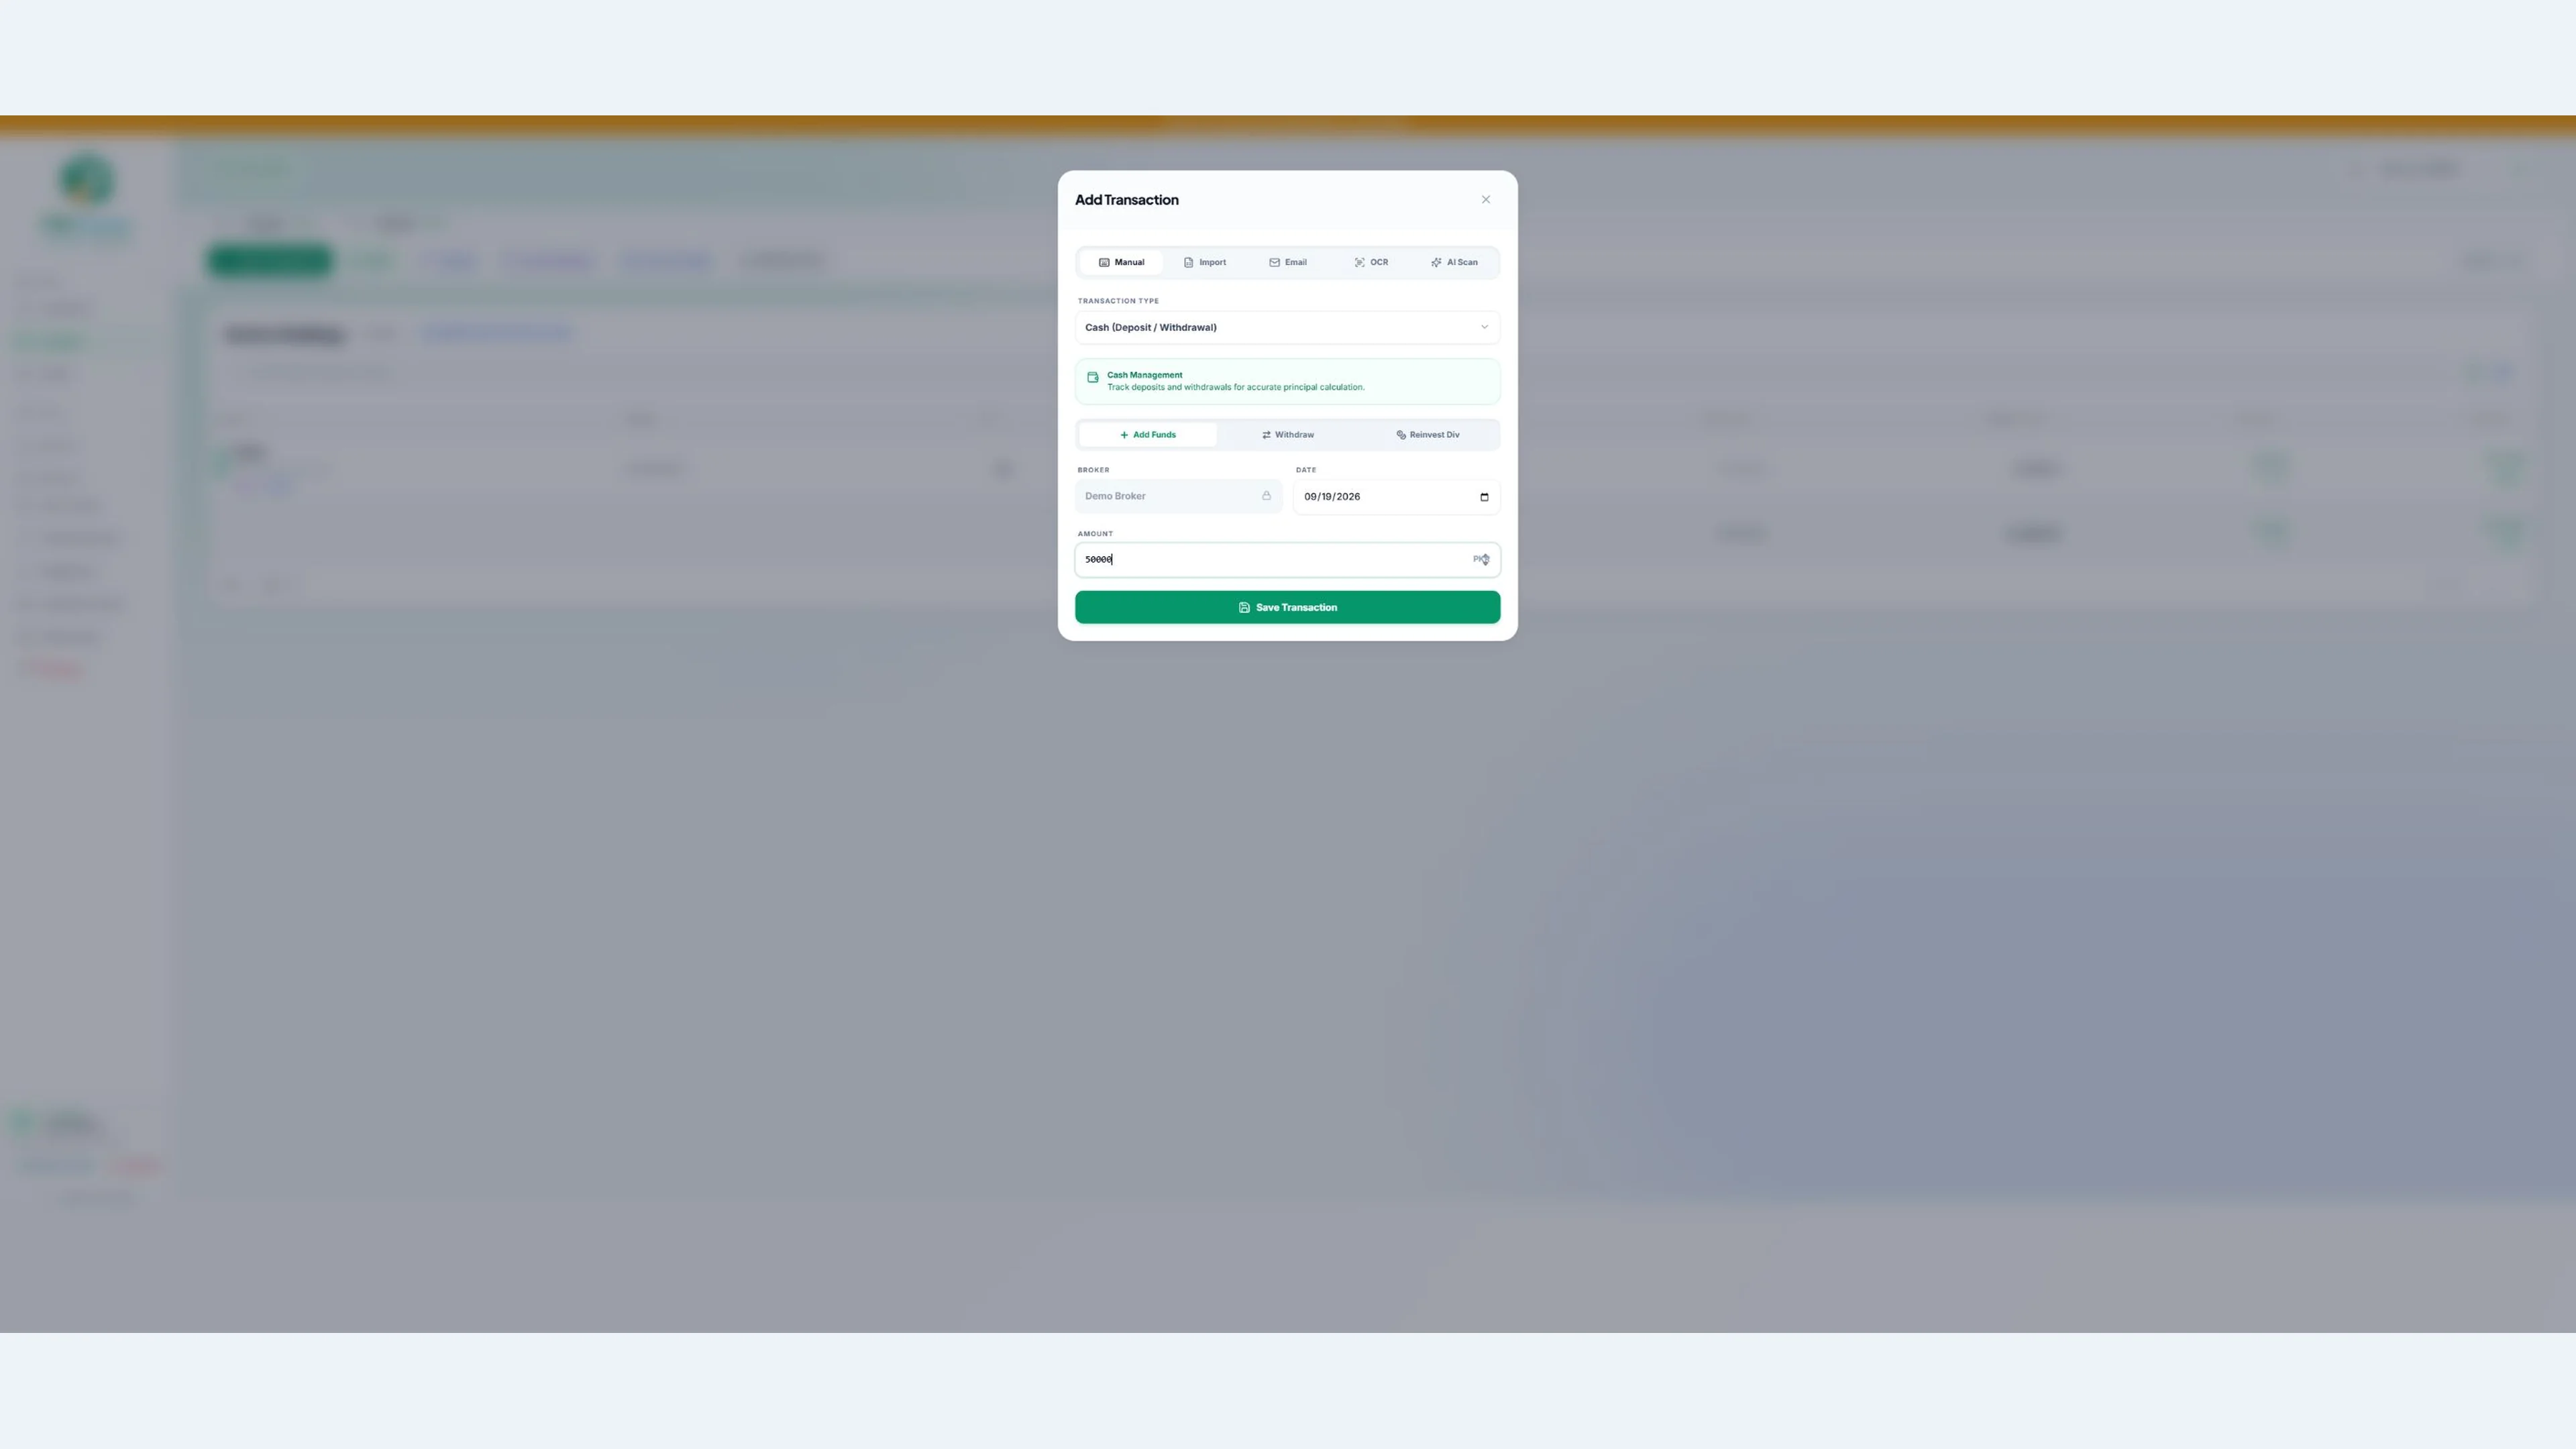
Open Add Transaction → Manual. Record a Deposit using the date and amount you actually deposited with your broker. This is a record in your tracker; it does not transfer funds.
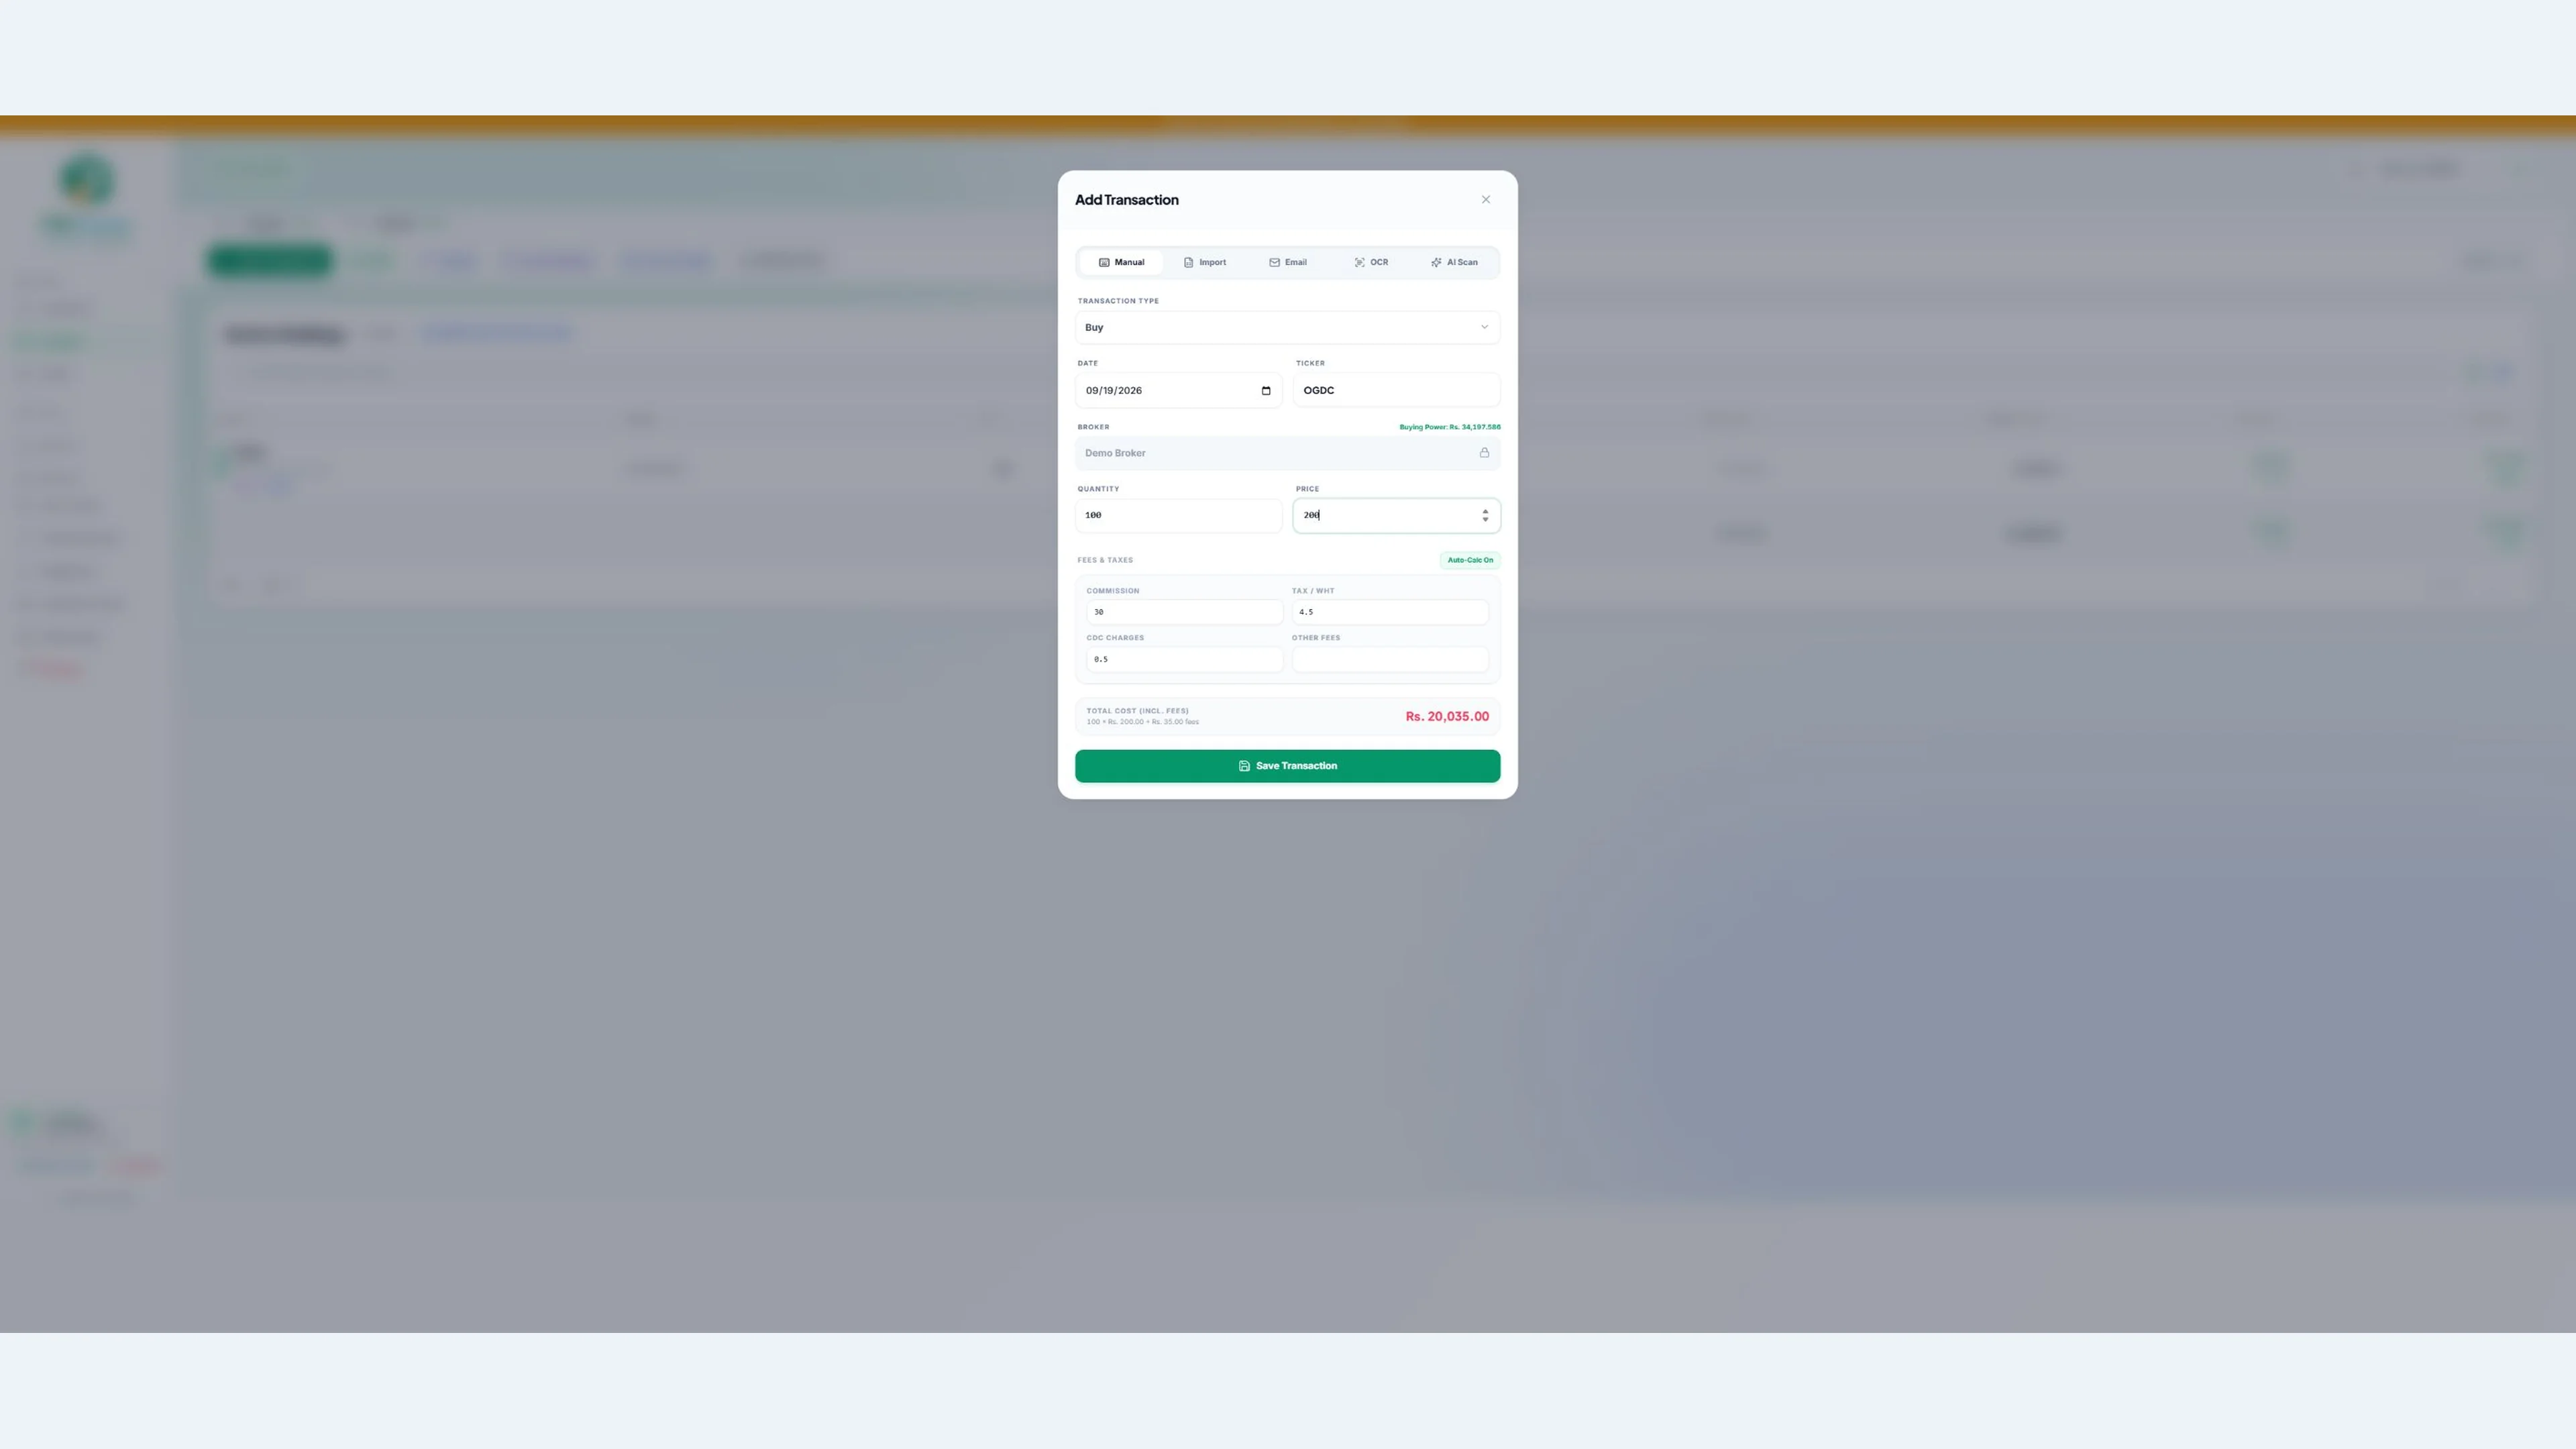
Then choose Buy and enter the trade date, stock symbol, quantity and execution price. Review the selected broker, commission and other charges before saving. Use the correct transaction type when recording a sale, dividend or cash withdrawal later.
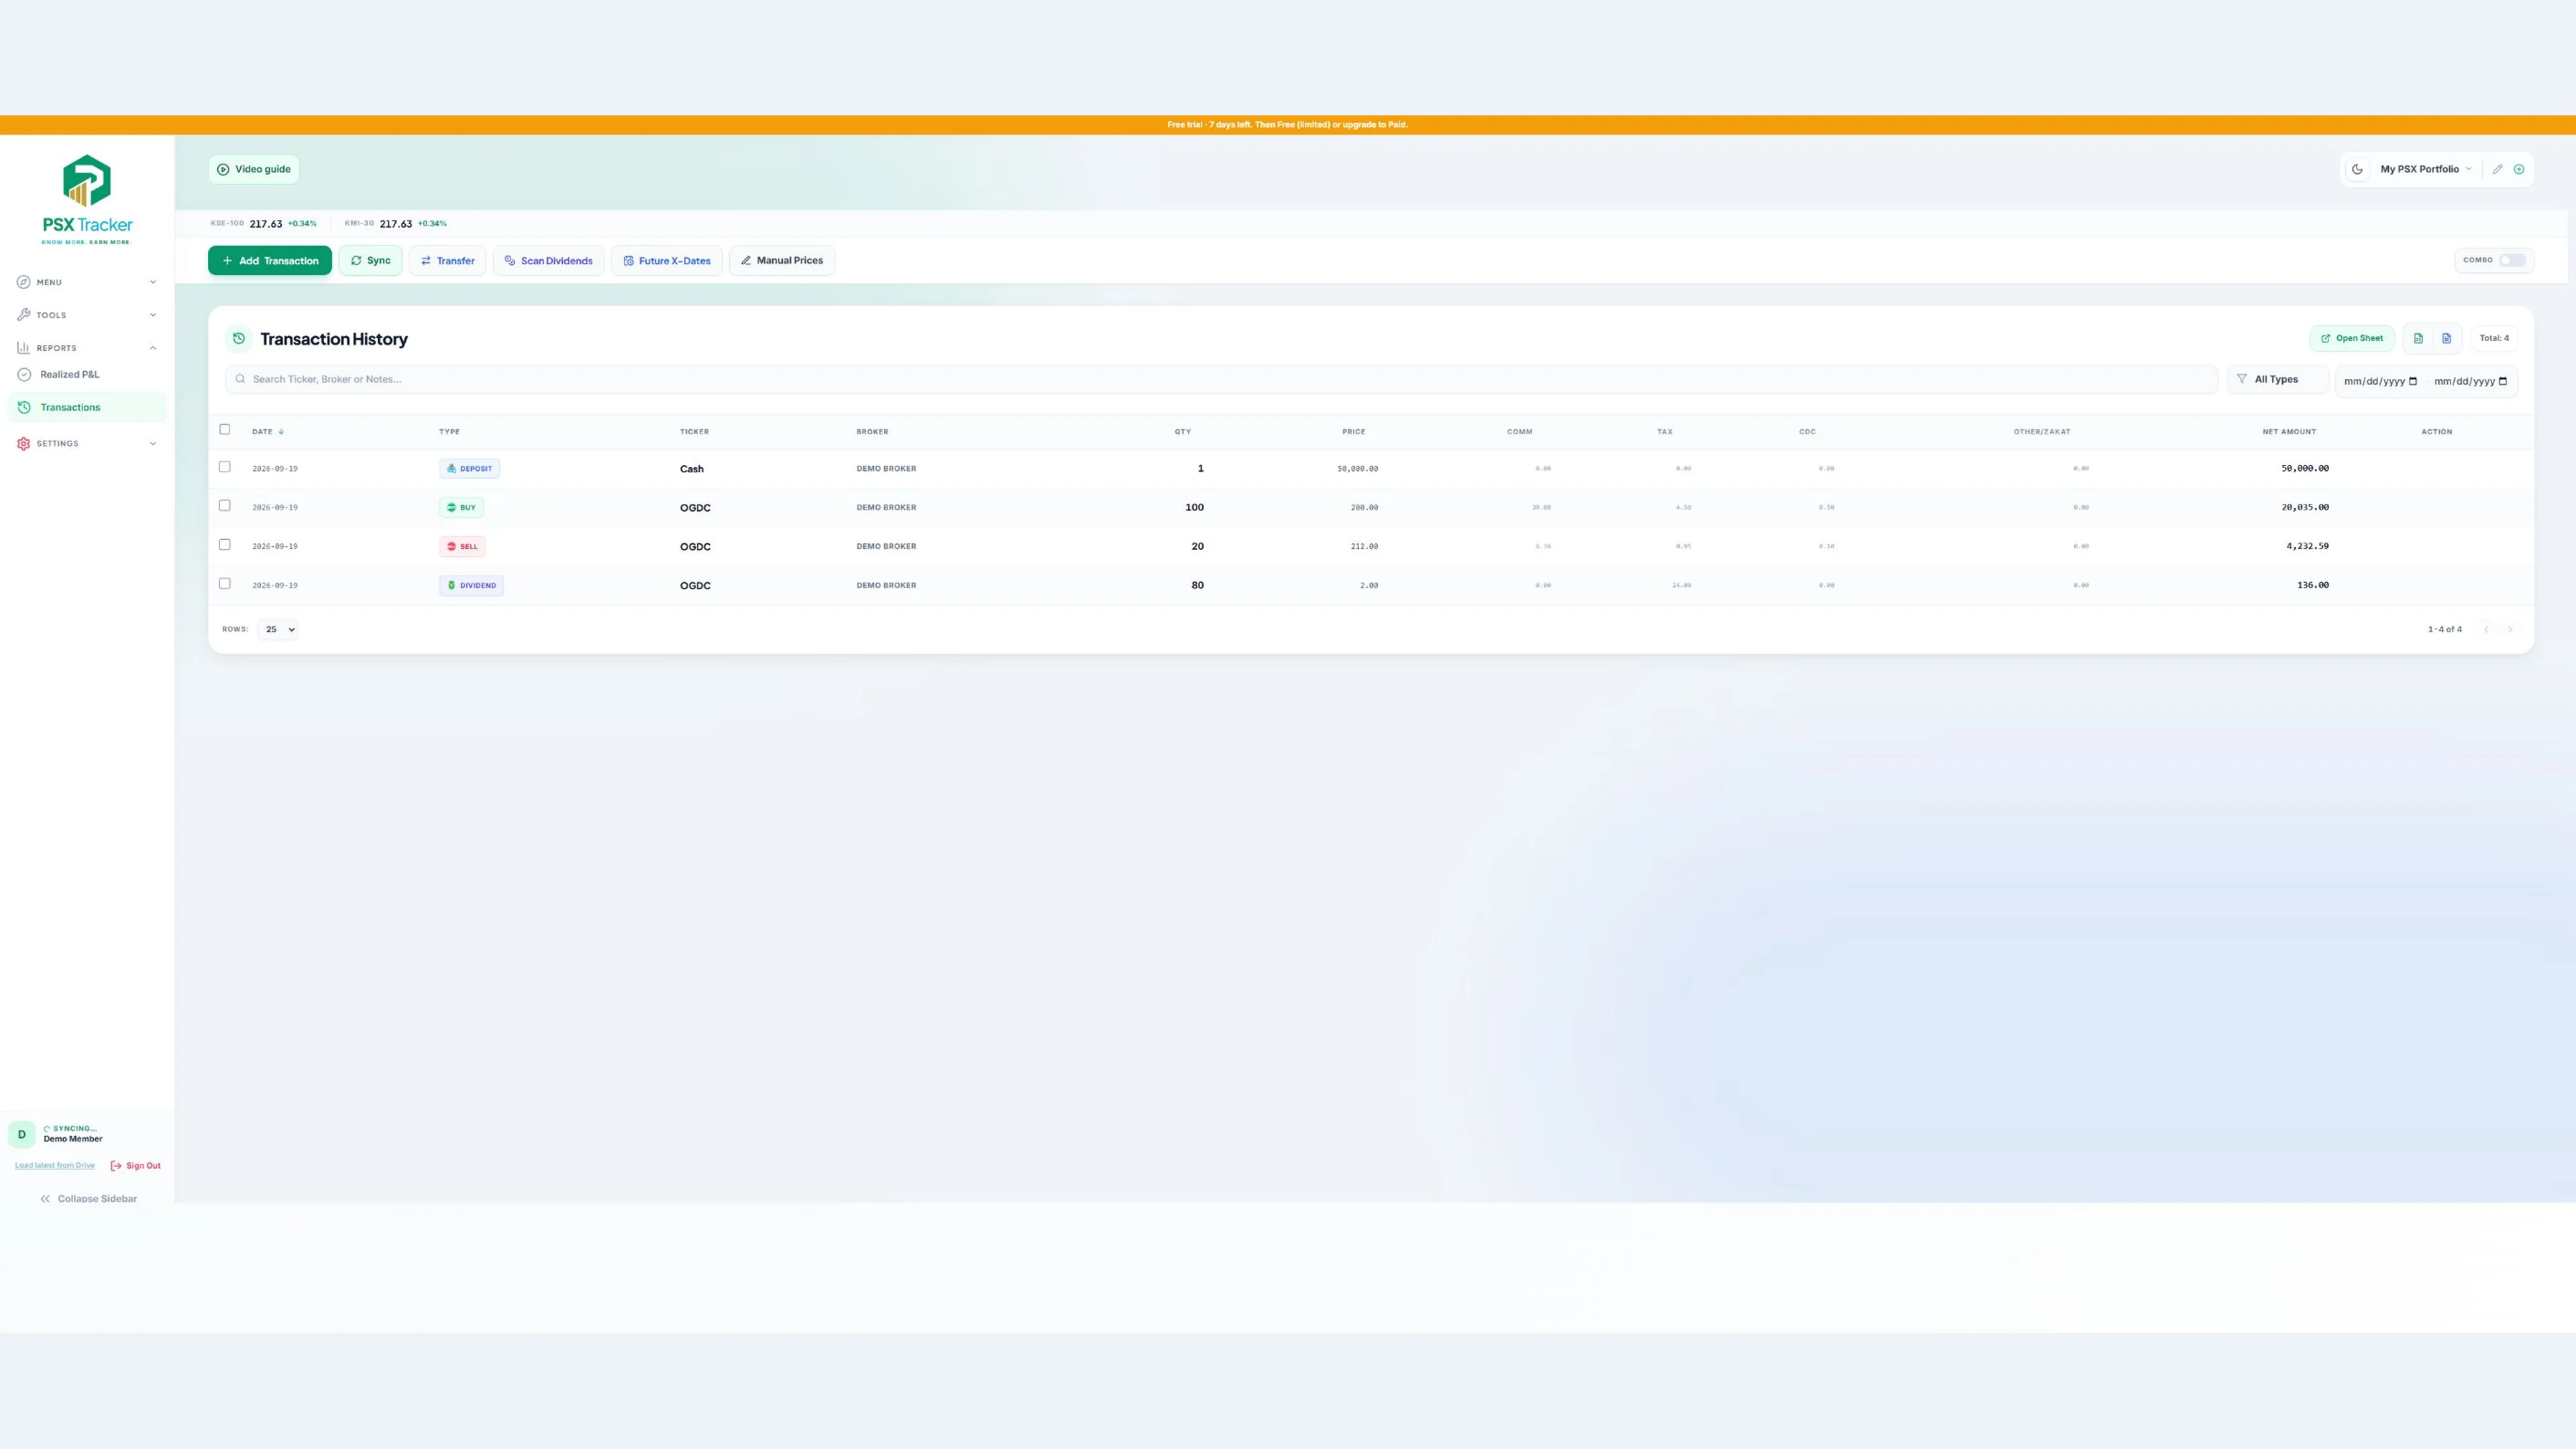
Start by checking a small set of records against your broker statement. Accurate dates, quantities and fees matter more than entering a large history quickly. If you spot a mistake, open Reports → Transactions, locate the entry and use Edit to correct it.
4. Understand your holdings
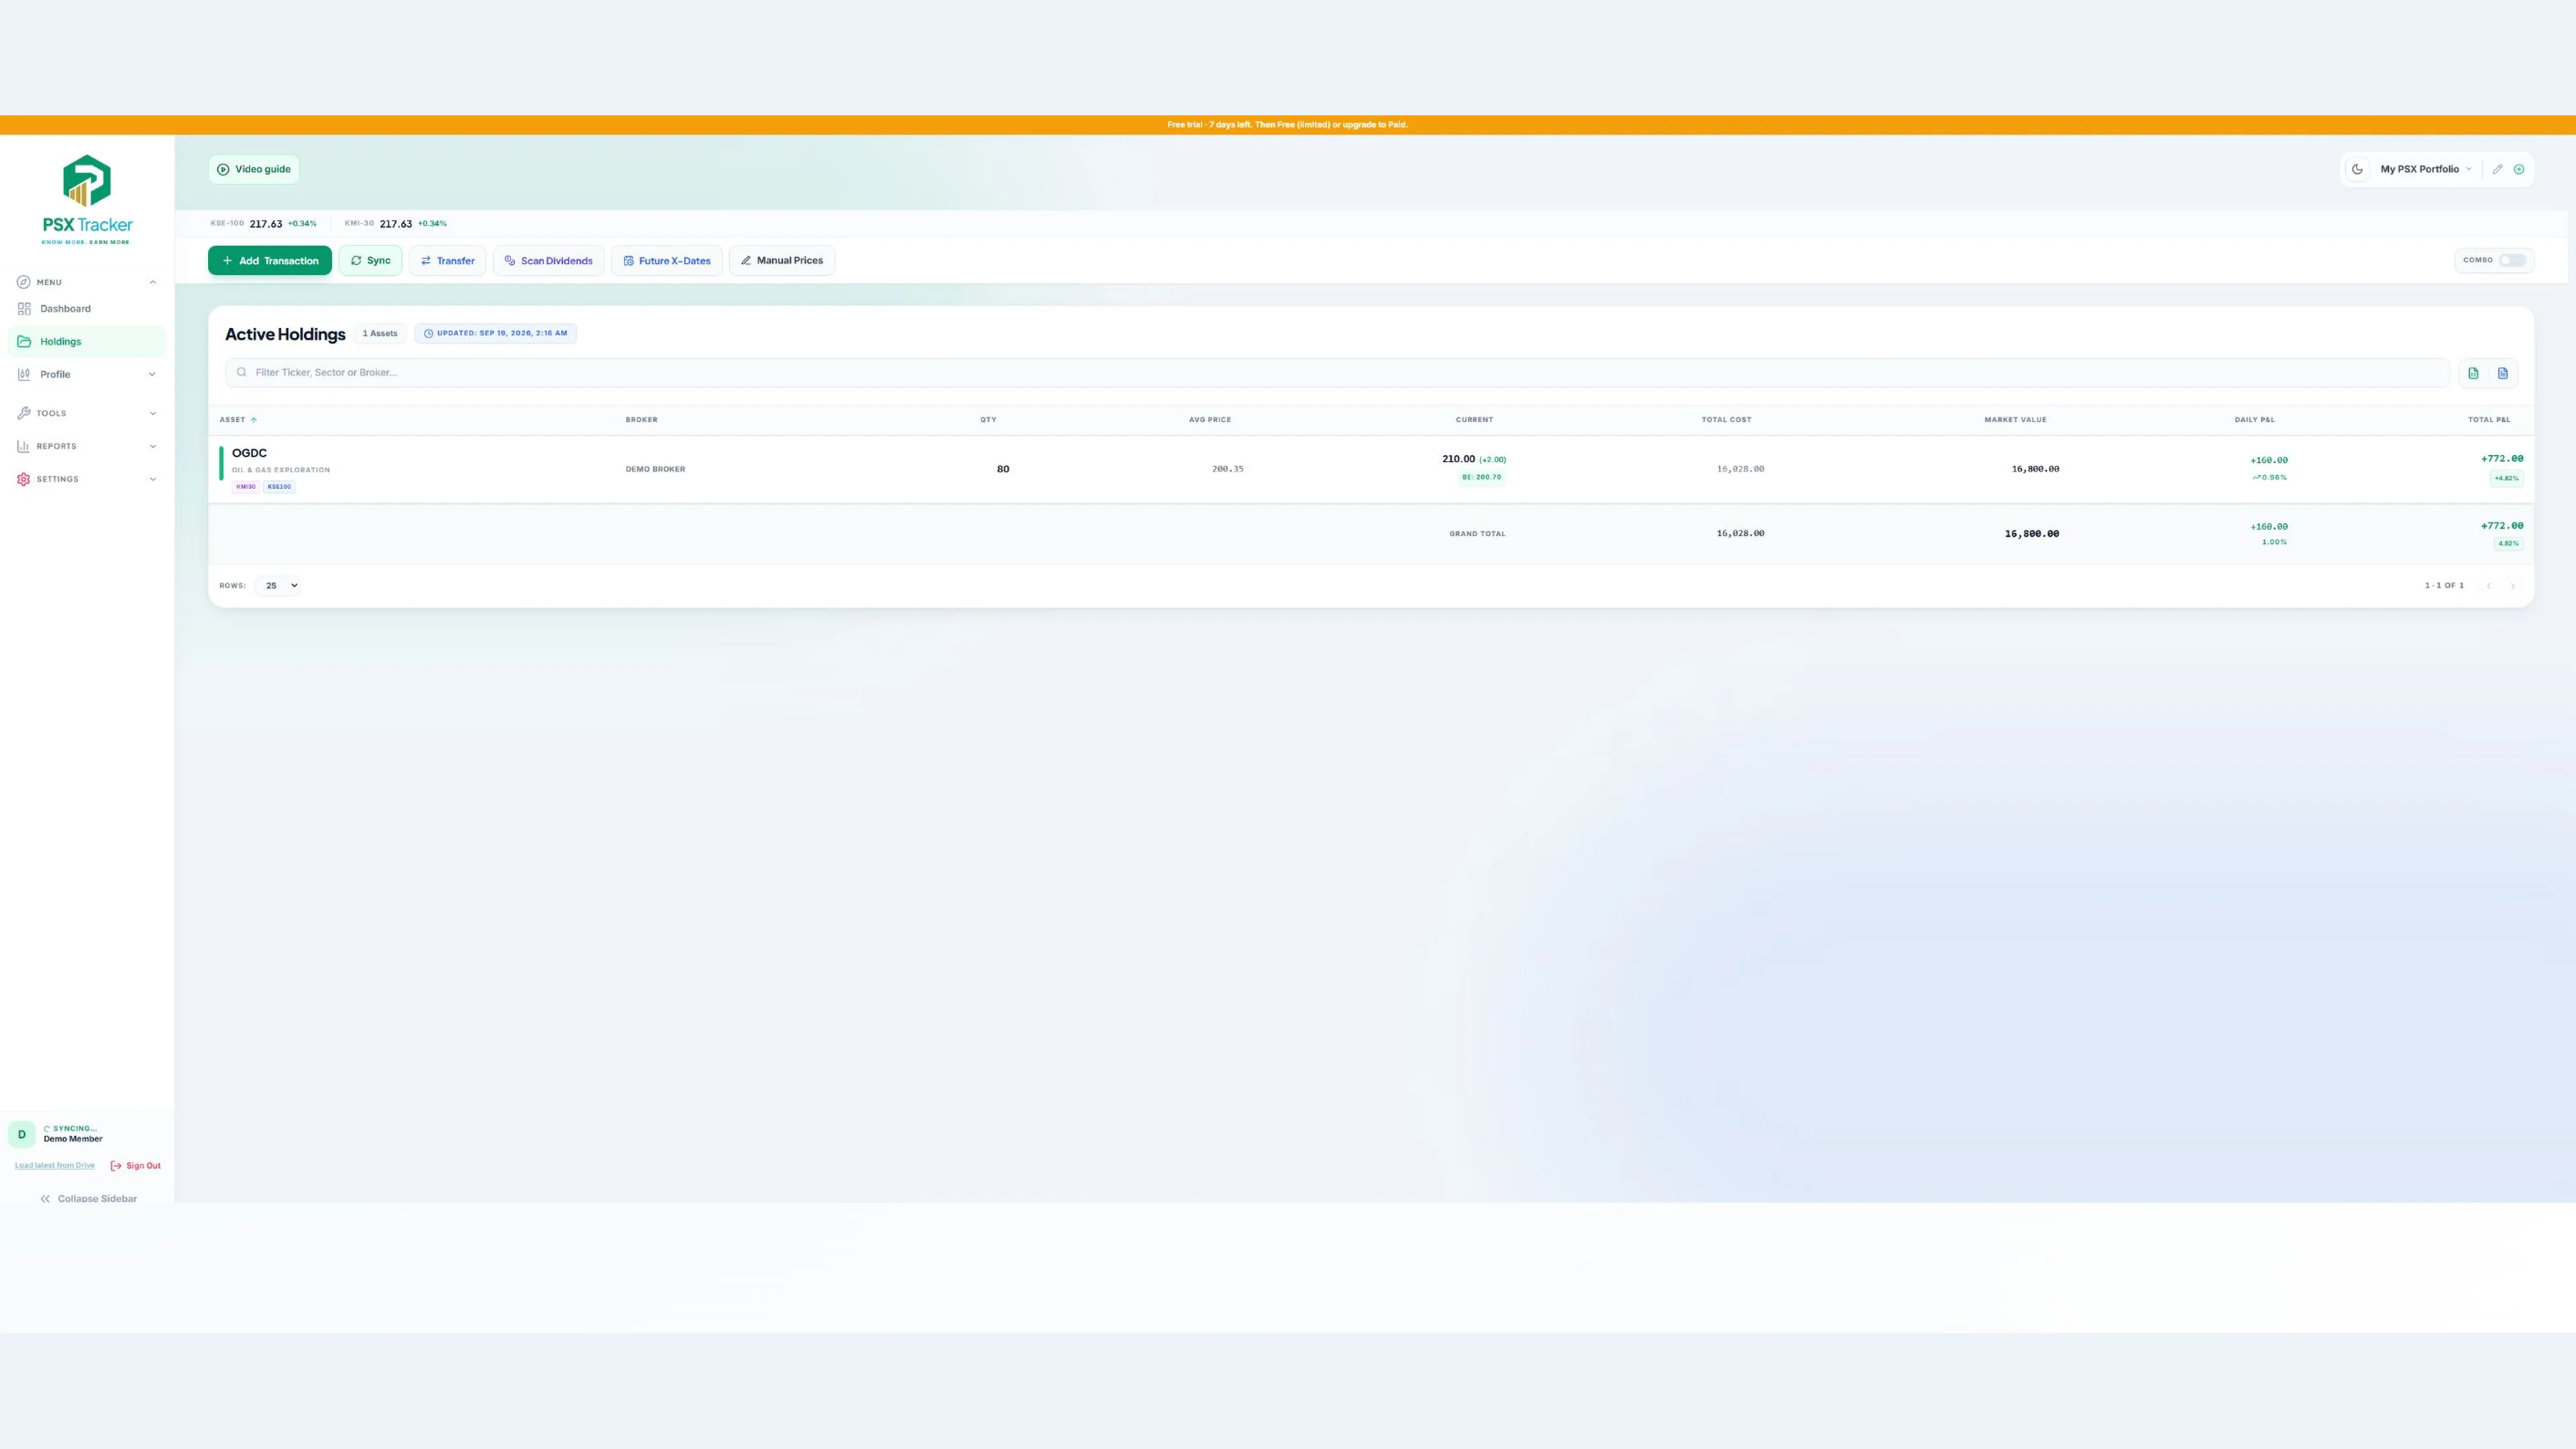
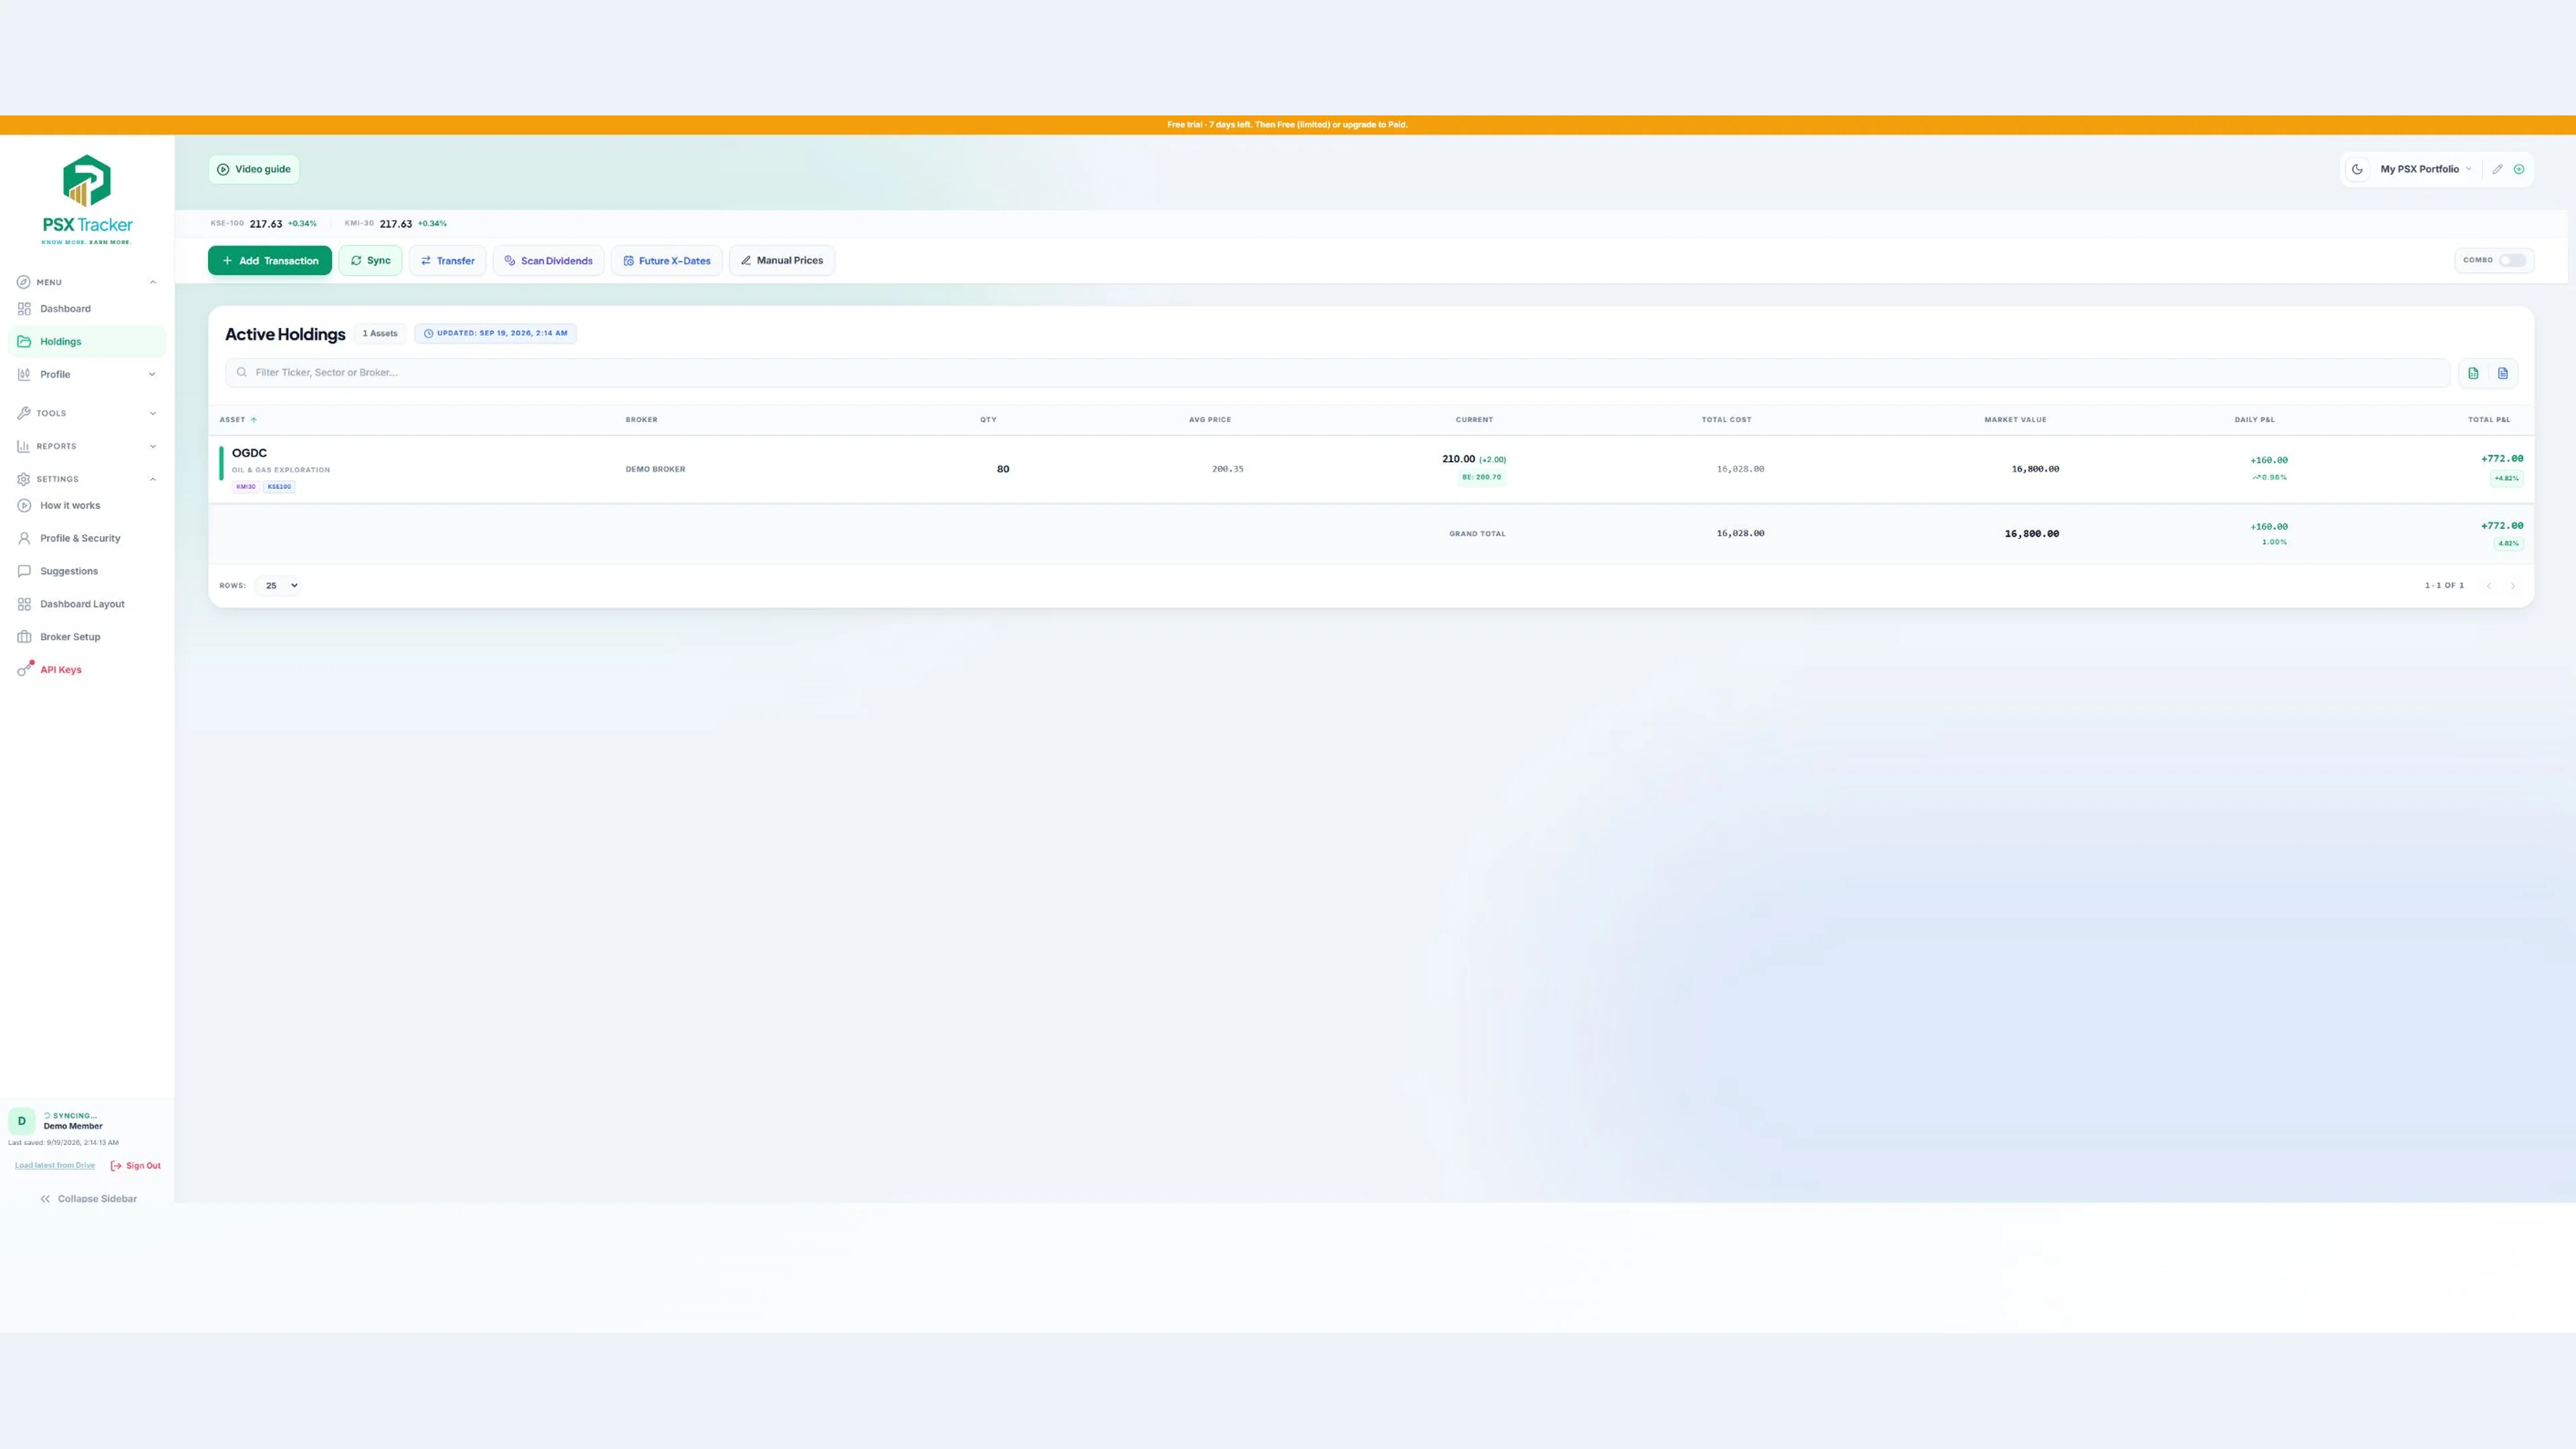
Holdings summarises your remaining positions. Quantity is the number of shares or units still held. Average price reflects the cost of the open position, including applicable purchase costs. Current value uses the available current price or NAV. Daily P&L shows the change relative to the prior price reference; overall holdings P&L compares current value with the remaining position cost.
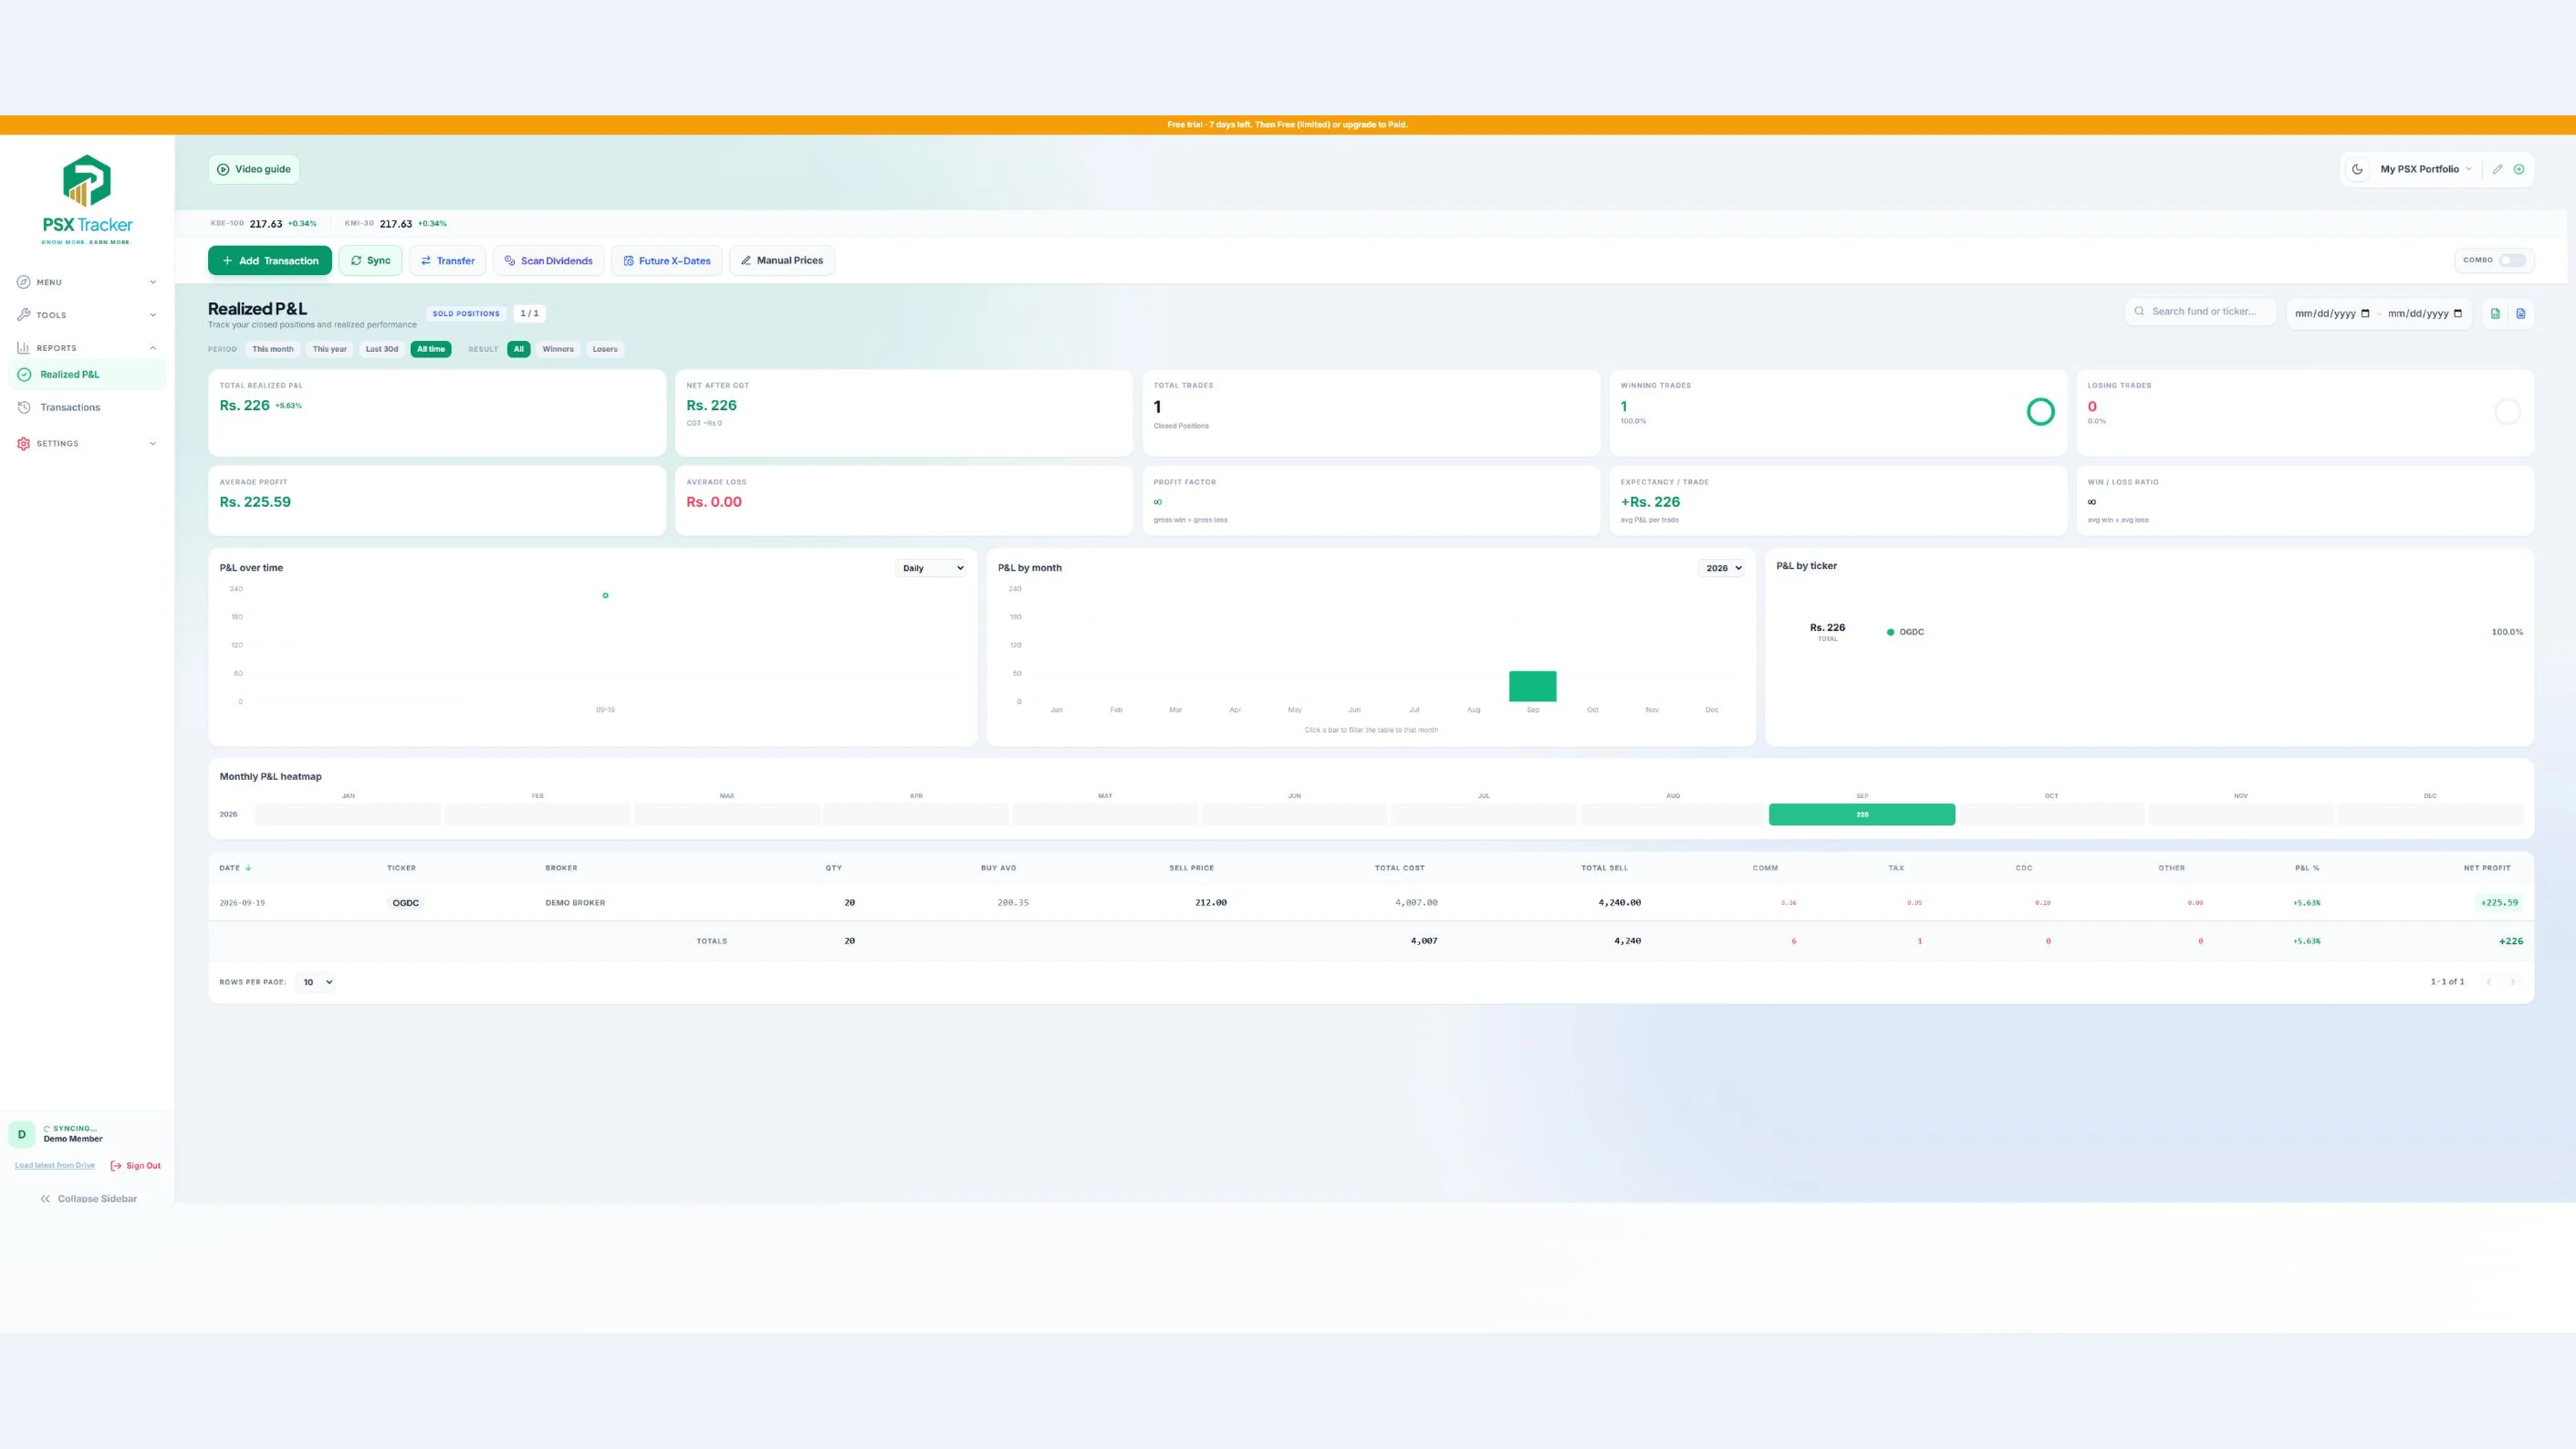
Realized P&L is different: it relates to positions you have sold. PSX Tracker provides a separate realized report using its transaction and lot-matching calculations. Review that report alongside your broker records rather than confusing cash withdrawn with profit earned.
On a phone, holdings use a compact layout that includes average price. The Grand Total brings together invested amount, current value, daily P&L and overall P&L. Check price timestamps and refresh status when the market value looks unexpected; data can be delayed or unavailable.
5. Add your Gemini key before using AI scan
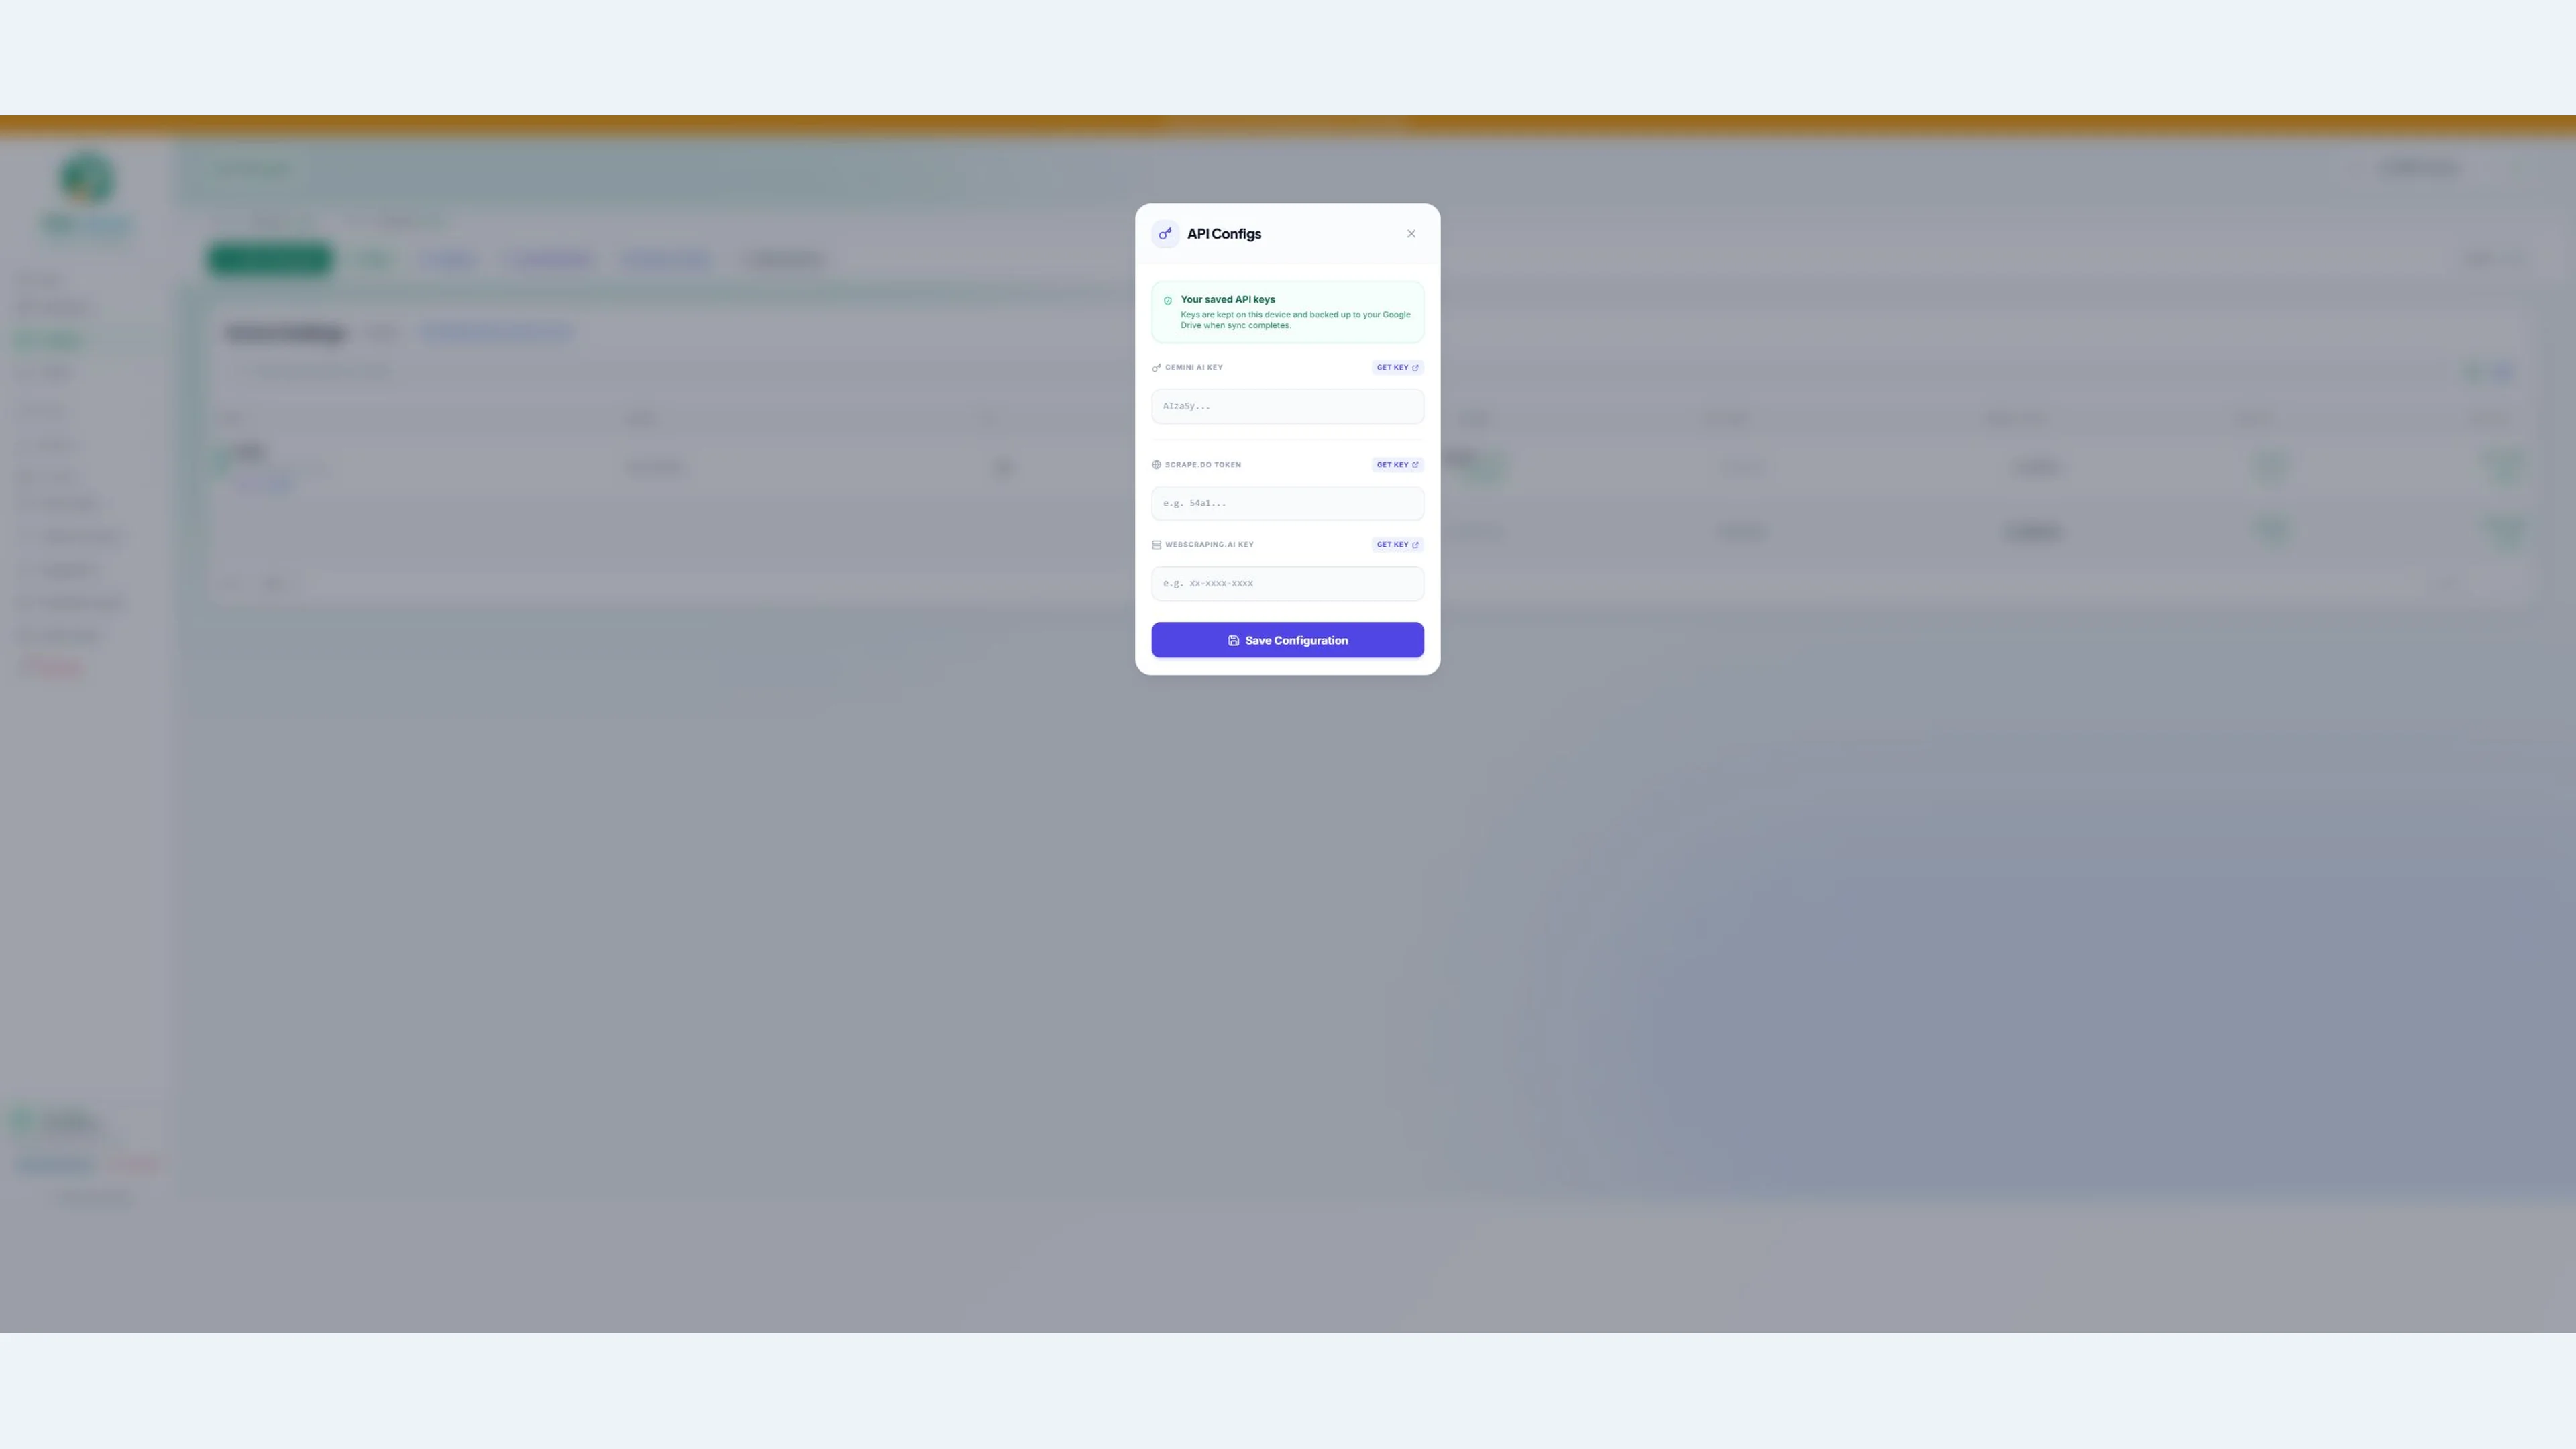
AI scanning needs your own Gemini API key. Open Settings → API Keys, use Get Key to visit Google AI Studio, and create a key for an eligible project. Google offers a free tier with usage limits; availability depends on the model, project and account. Check Google's current limits before enabling billing or assuming unlimited usage.
Paste the key into Gemini AI Key and choose Save Configuration. The other API-key fields are not required for this scan workflow. Keep your key private and avoid including it in screenshots or support messages.
Manual transaction entry does not require a Gemini key. You can start tracking first and set up scanning when you need it.
6. Scan a broker document
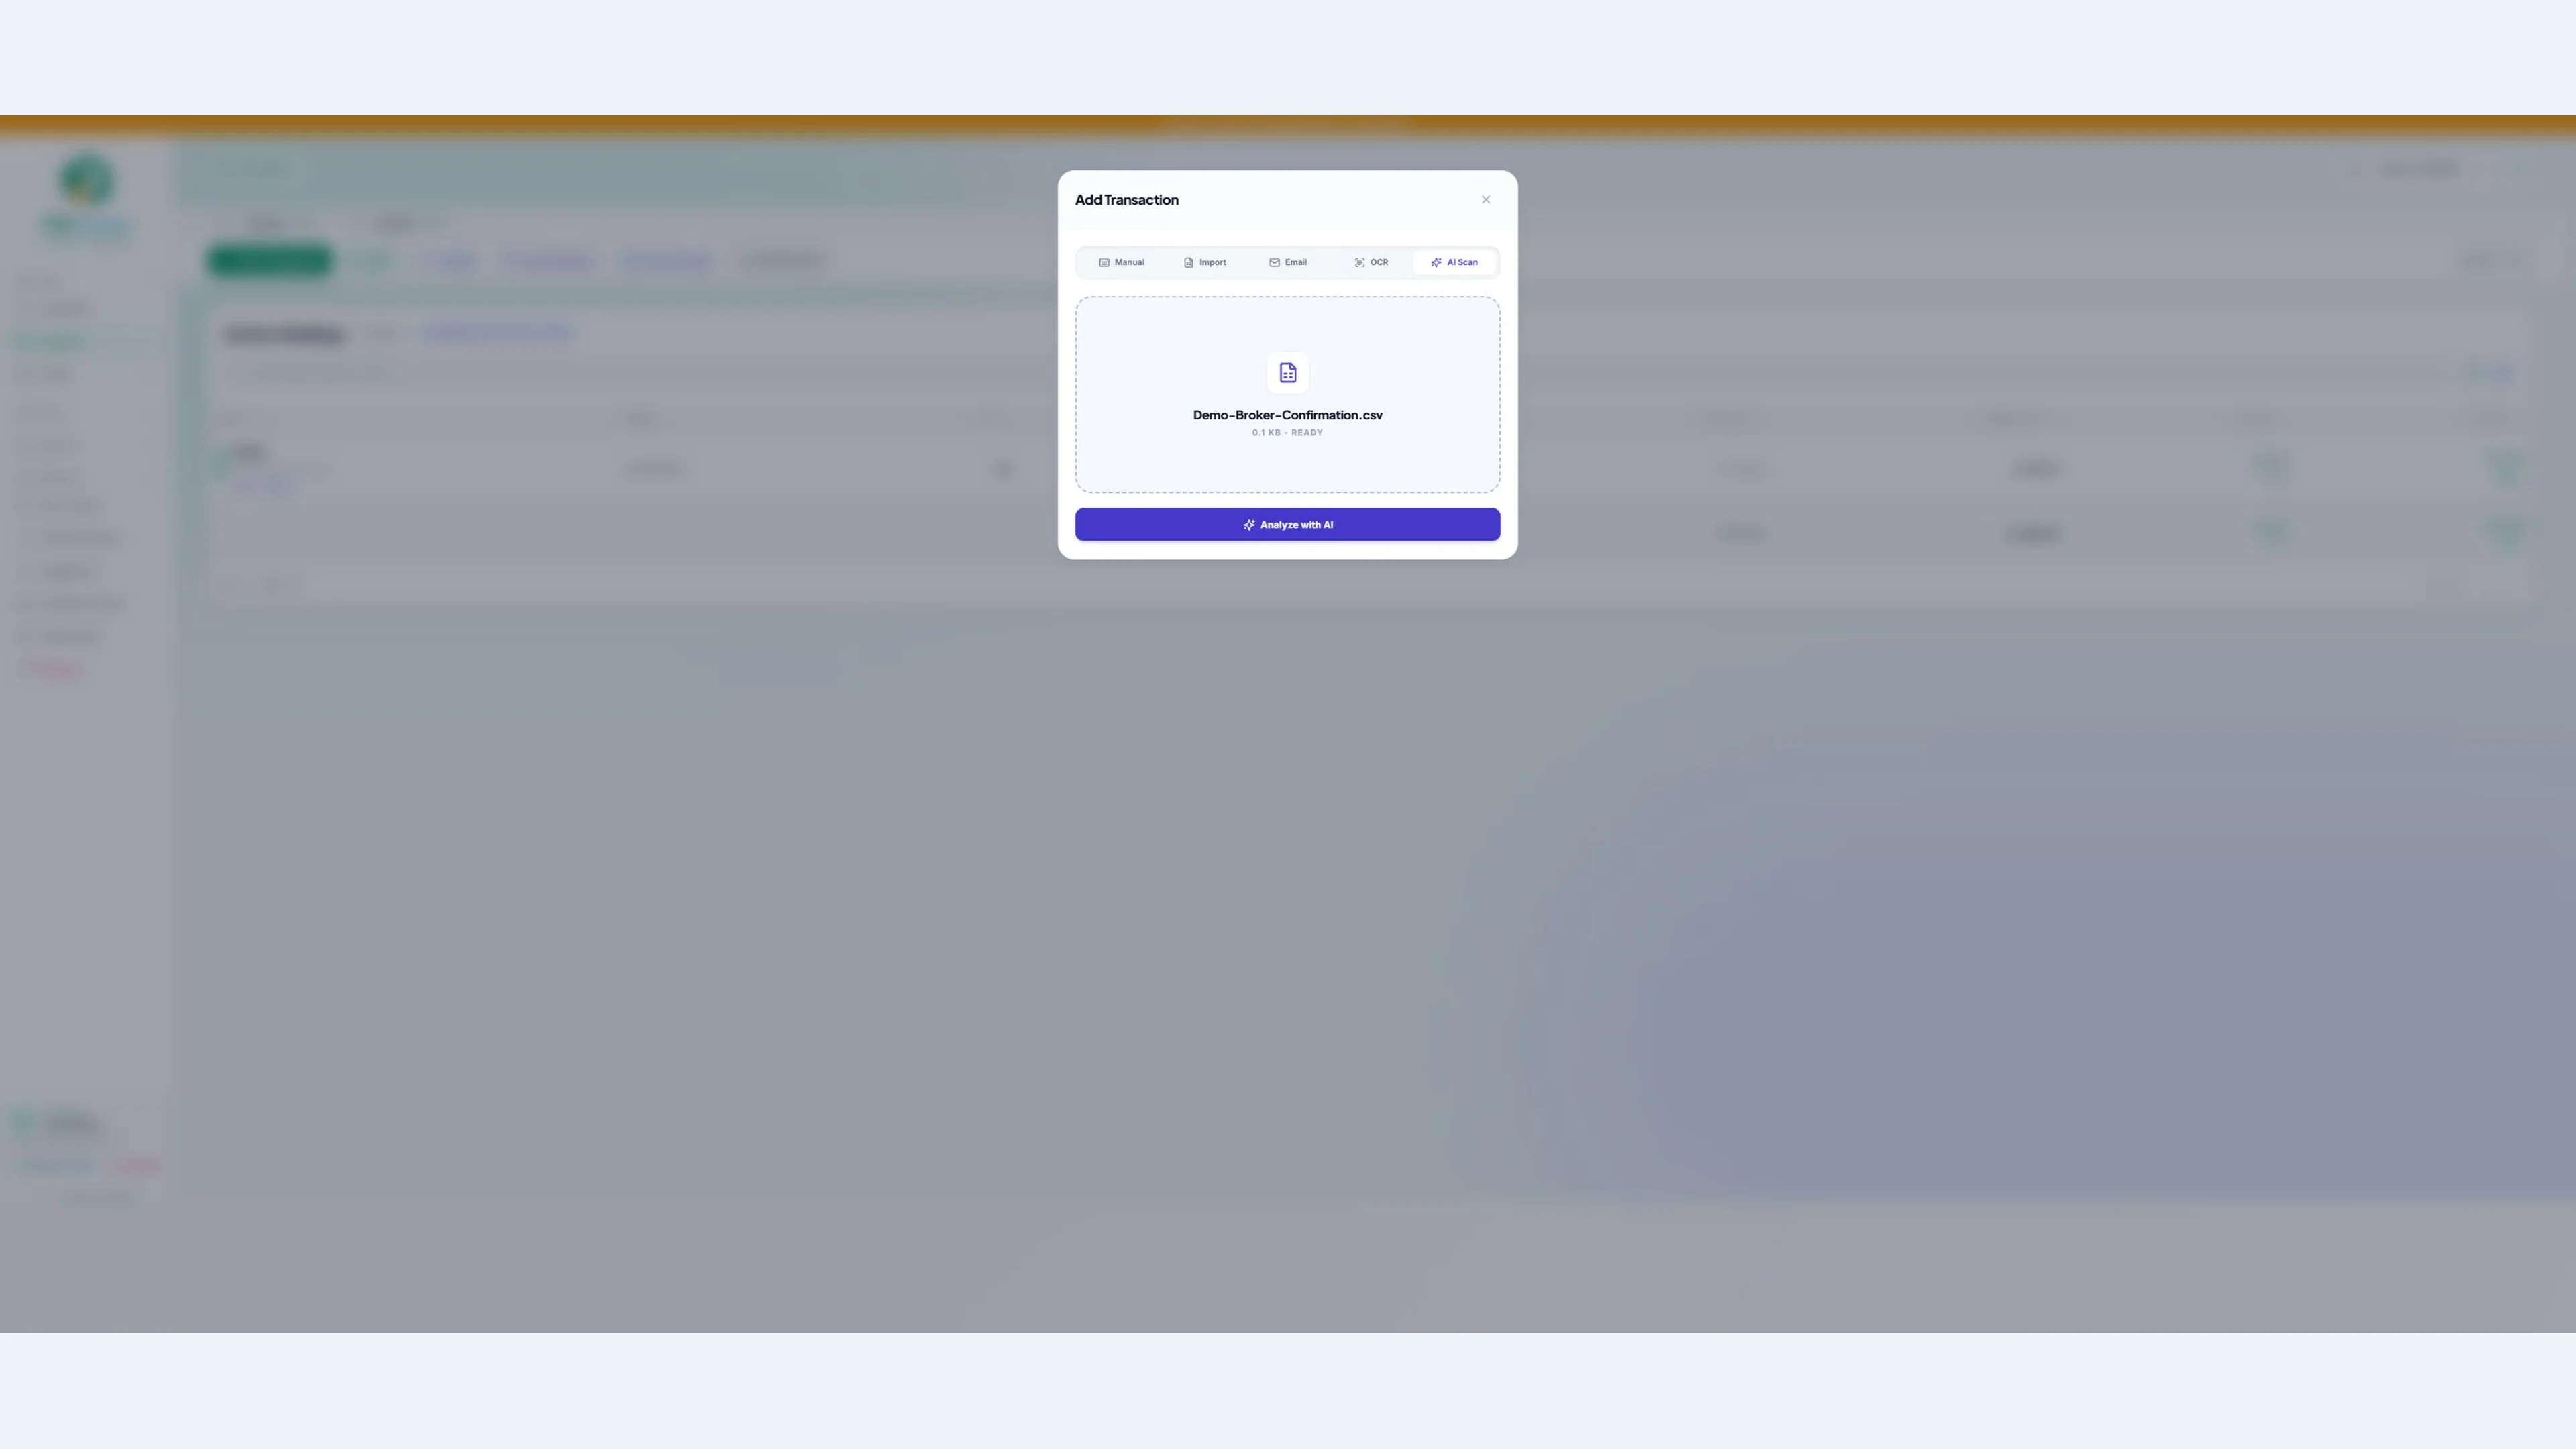
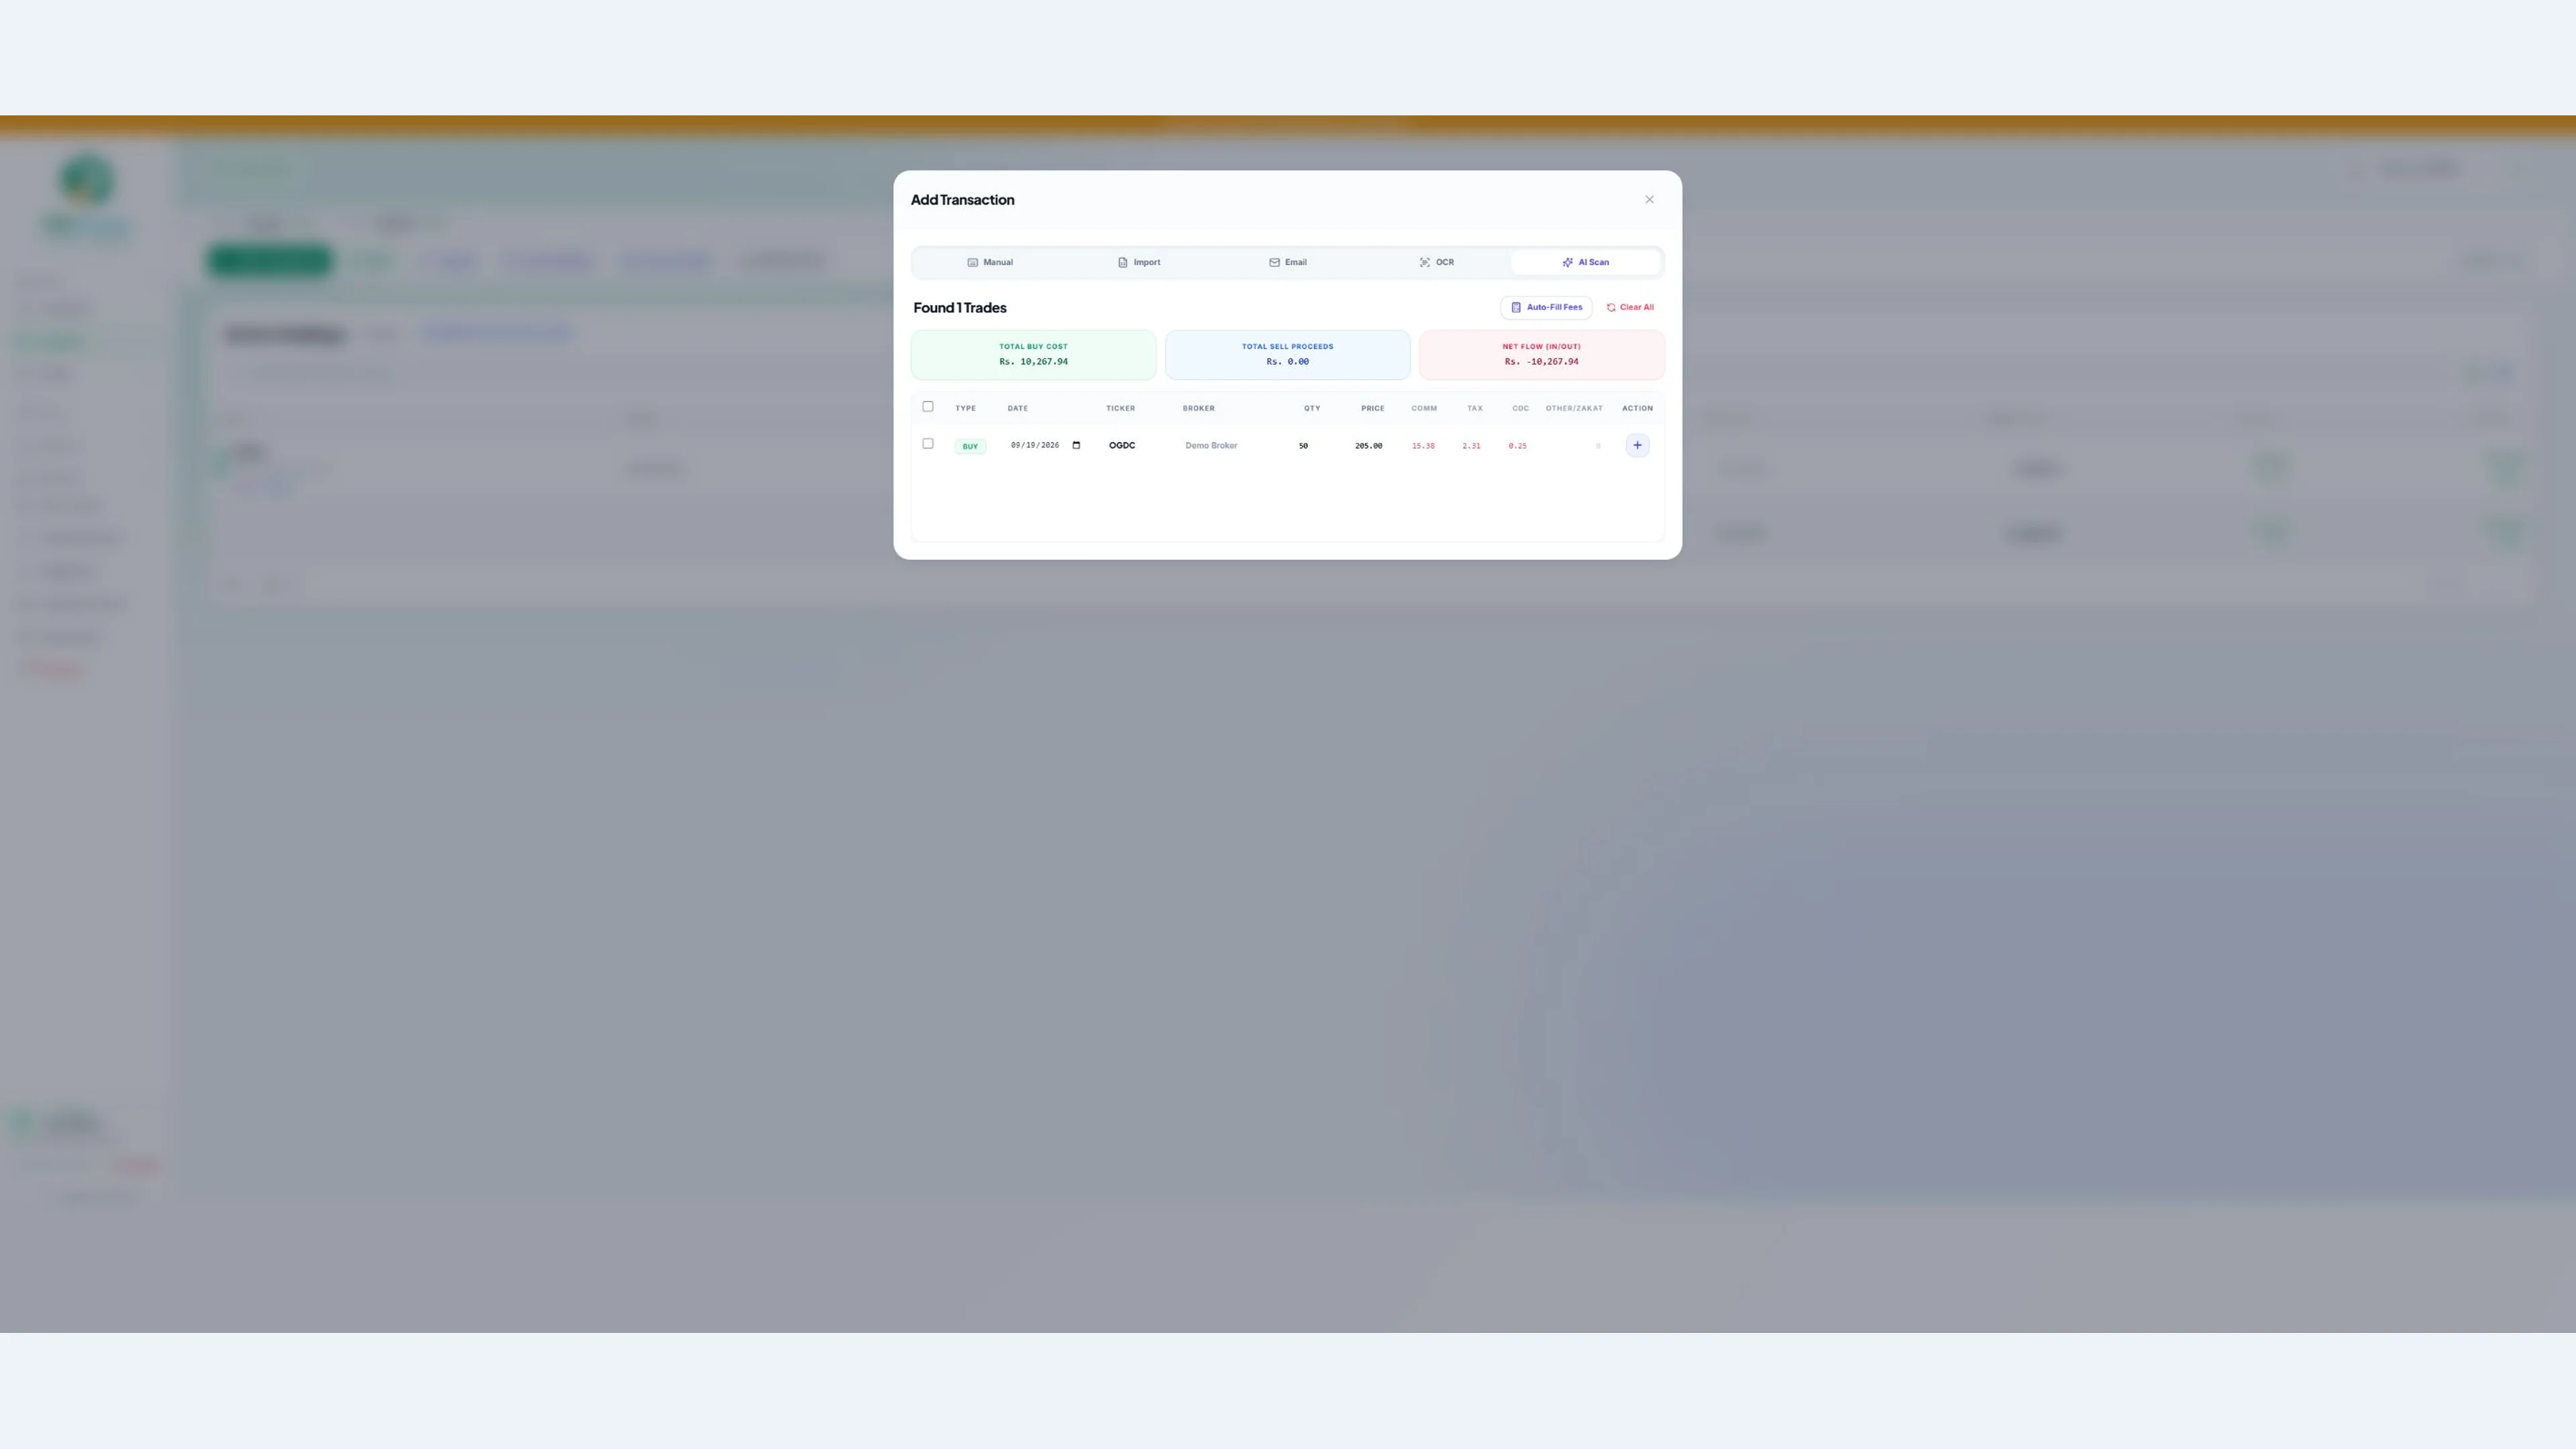
Open Add Transaction → AI Scan and select a supported confirmation file, such as a screenshot, PDF, Excel or CSV document. Choose Analyze with AI. The app sends the selected document to Google for processing and prepares transaction rows for review.
Check every extracted date, symbol, trade type, quantity, price and fee against the source document. Correct any mistakes, select only the rows you want, and use Add Selected. AI can misread a document; a successful scan does not mean that every value is correct.
Avoid importing the same confirmation twice. Compare the proposed rows with your existing transaction history before adding them.
7. Import a broker email attachment
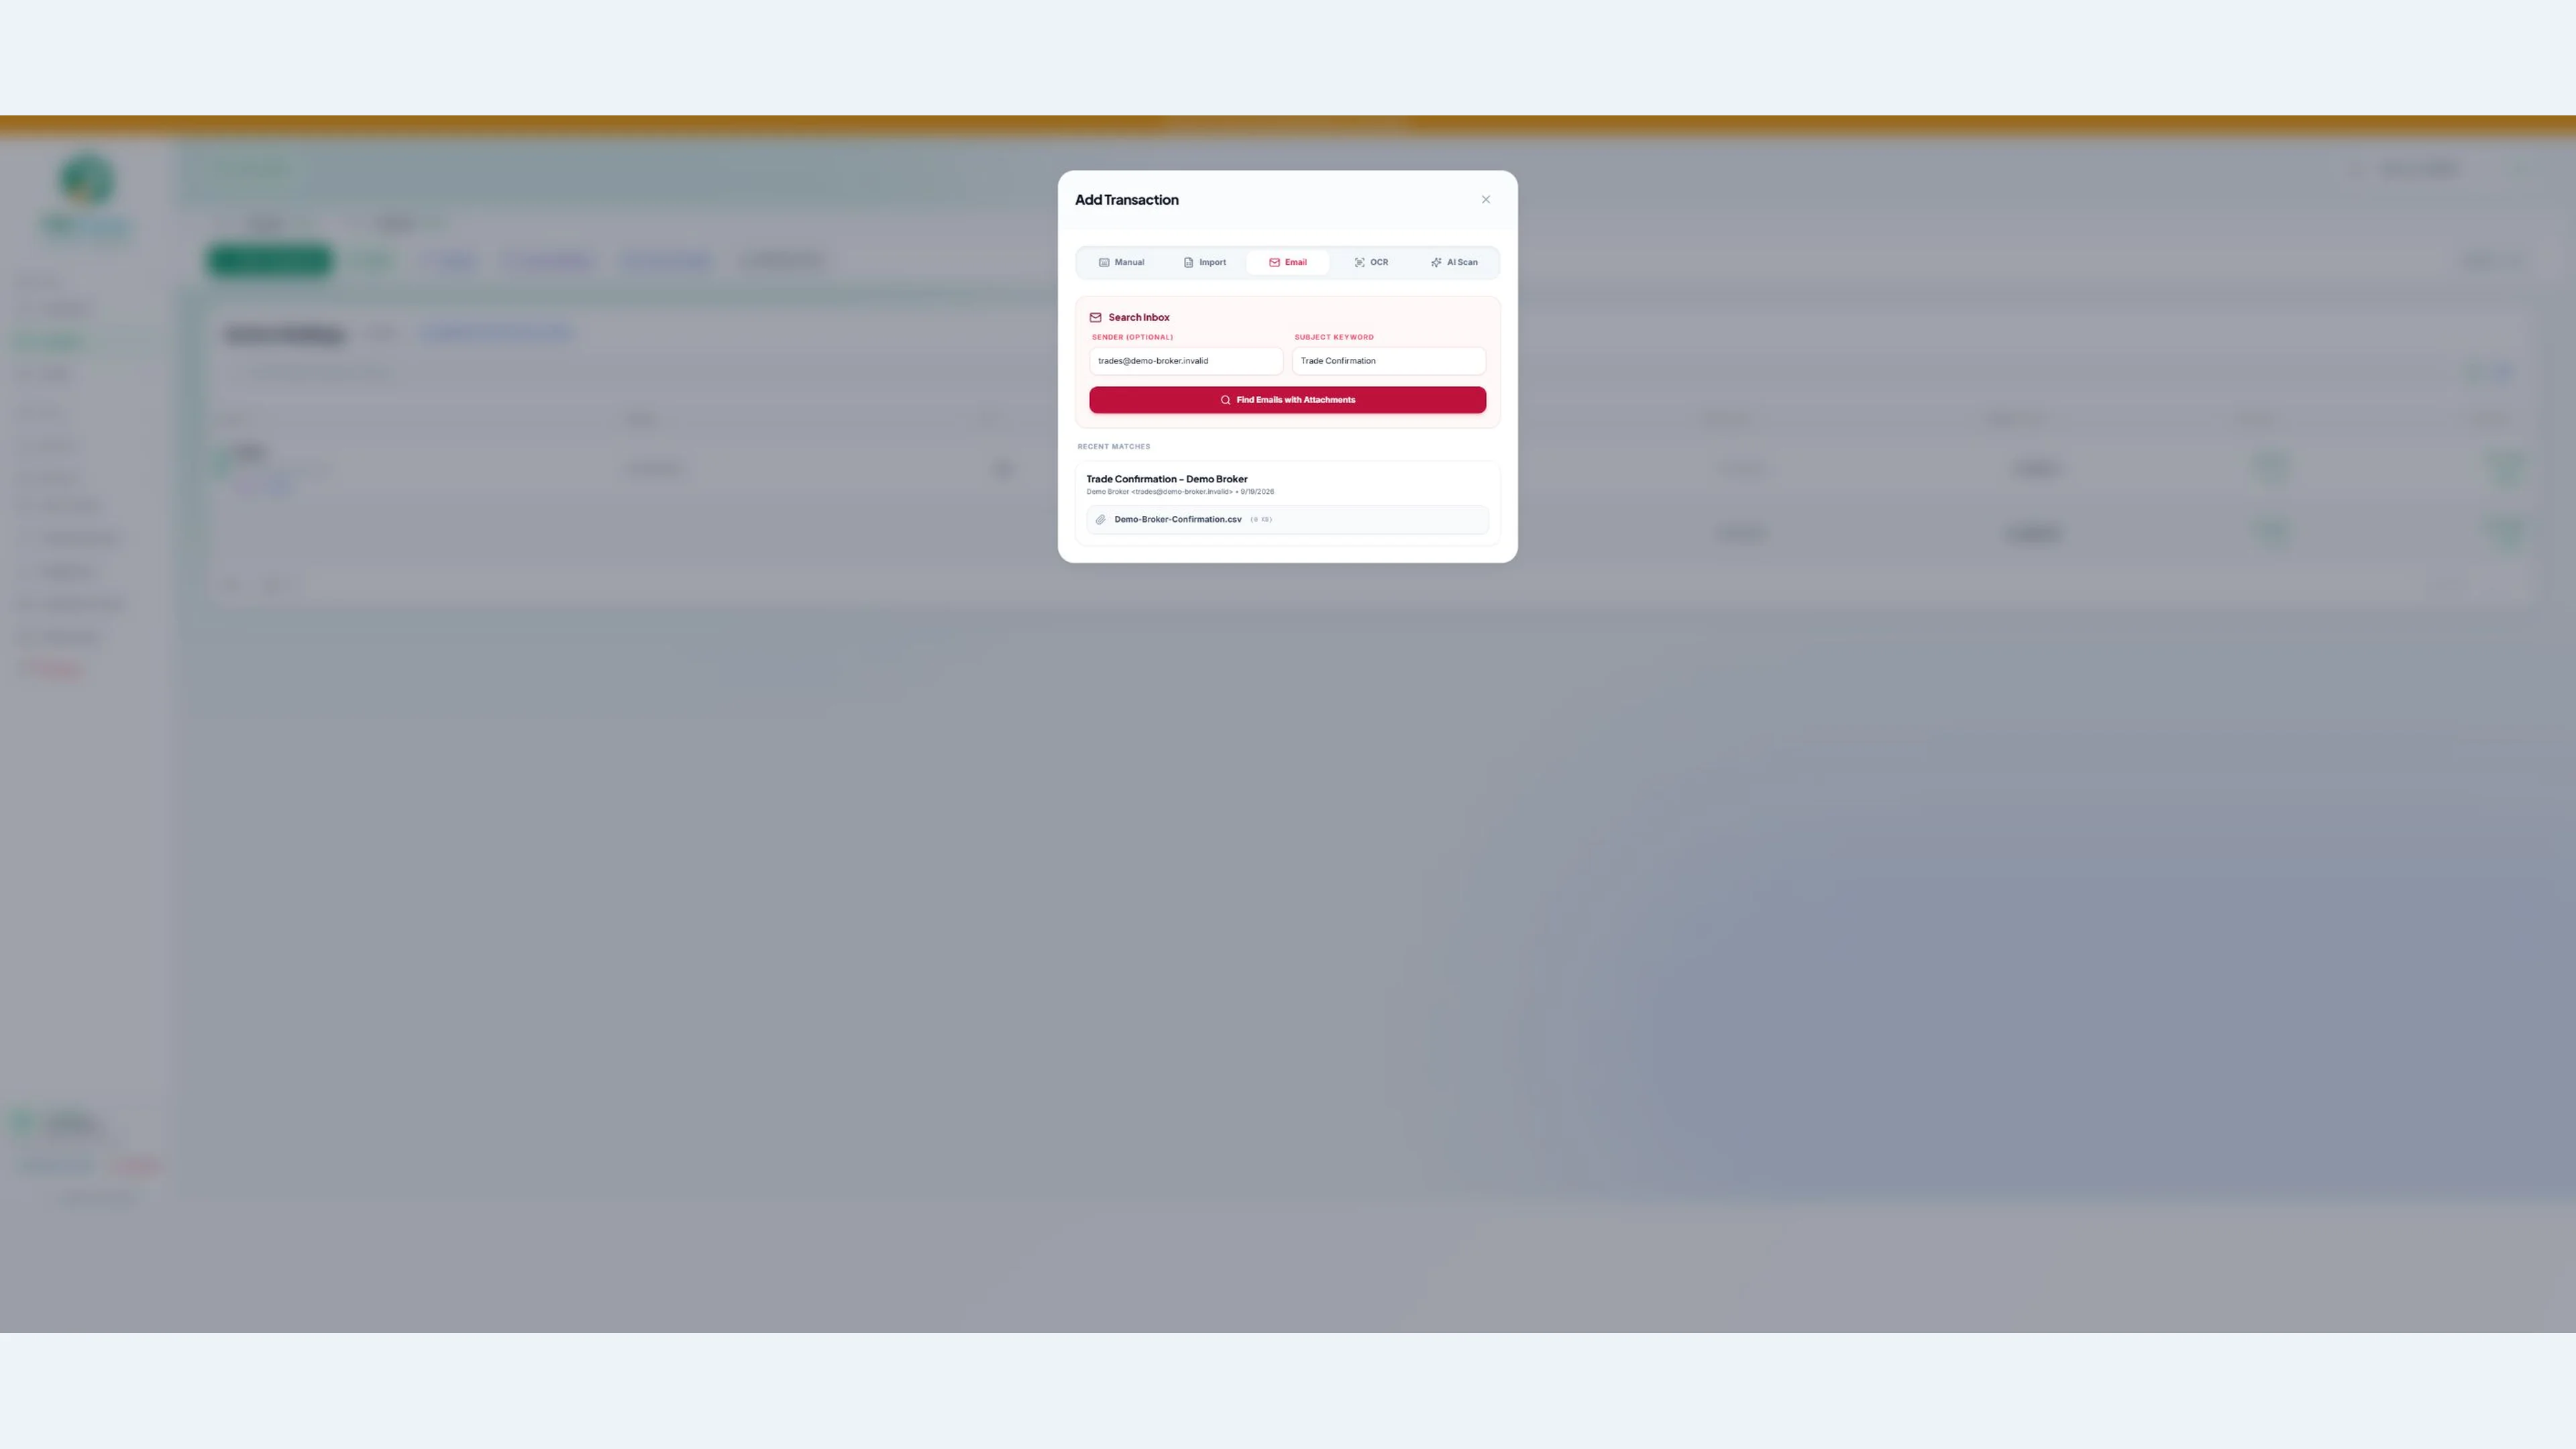
Open Add Transaction → Email. Enter the broker's sender address and a useful subject keyword, then choose Find Emails with Attachments. If Google requests Gmail access, review the permissions for the account containing your broker emails.
Select the relevant email attachment. It opens in the AI scan workflow using the Gemini key you saved earlier. Analyse the attachment, check the extracted rows and add only new trades. This is a user-initiated import of selected documents, not an automatic broker-account connection.
If no matching emails appear, check the account, sender address, keyword and whether the message contains a supported attachment. You can also download the document yourself and use AI Scan.
8. Keep your records backed up
When Drive sync completes, your portfolio records, settings, broker configurations and saved API keys are included in a backup in your own Google Drive. A local copy also remains on your device. Check the green Synced status and save time before moving to another device, then sign in with the same account there.
The backup is not made public by PSX Tracker. Access follows your Google account permissions, including access you grant to the app. Login, alert and connection records are stored separately to run those features.
If a save is pending, keep the app open and review the sync message. Preserve unsynced changes before replacing local records. Contact support if you are unsure which copy is newer. See the privacy page for the full explanation of storage and processing.
Dashboard and portfolios
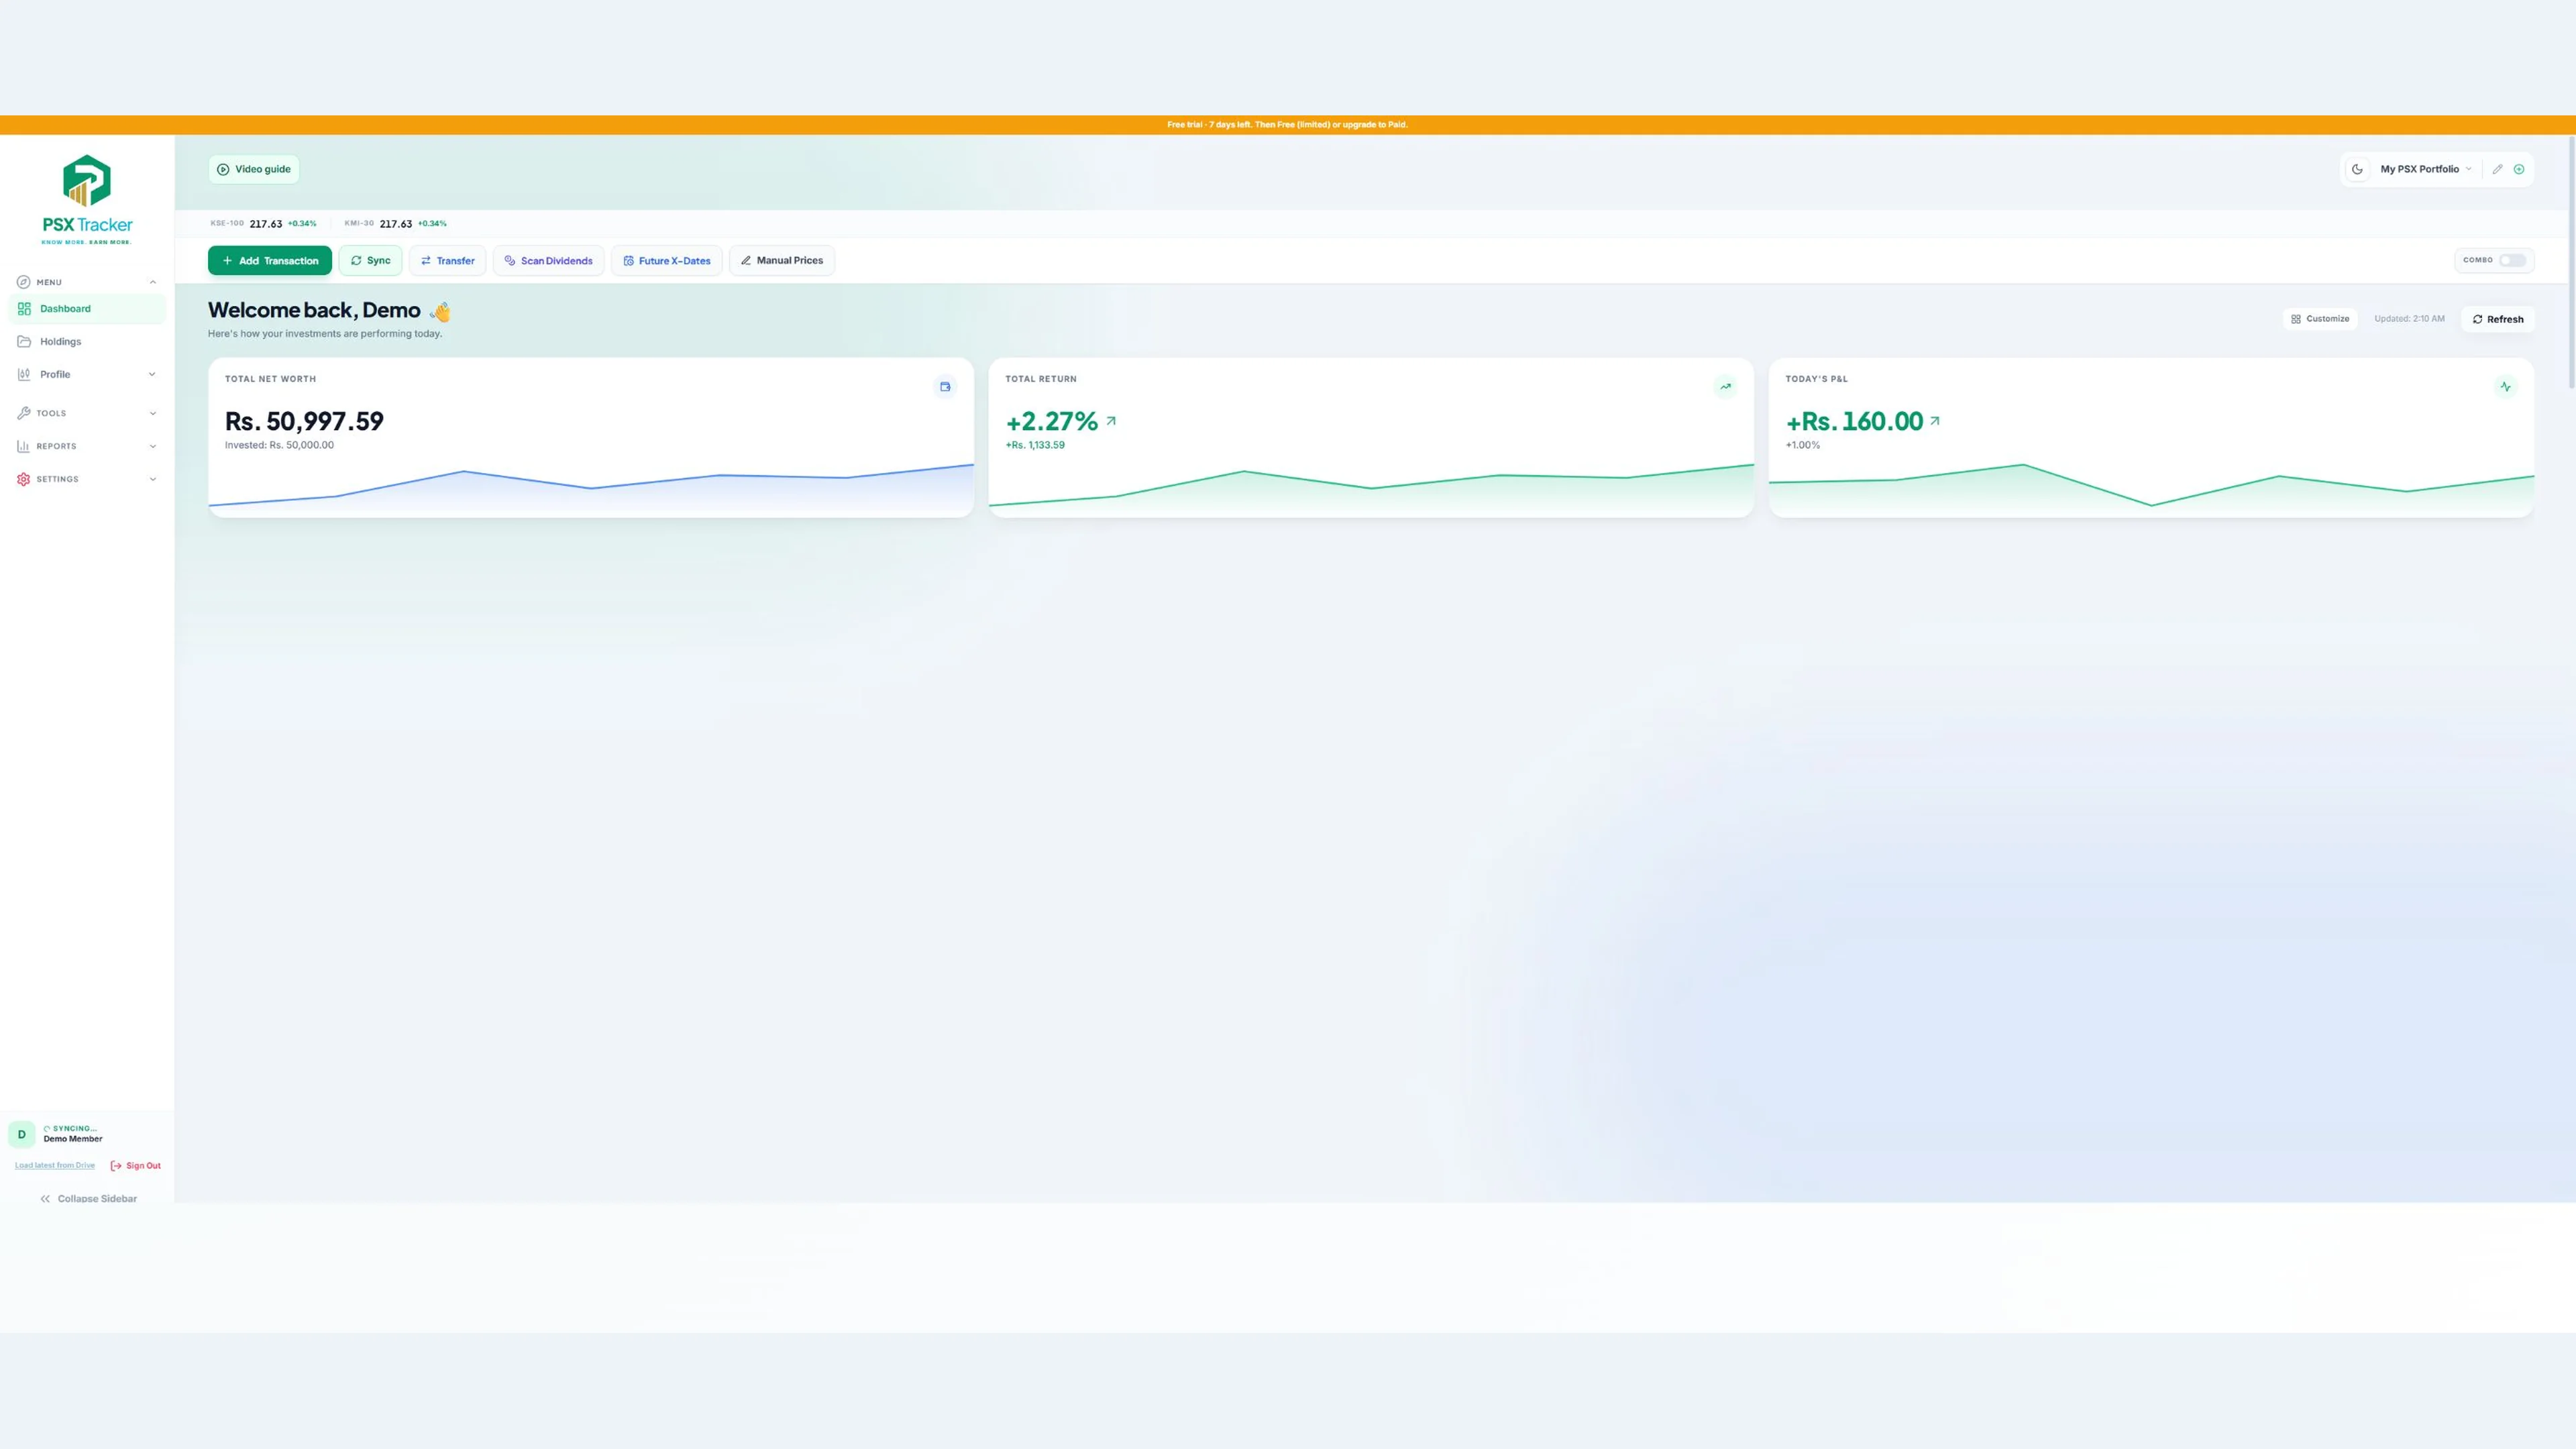
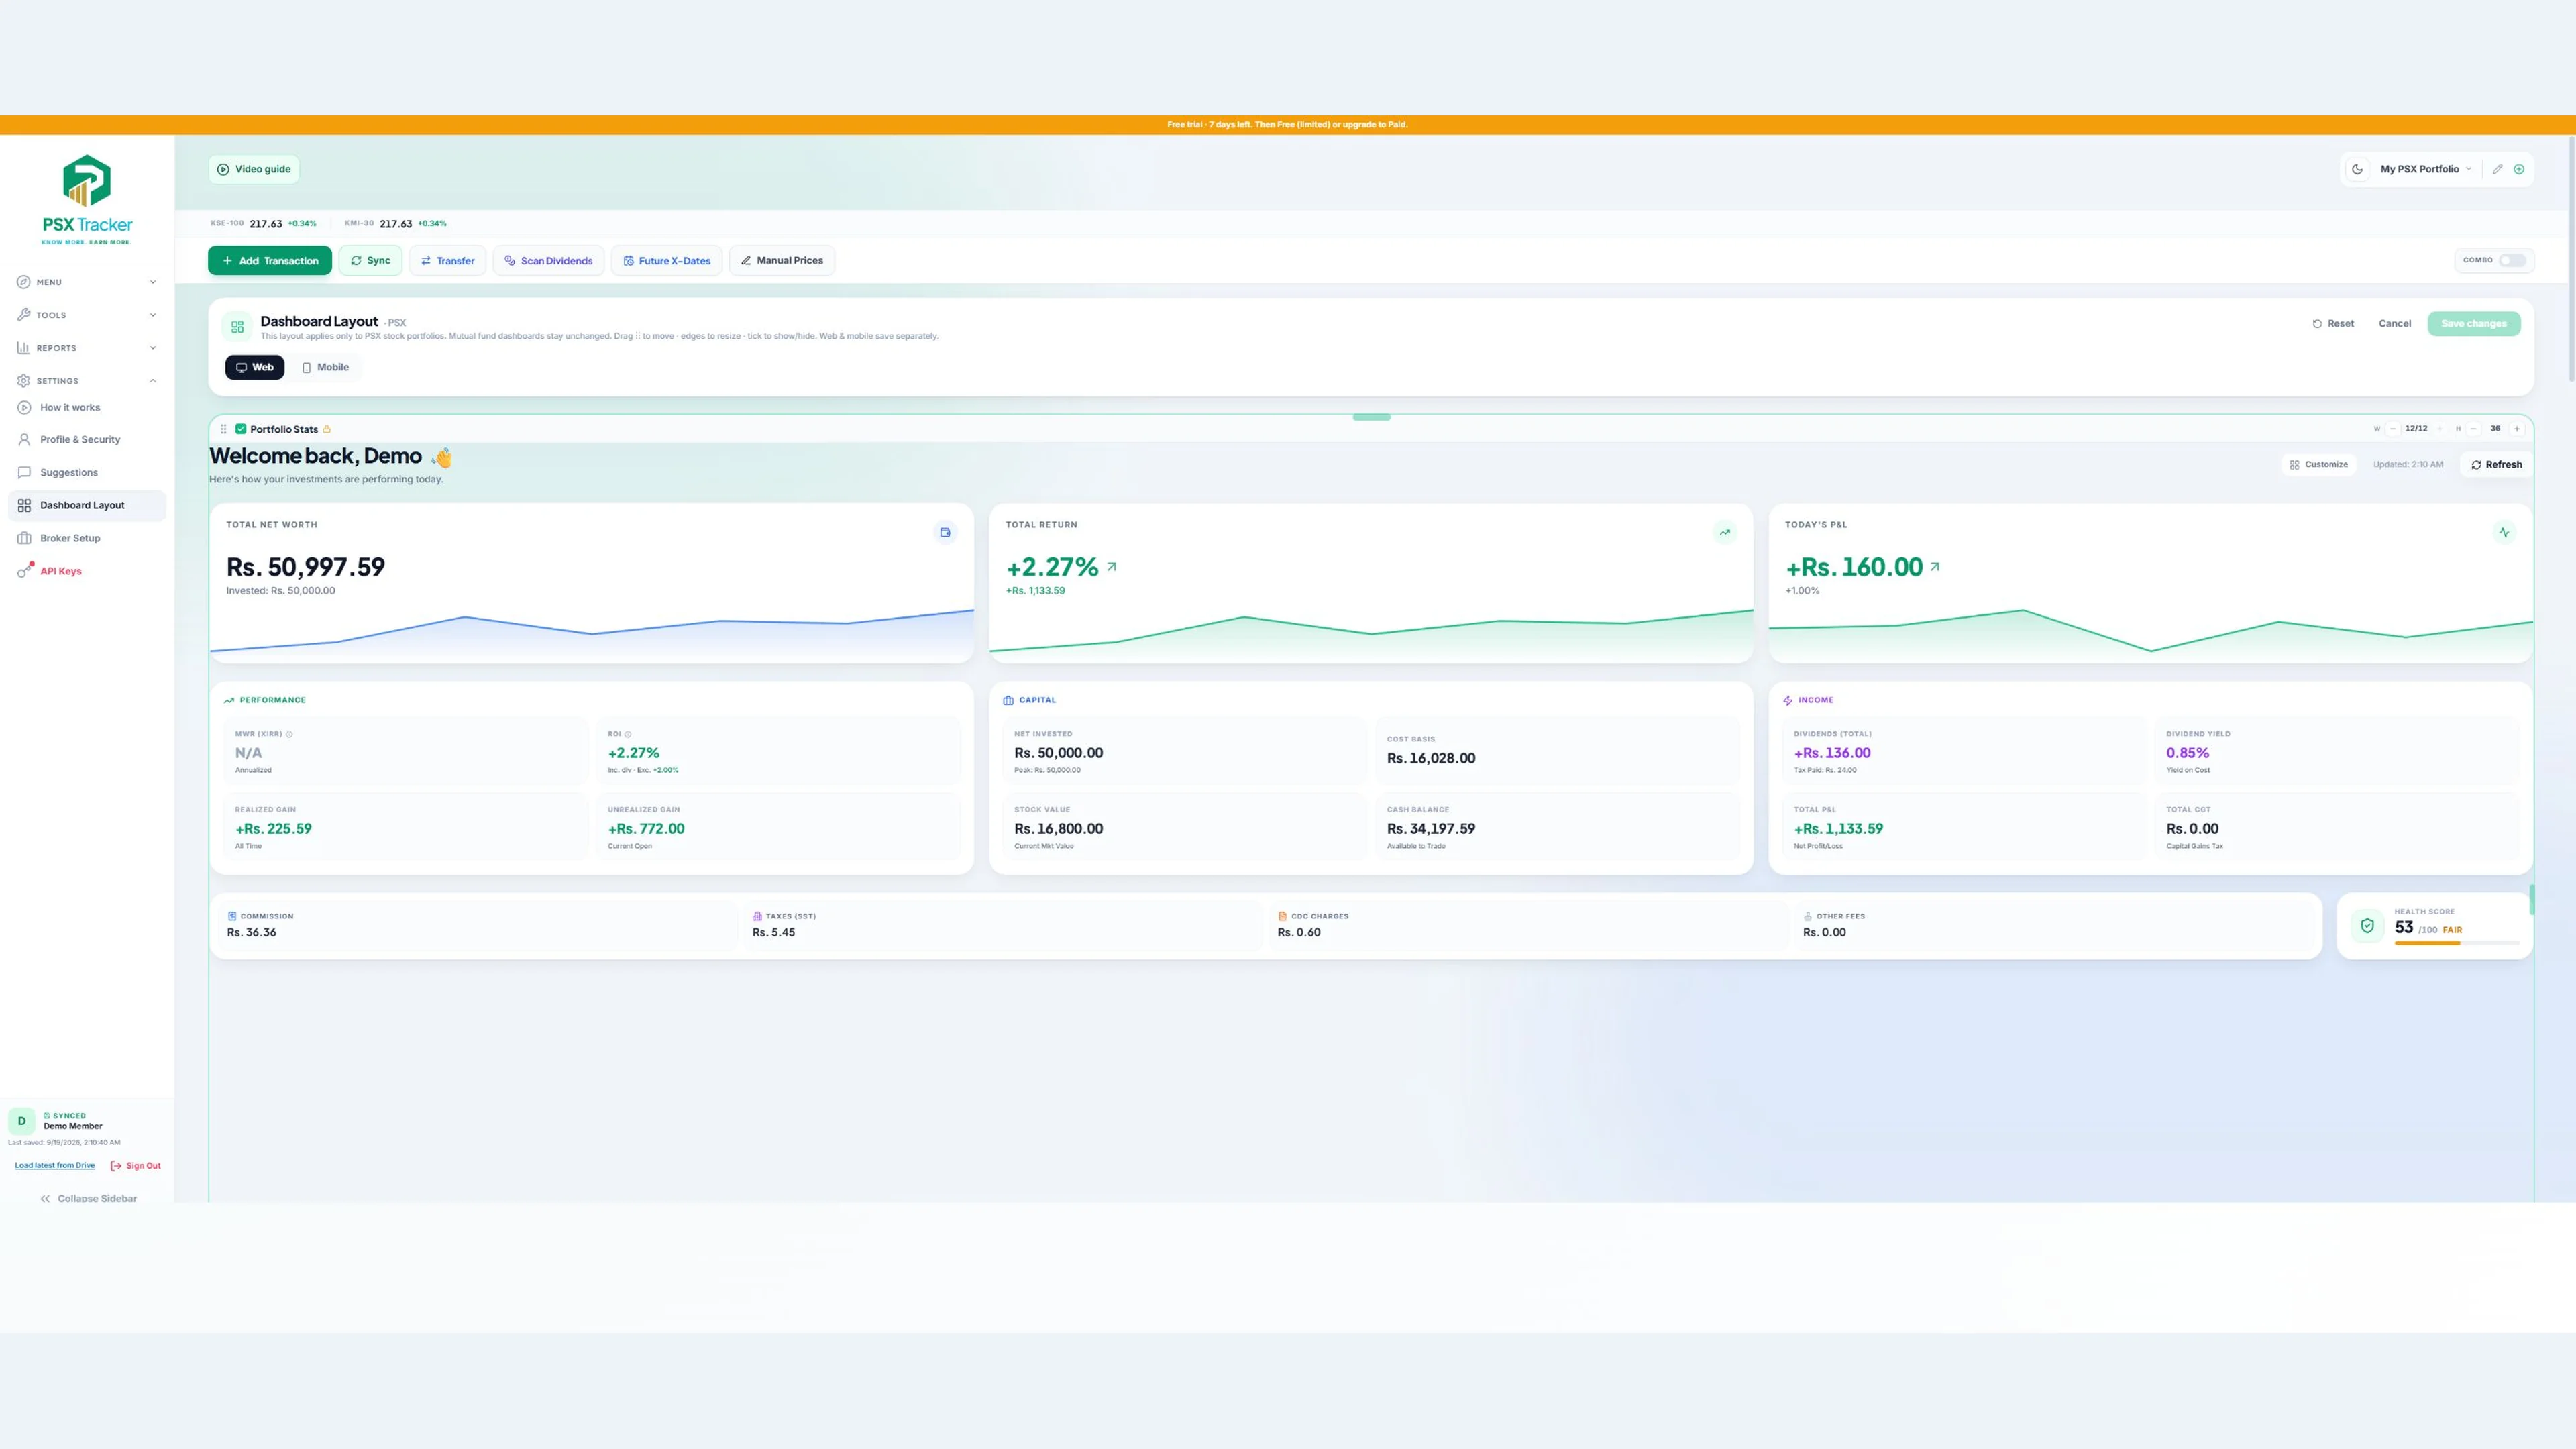
Use the dashboard for a summary of your records and portfolio performance. Switch portfolios to keep separate strategies or accounts organised. Dashboard layout settings let you arrange the available views around the information you use most.
Mutual funds
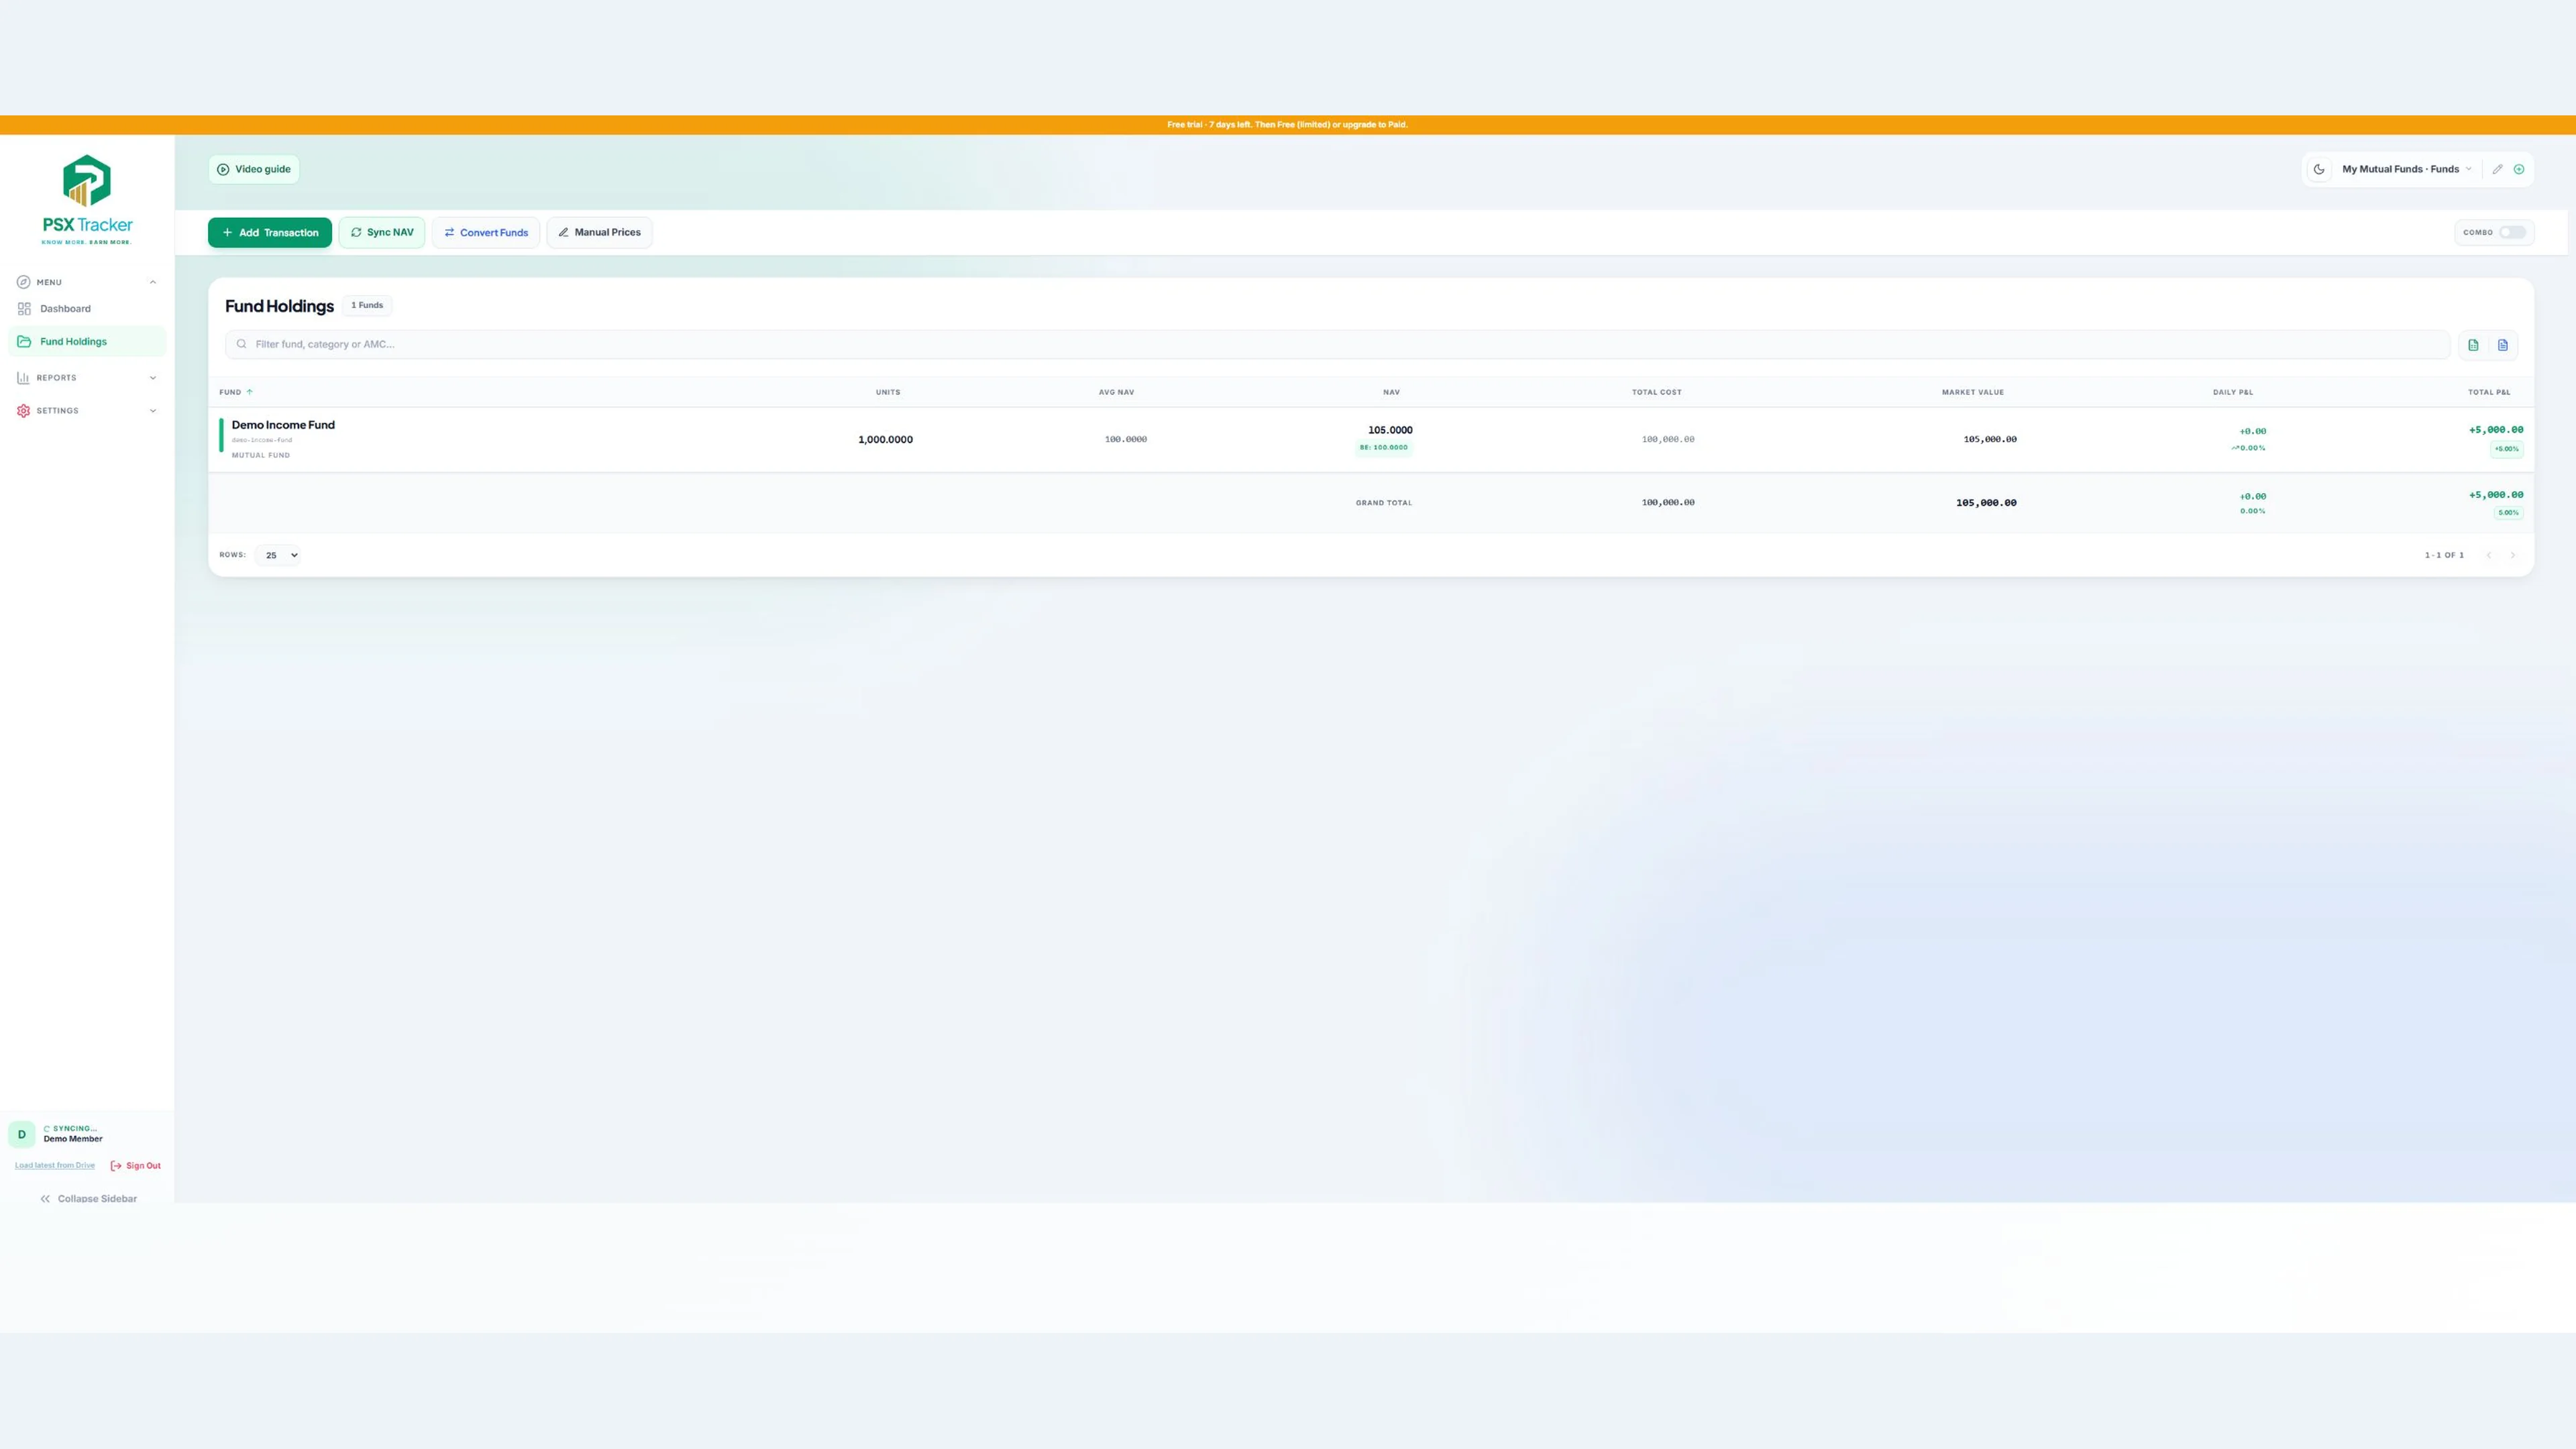
Create a Mutual Funds portfolio, record unit purchases and redemptions, and review units, average cost and value using the available NAV. NAV sync and daily changes depend on the fund data available to the app; check the displayed date when comparing figures with a fund statement.
Stock and sector profiles
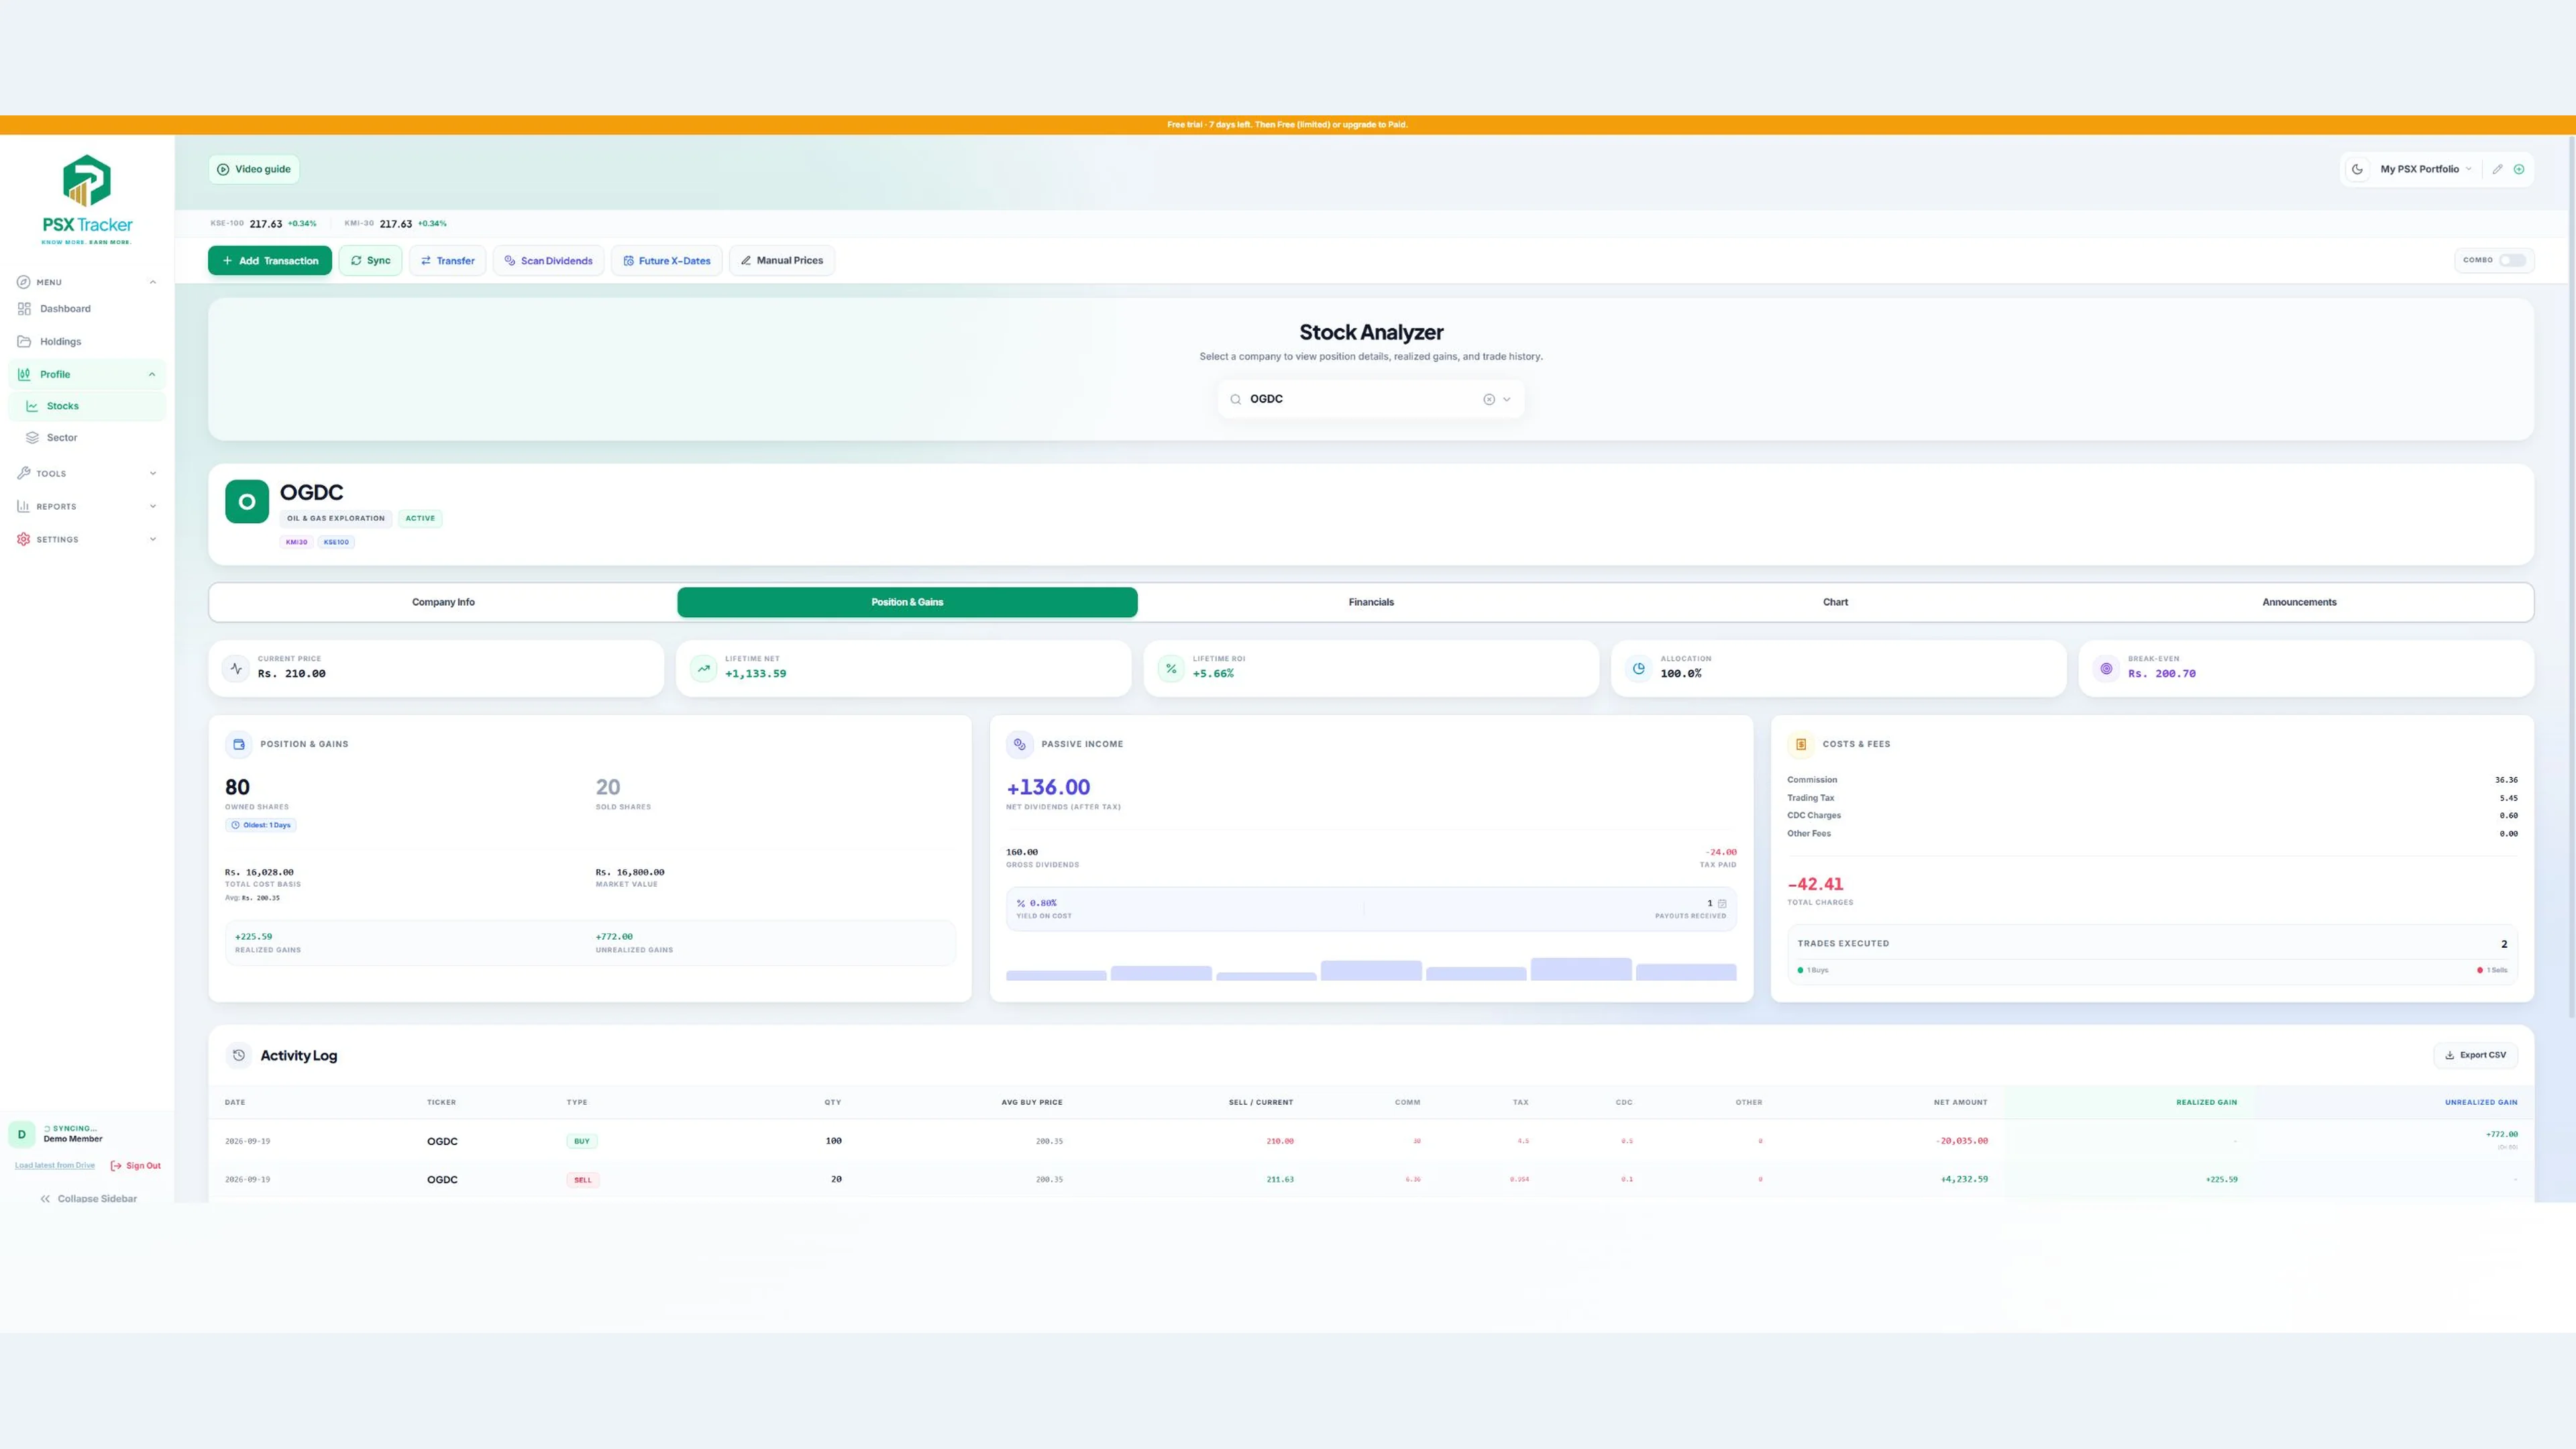
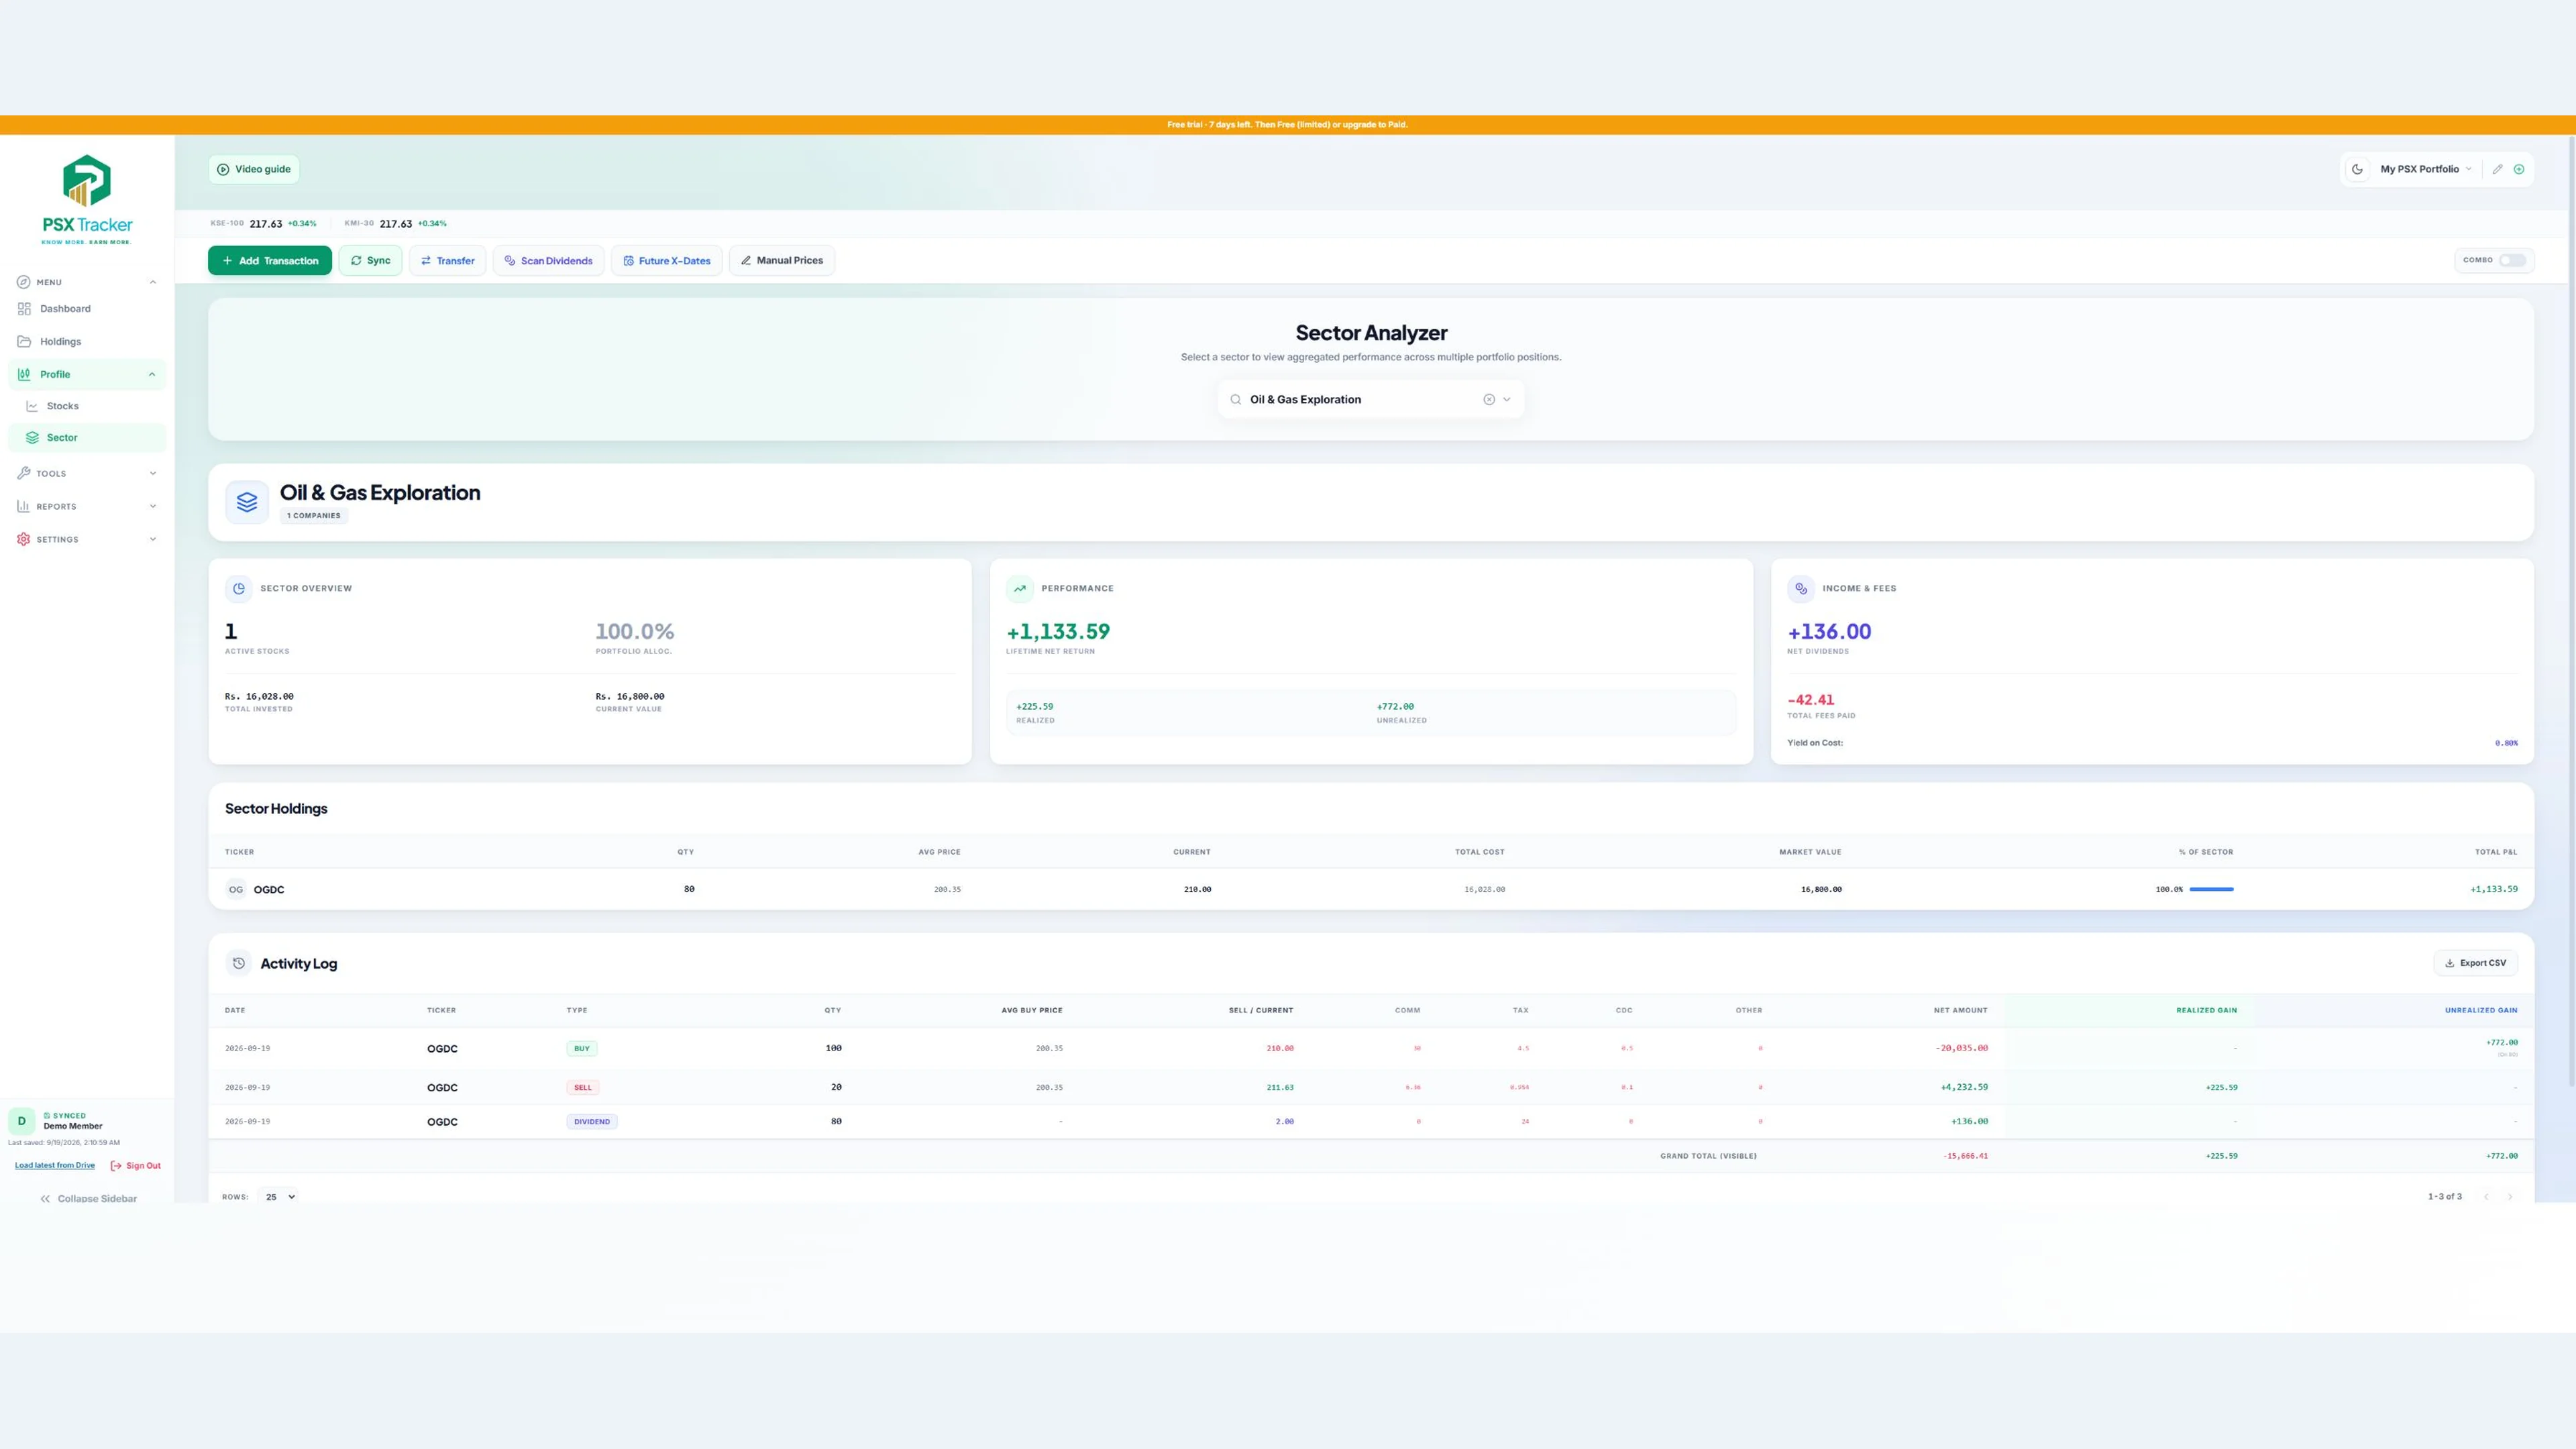
Open stock profiles for price information, company financials and available research data. Sector views help you explore related companies. Use these pages to investigate an idea and check context, rather than treating a single metric as a reason to trade.
Charts and technical tools
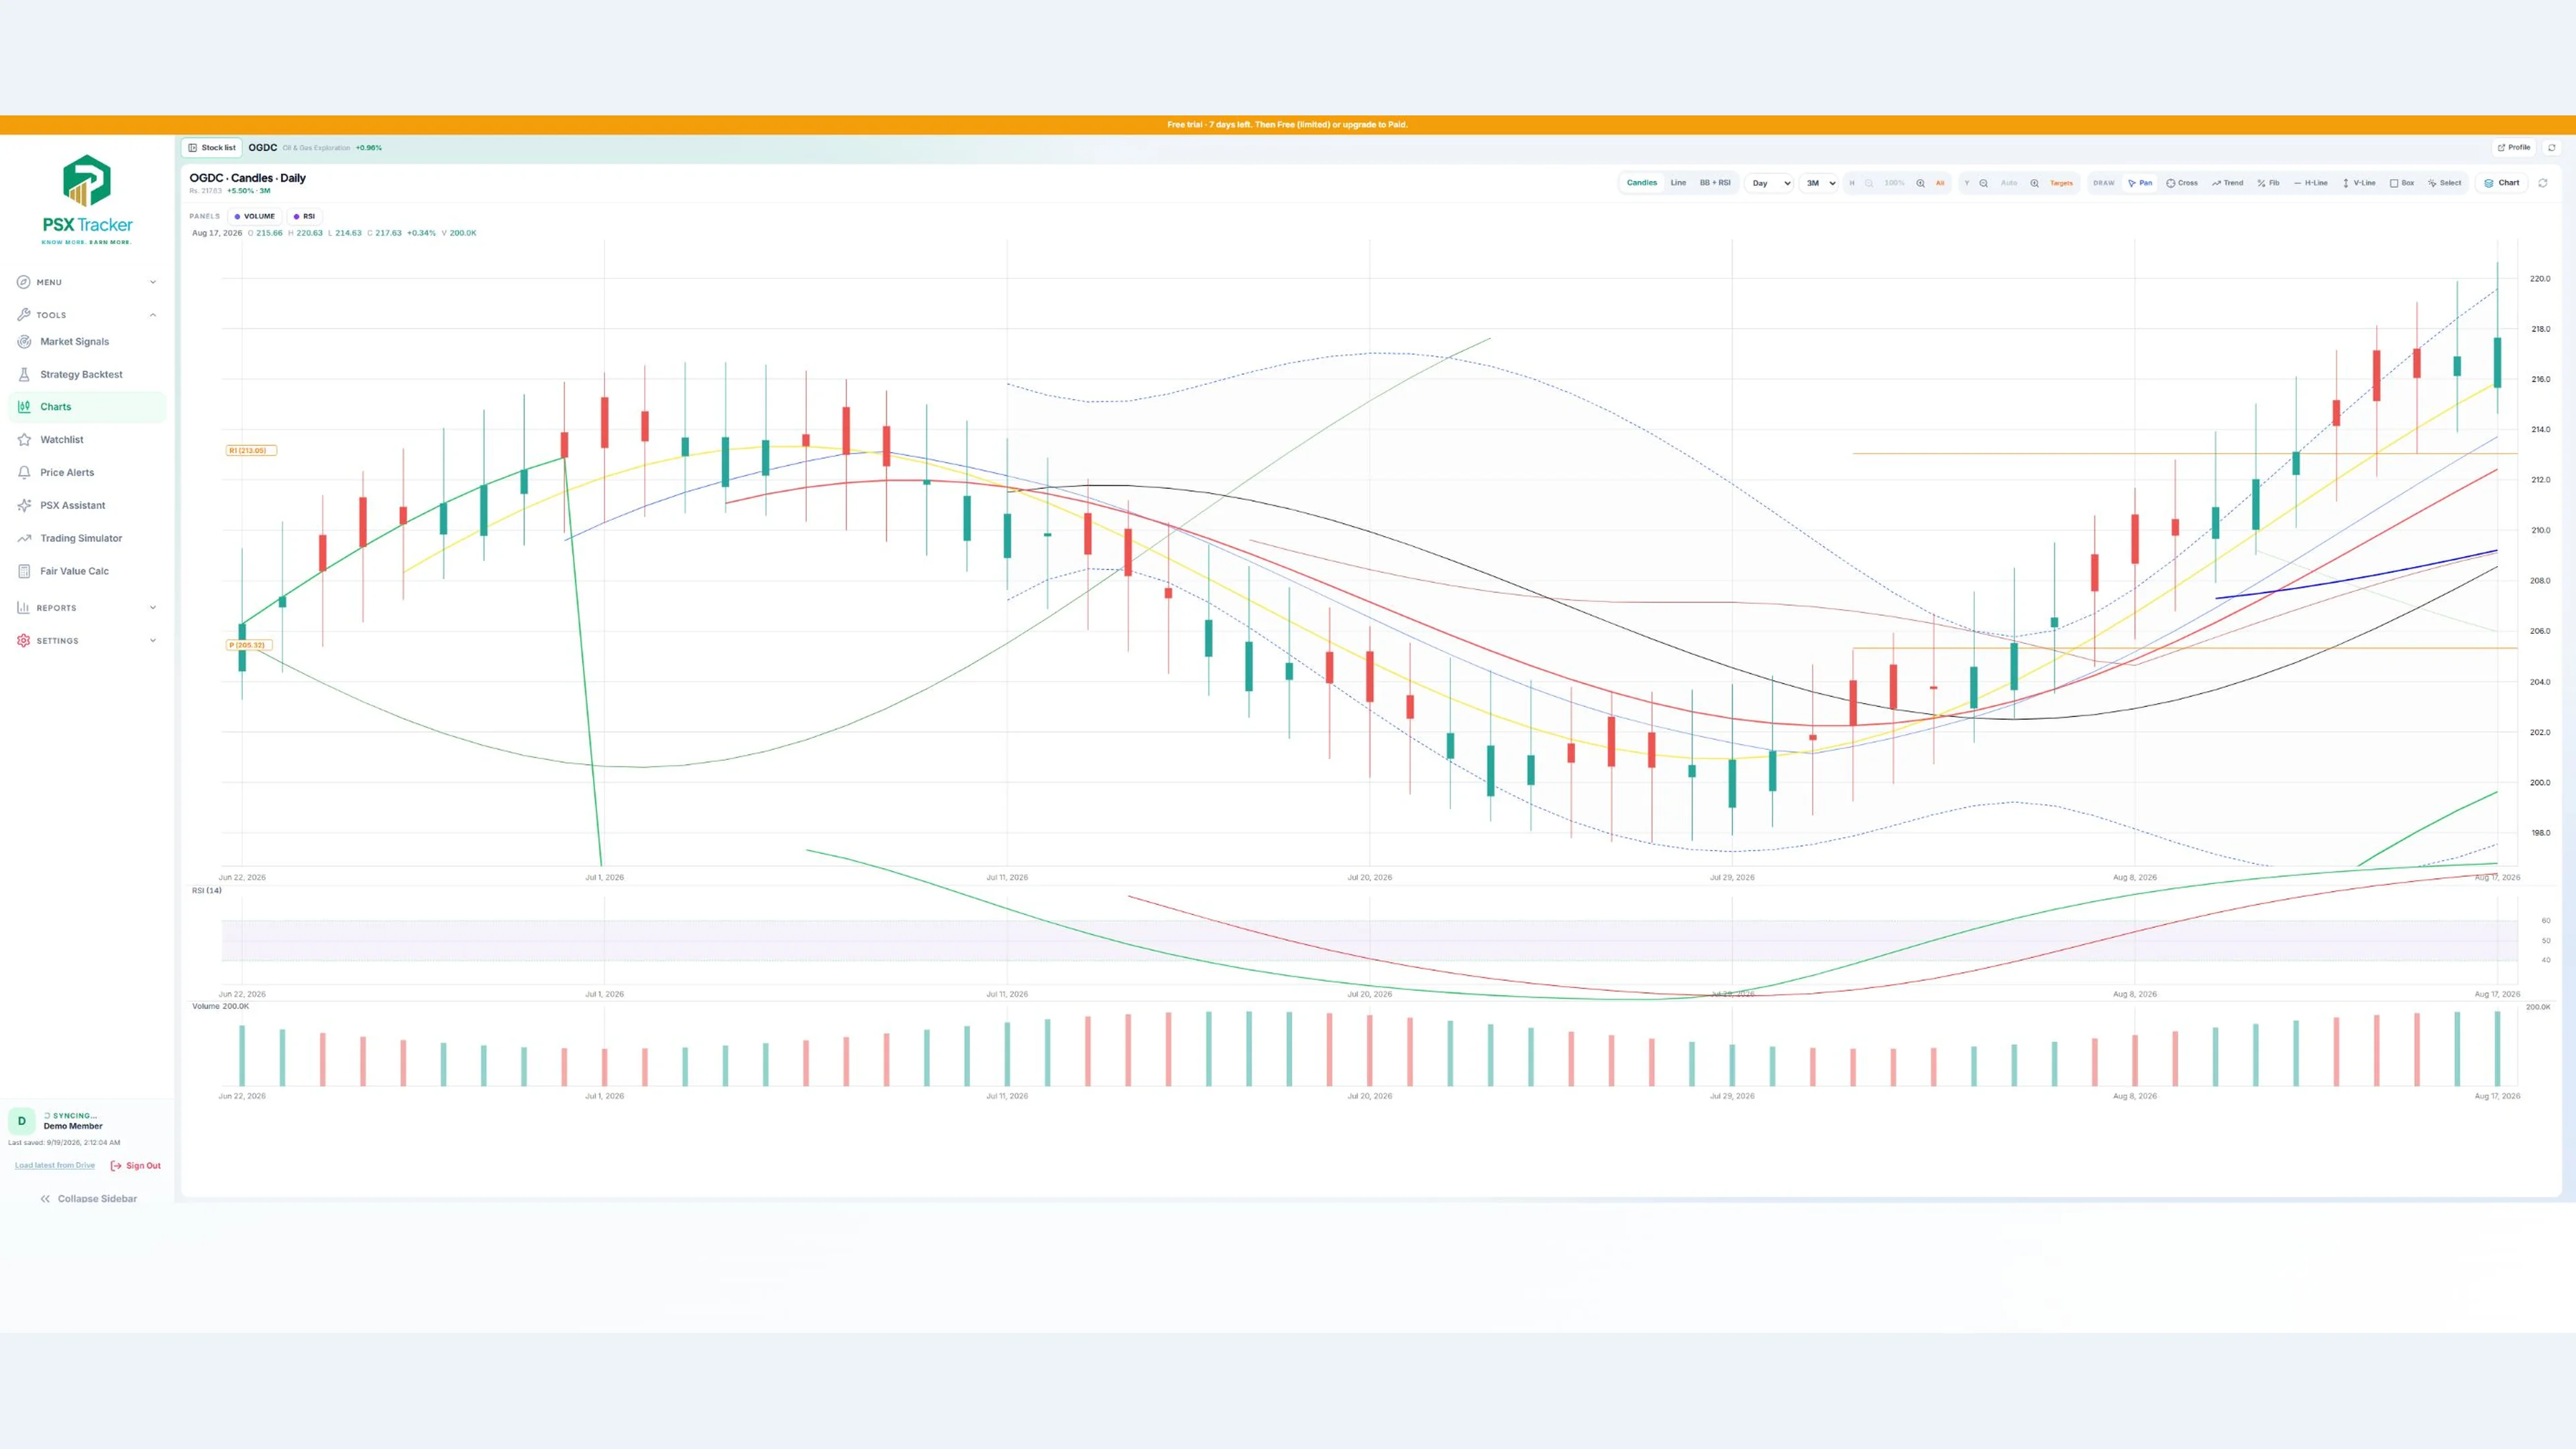
Explore candlestick charts, indicators and drawing tools to inspect price history. Moving averages, RSI and other supported indicators offer different views of price behaviour. On a phone, landscape mode can make detailed chart work easier. Historical patterns do not guarantee future performance.
Watchlists and price alerts
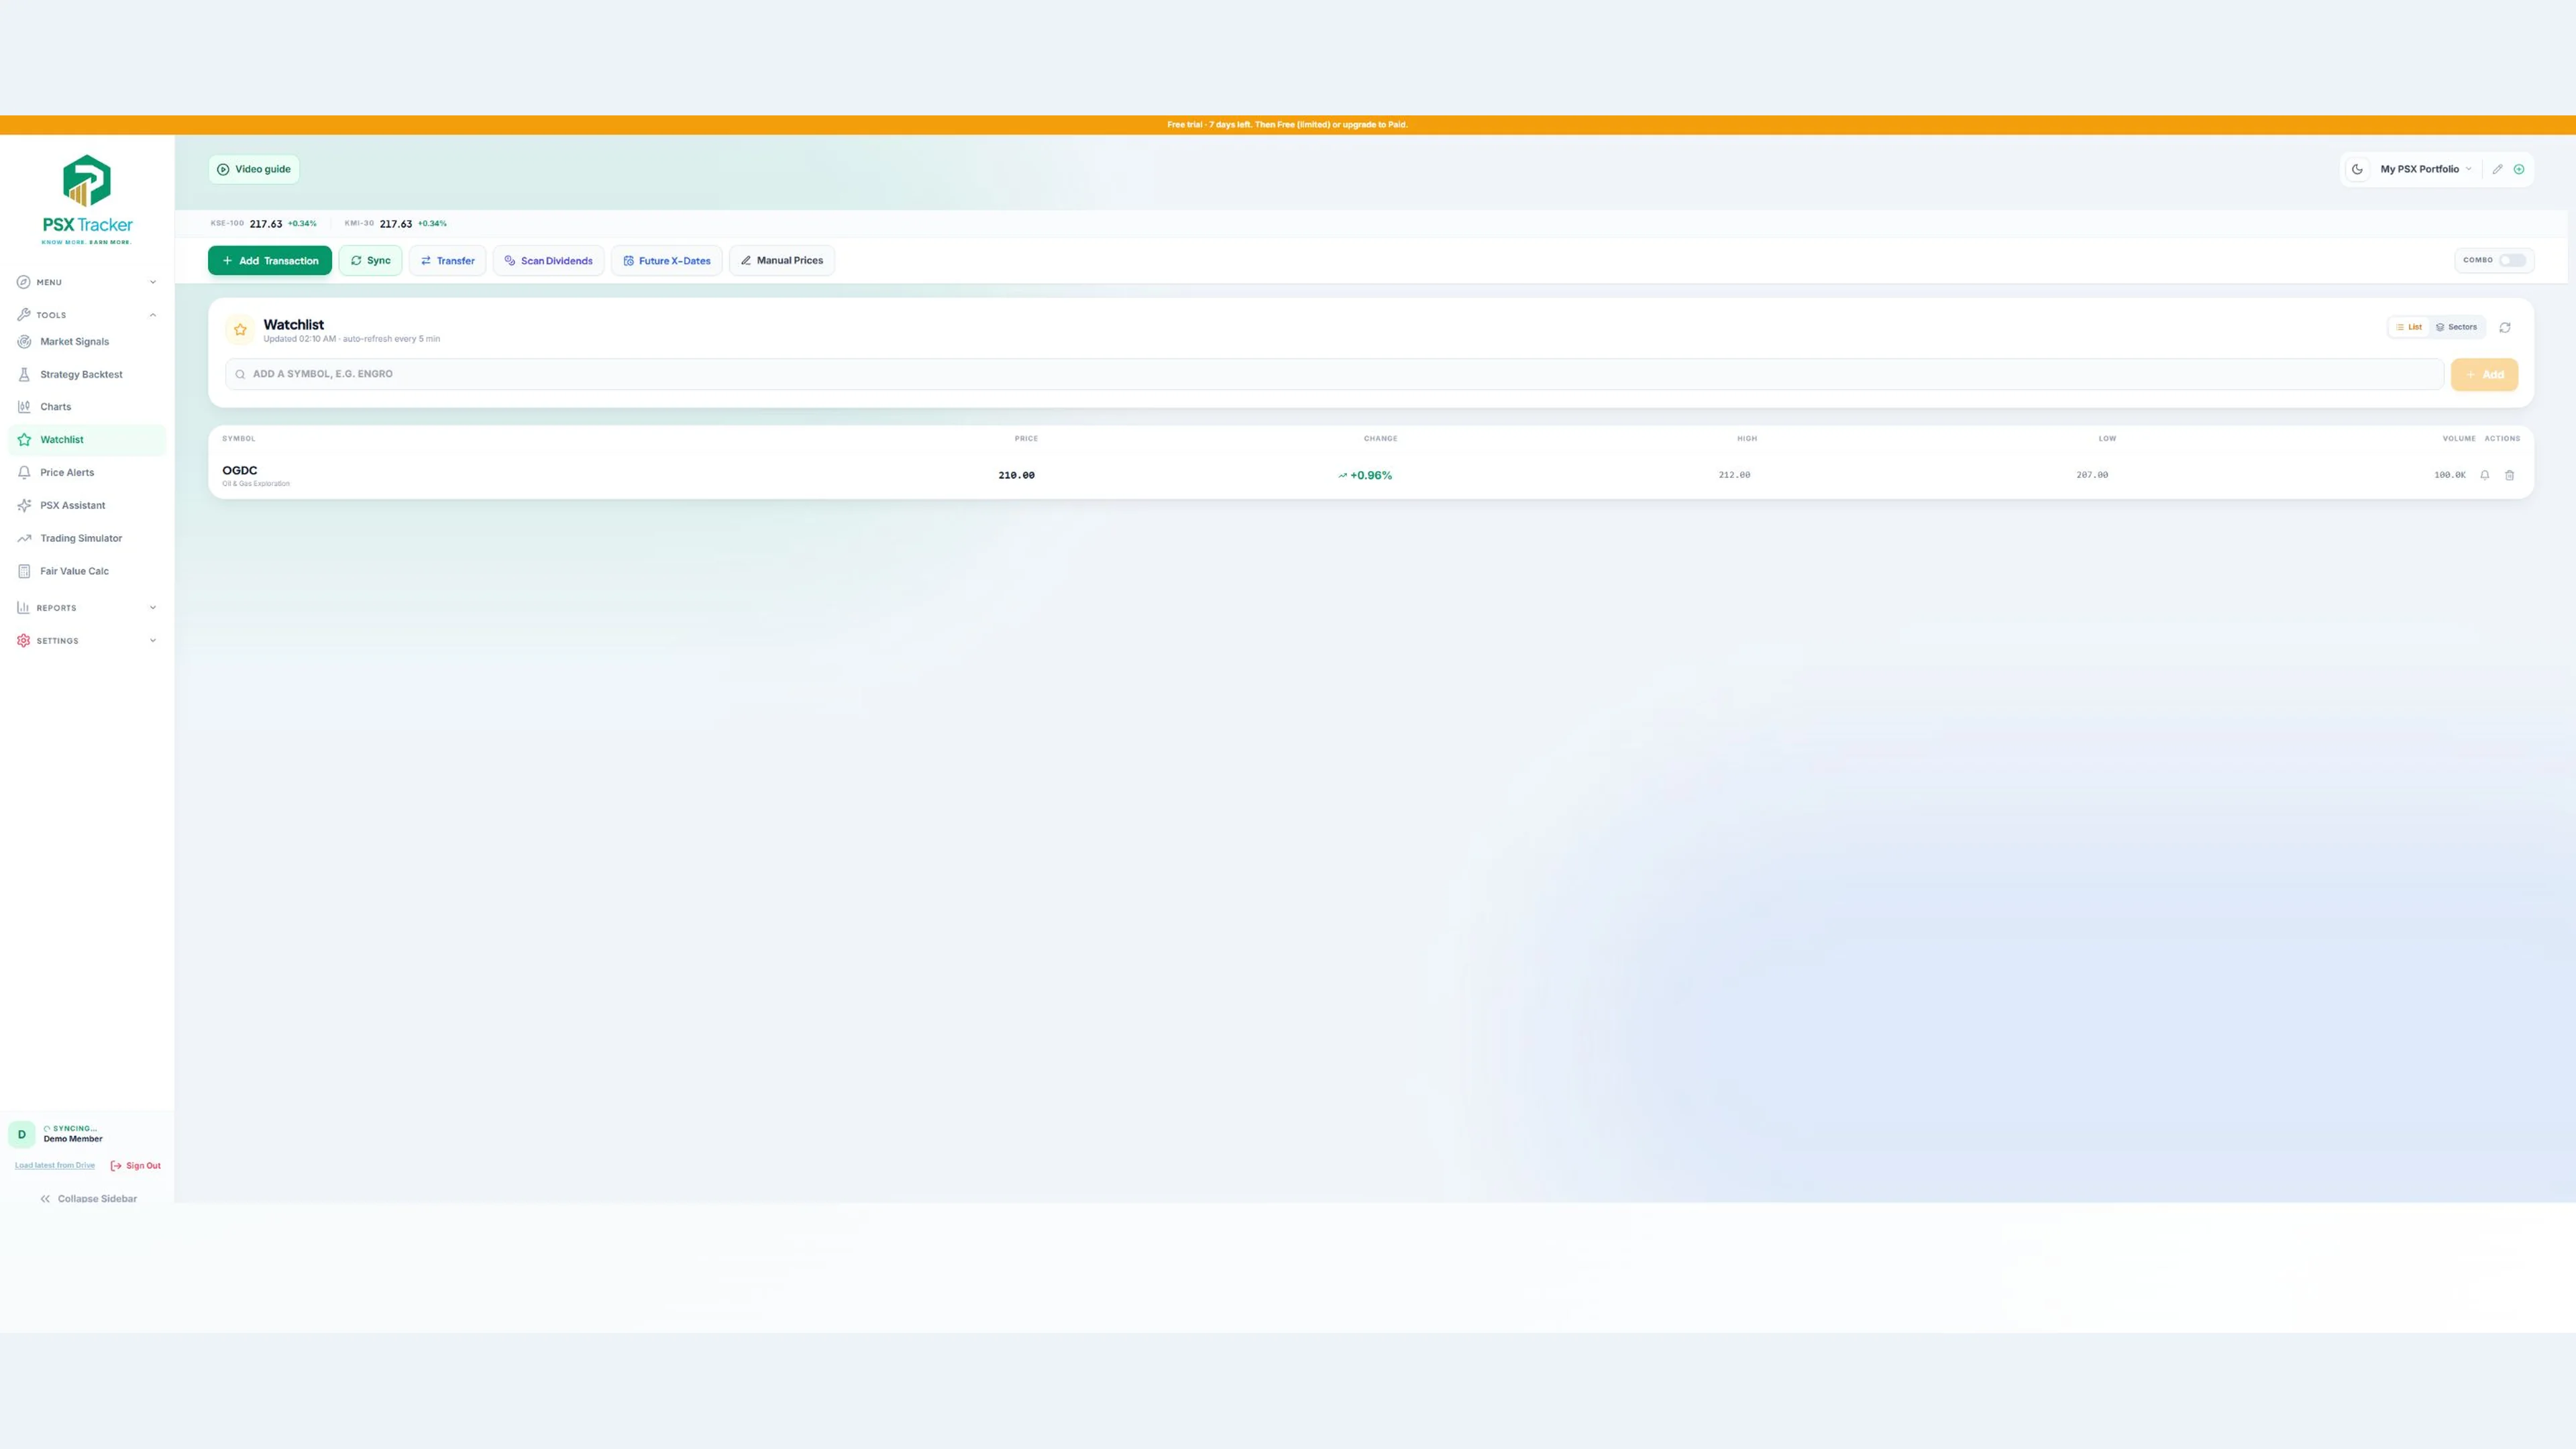
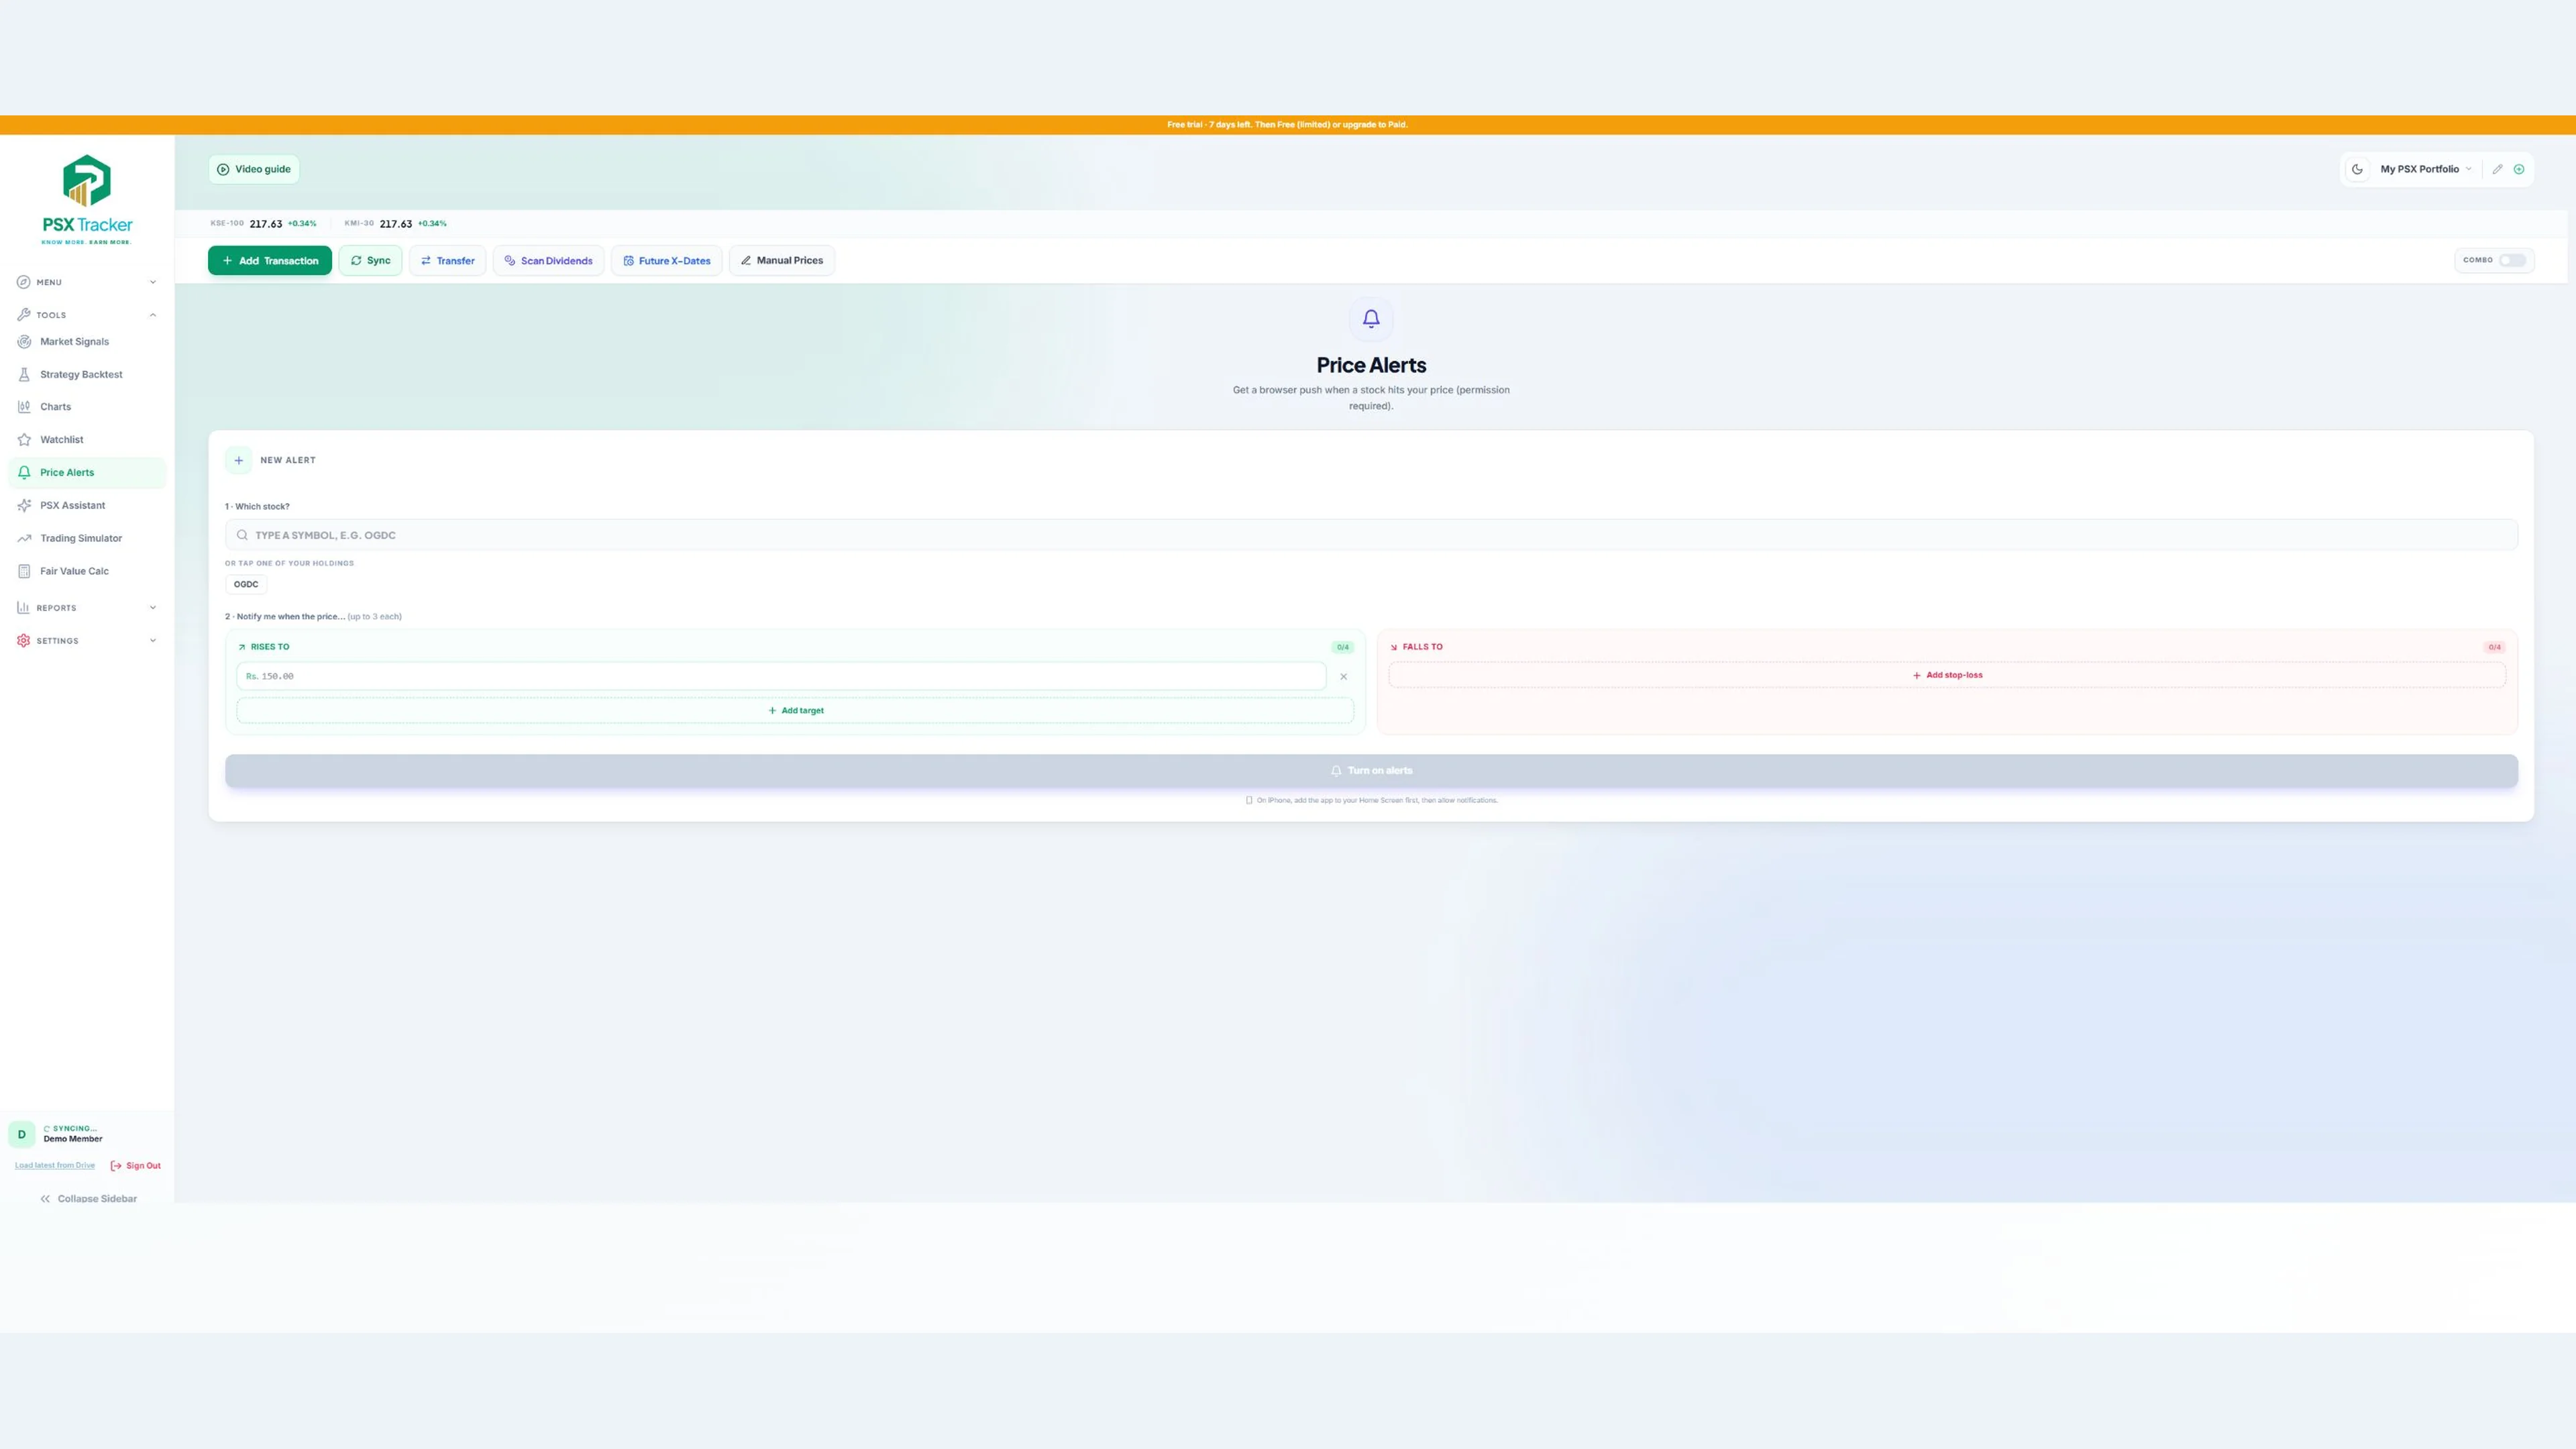
Keep stocks you want to revisit in a watchlist. Configure available alerts for the conditions you want to monitor and check the relevant notification permissions. Alerts depend on data updates and delivery; do not rely on them as a guaranteed real-time trading trigger.
Dividends and transaction reports
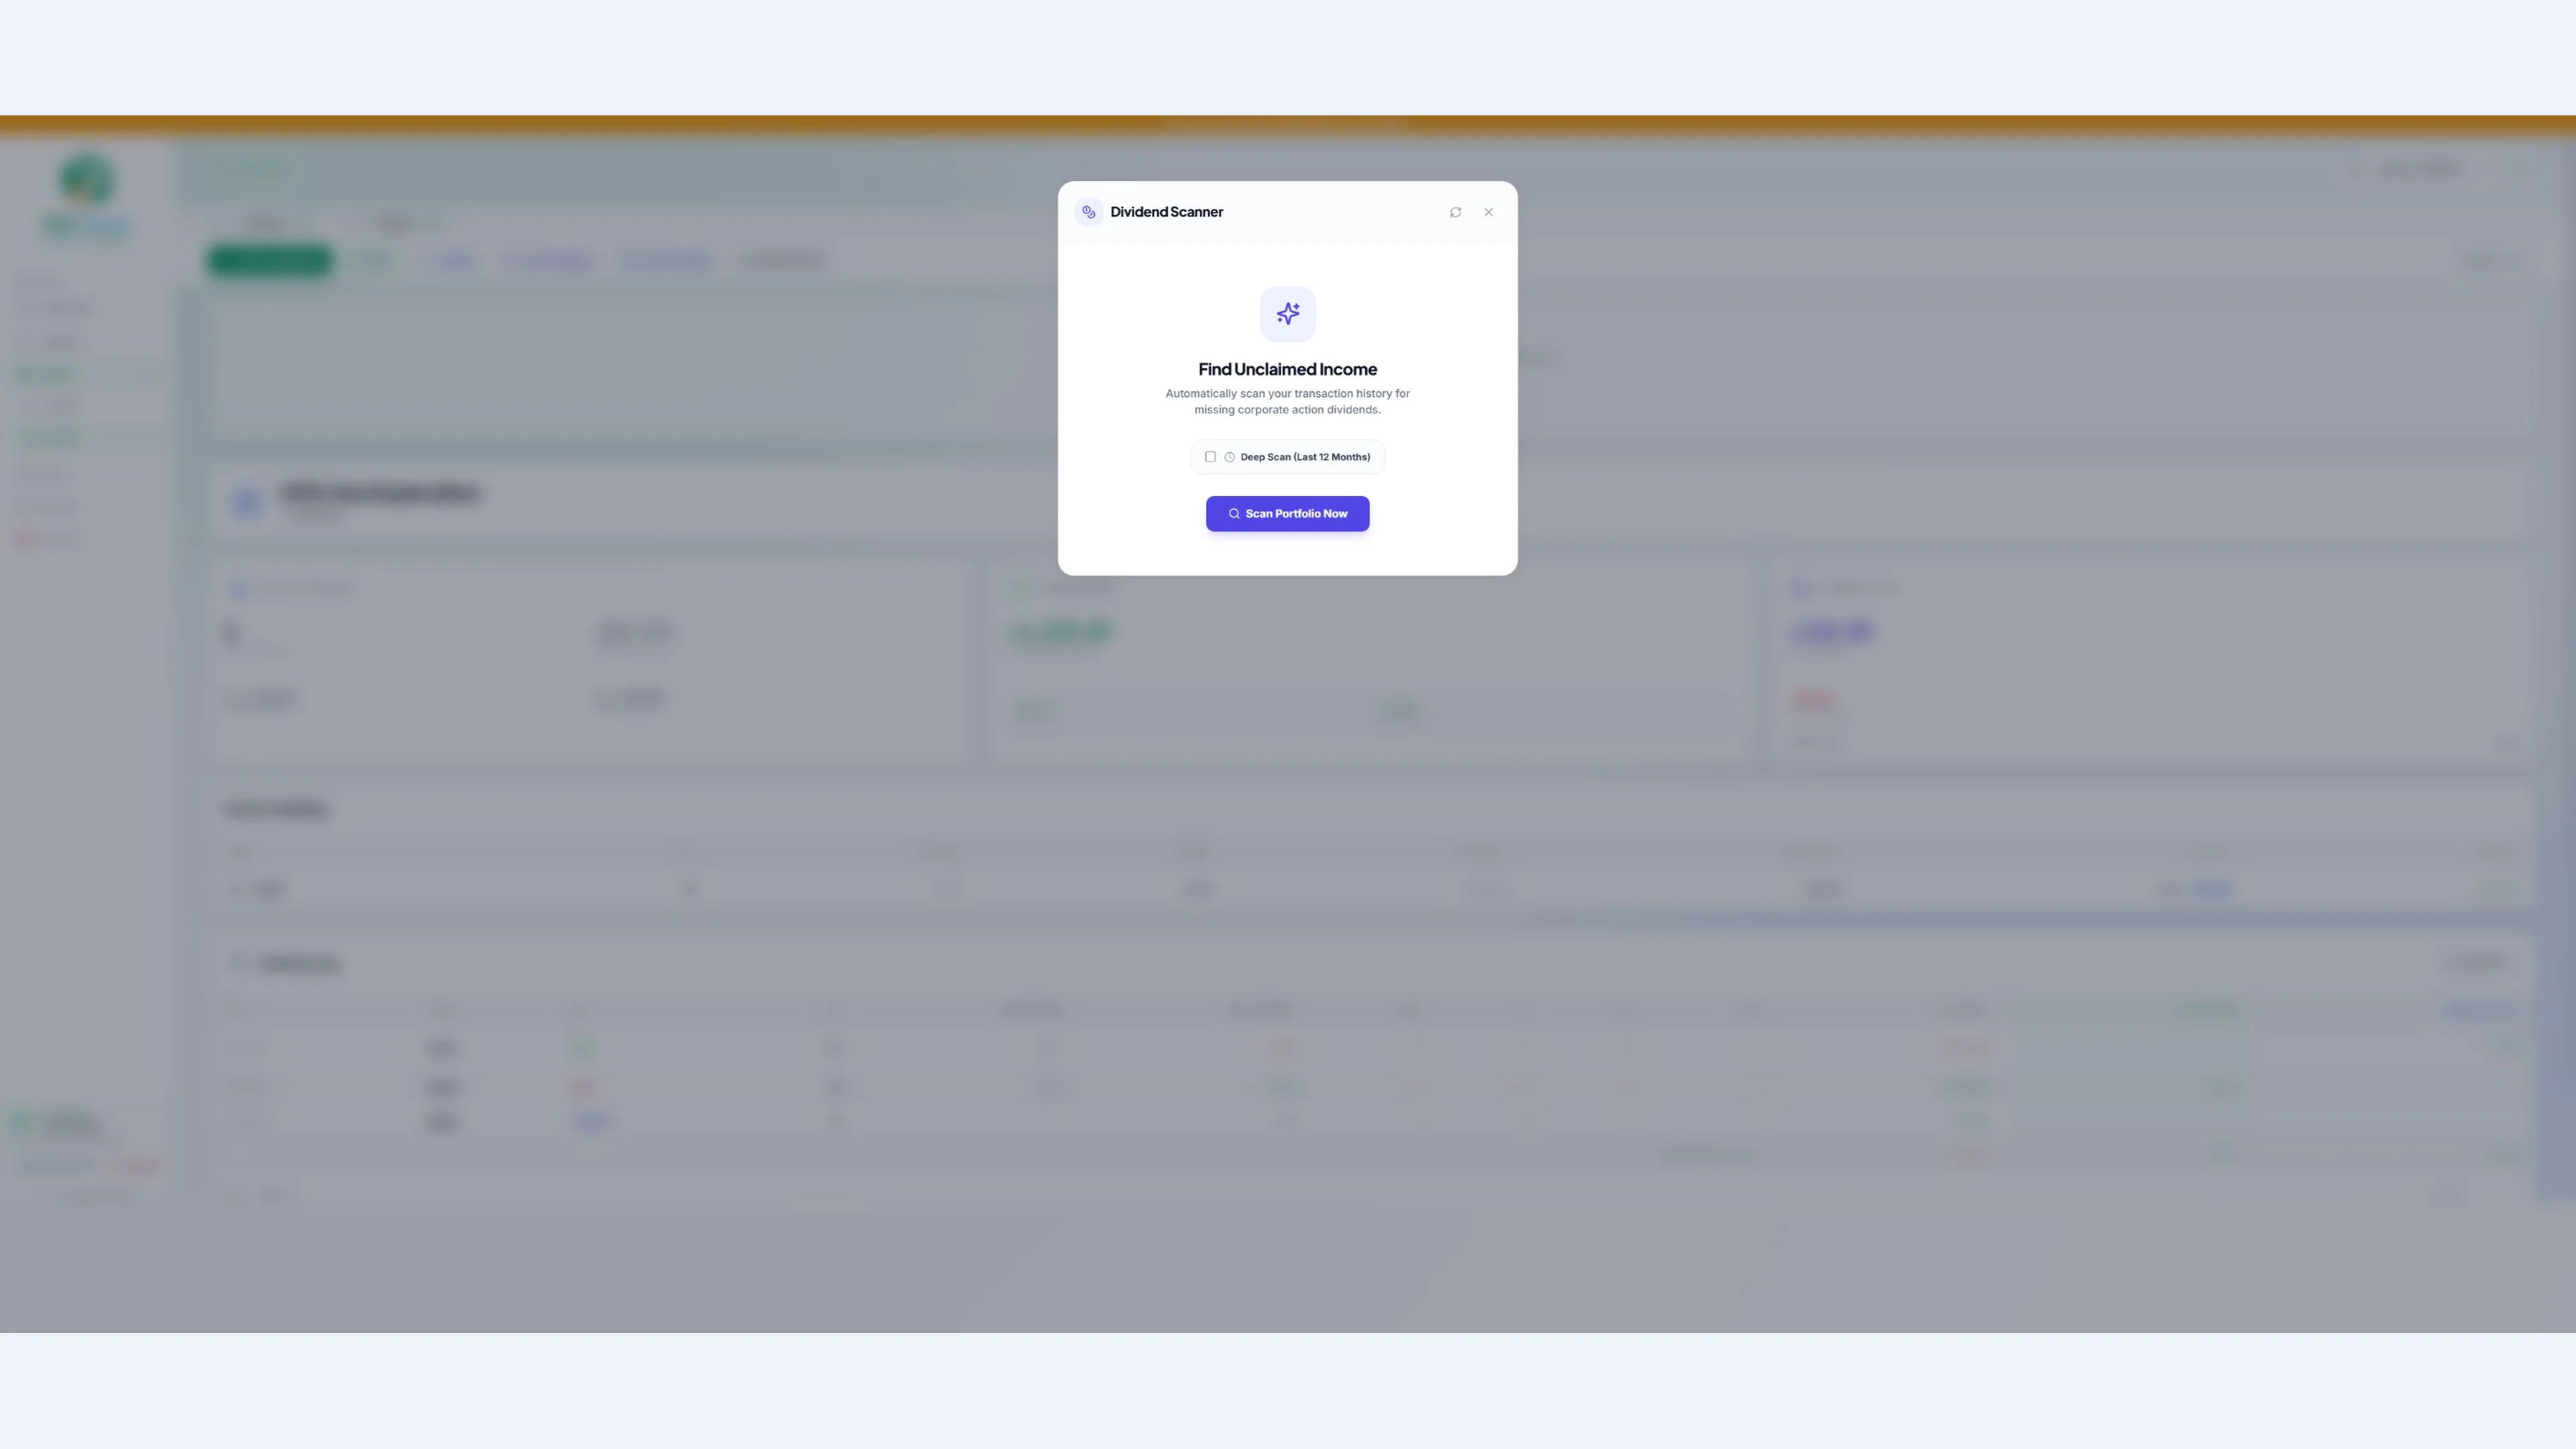
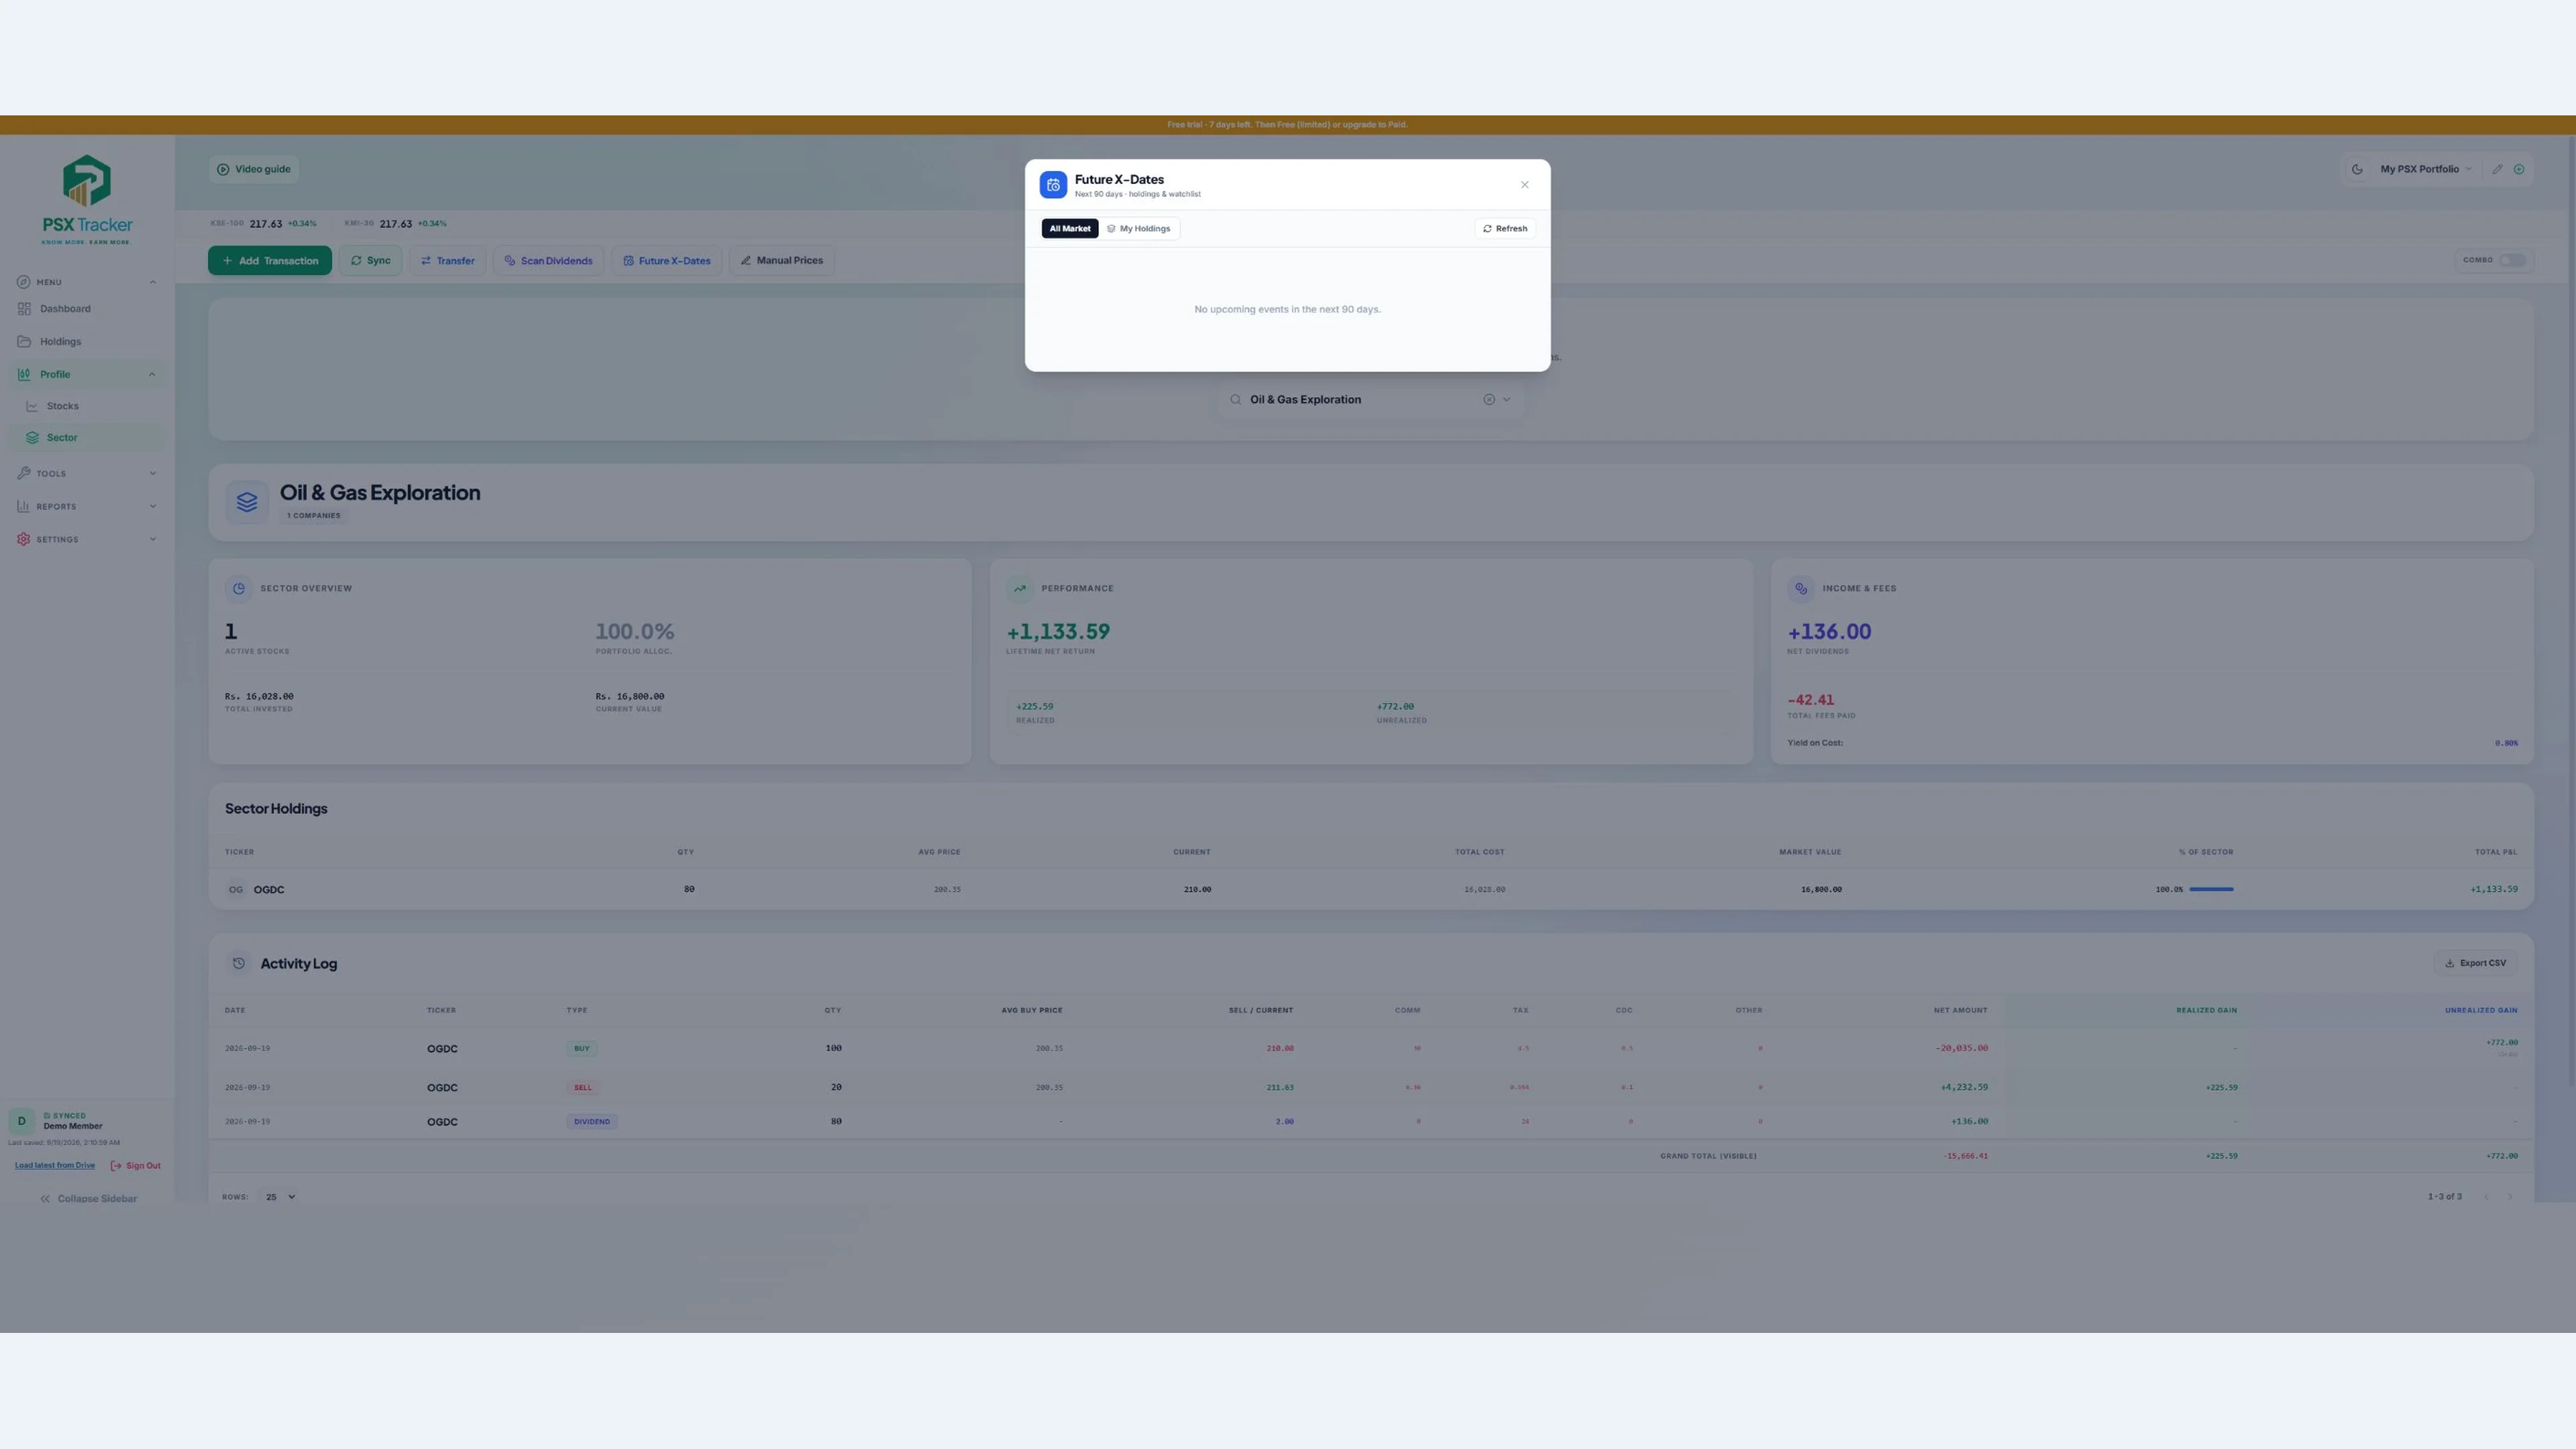
Track dividend records alongside your trades and cash movements. Review available upcoming dividend information and X-dates, and compare it with official announcements. Transaction and realized P&L reports help reconcile your history, costs and results. Tax-related figures are informational calculations, not a filed return.
Market signals, daily scans and backtests
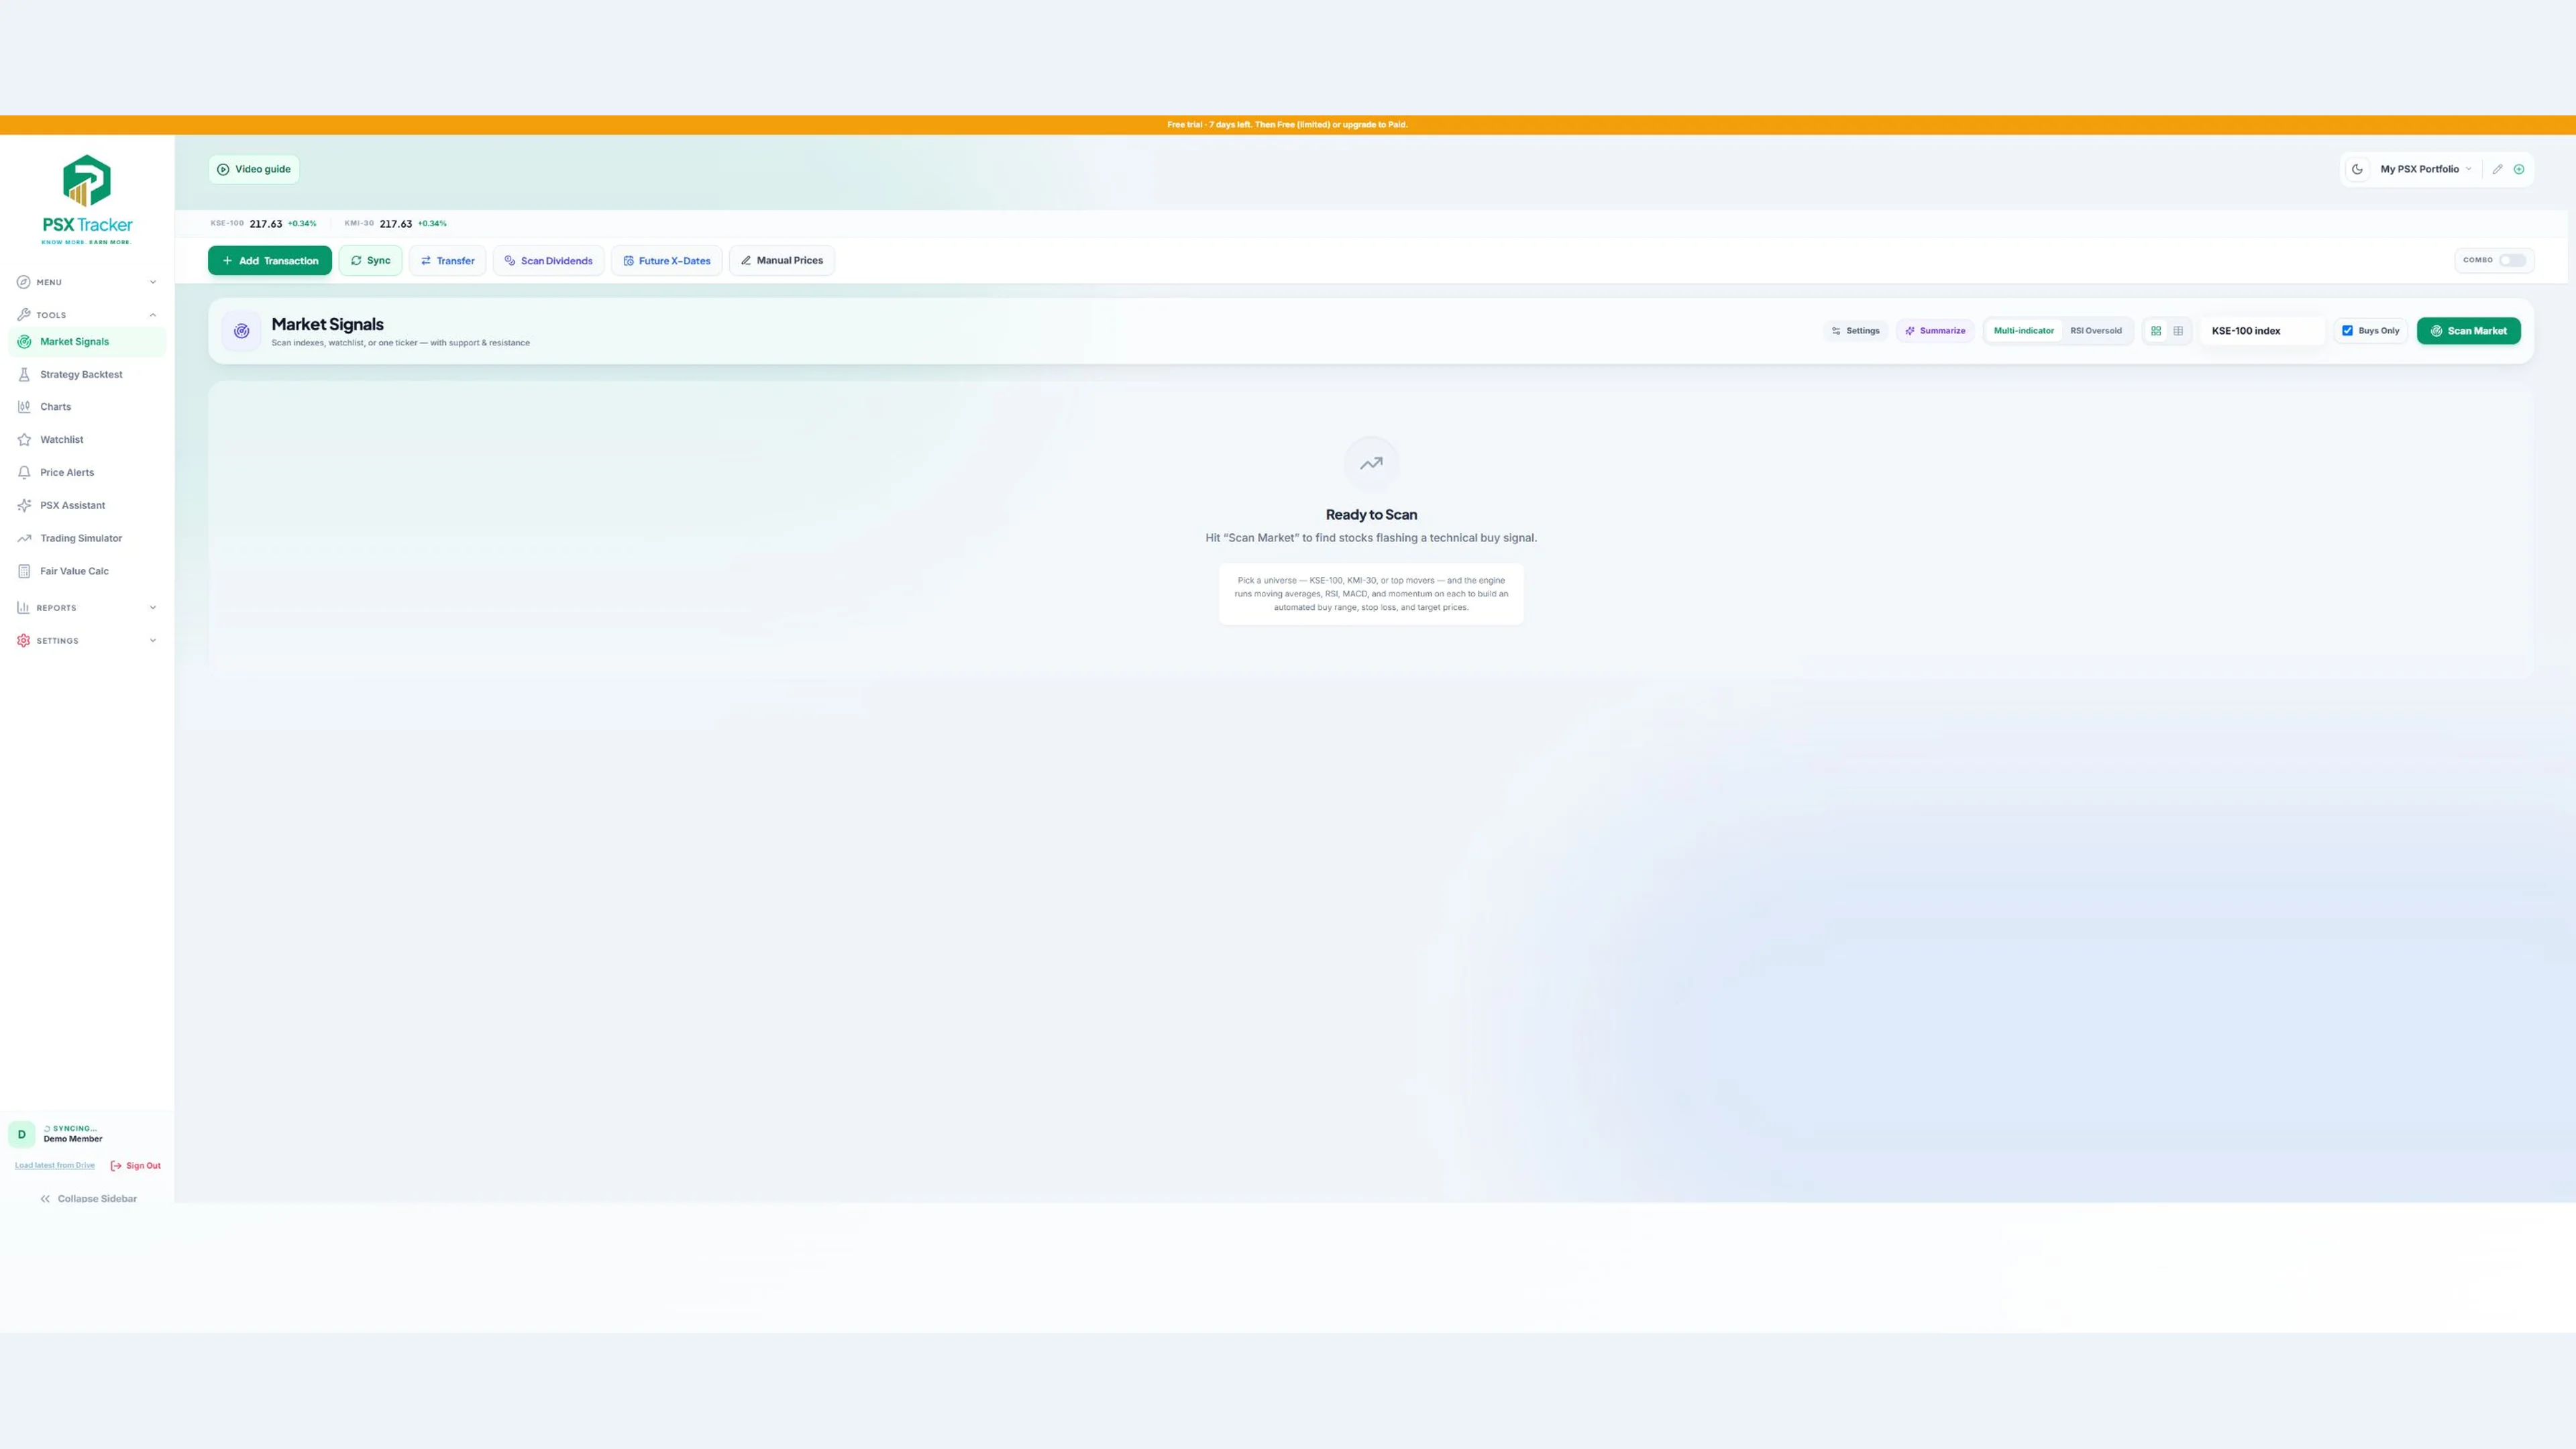
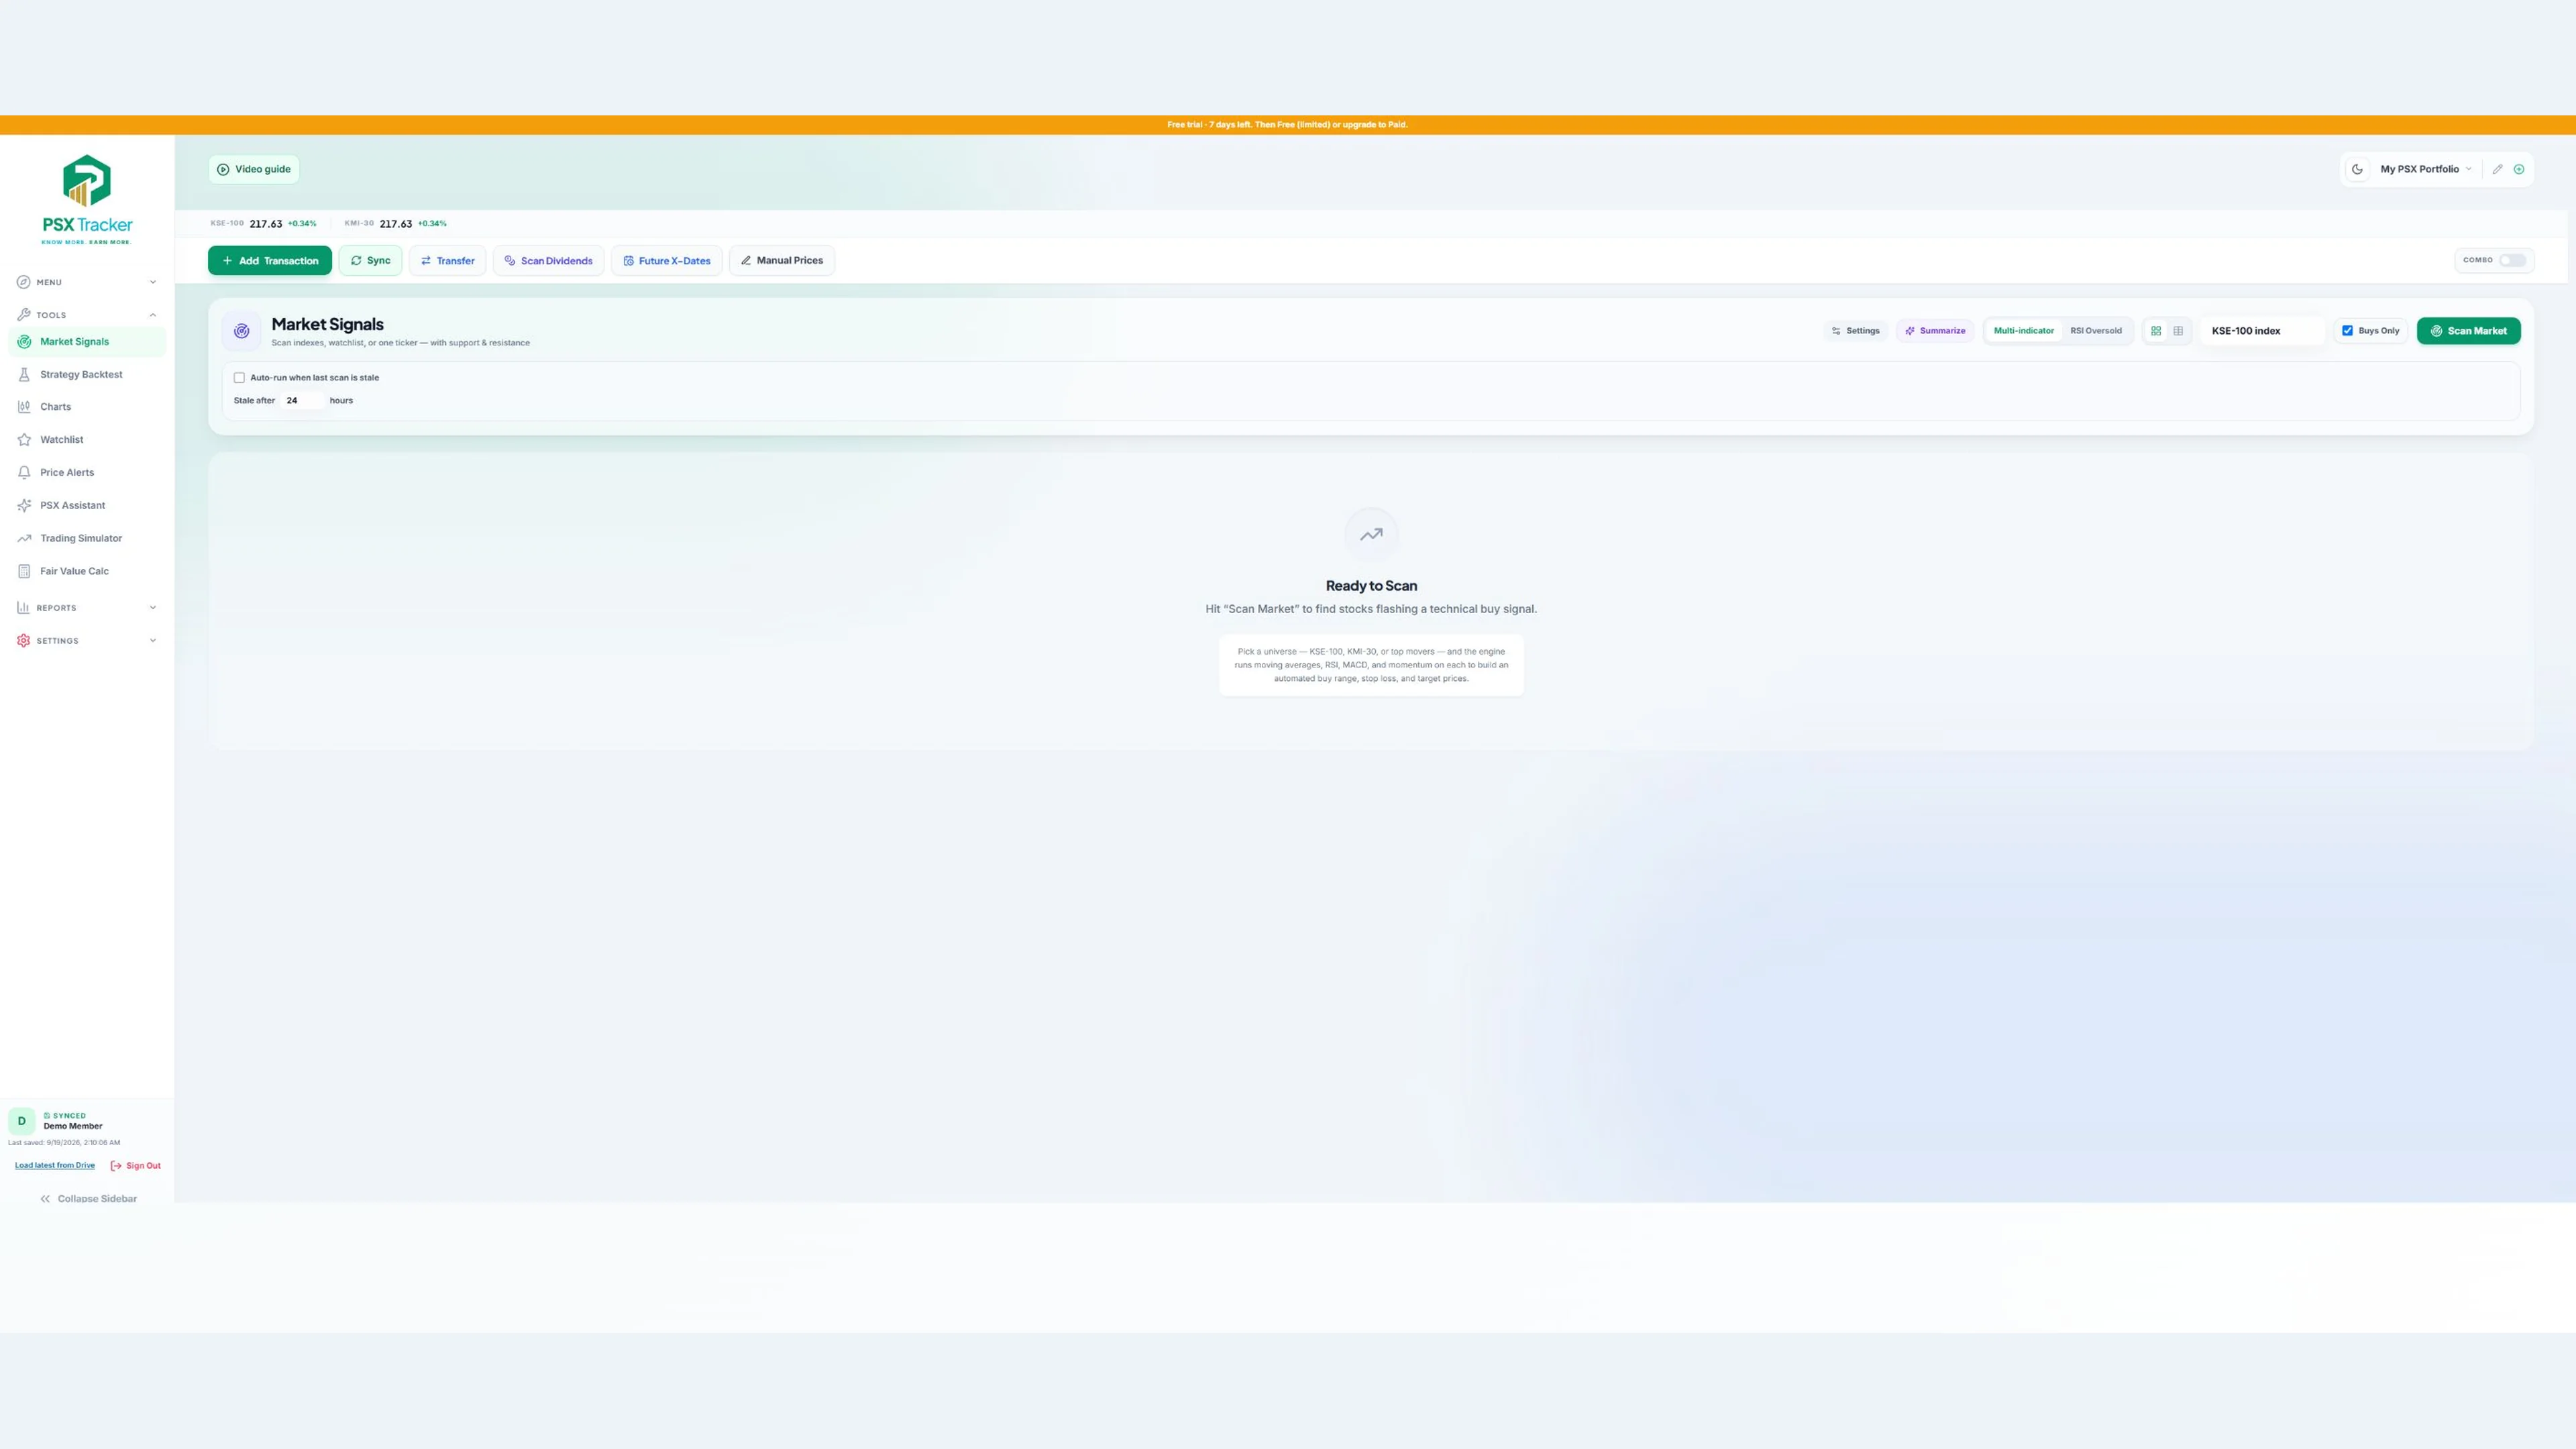
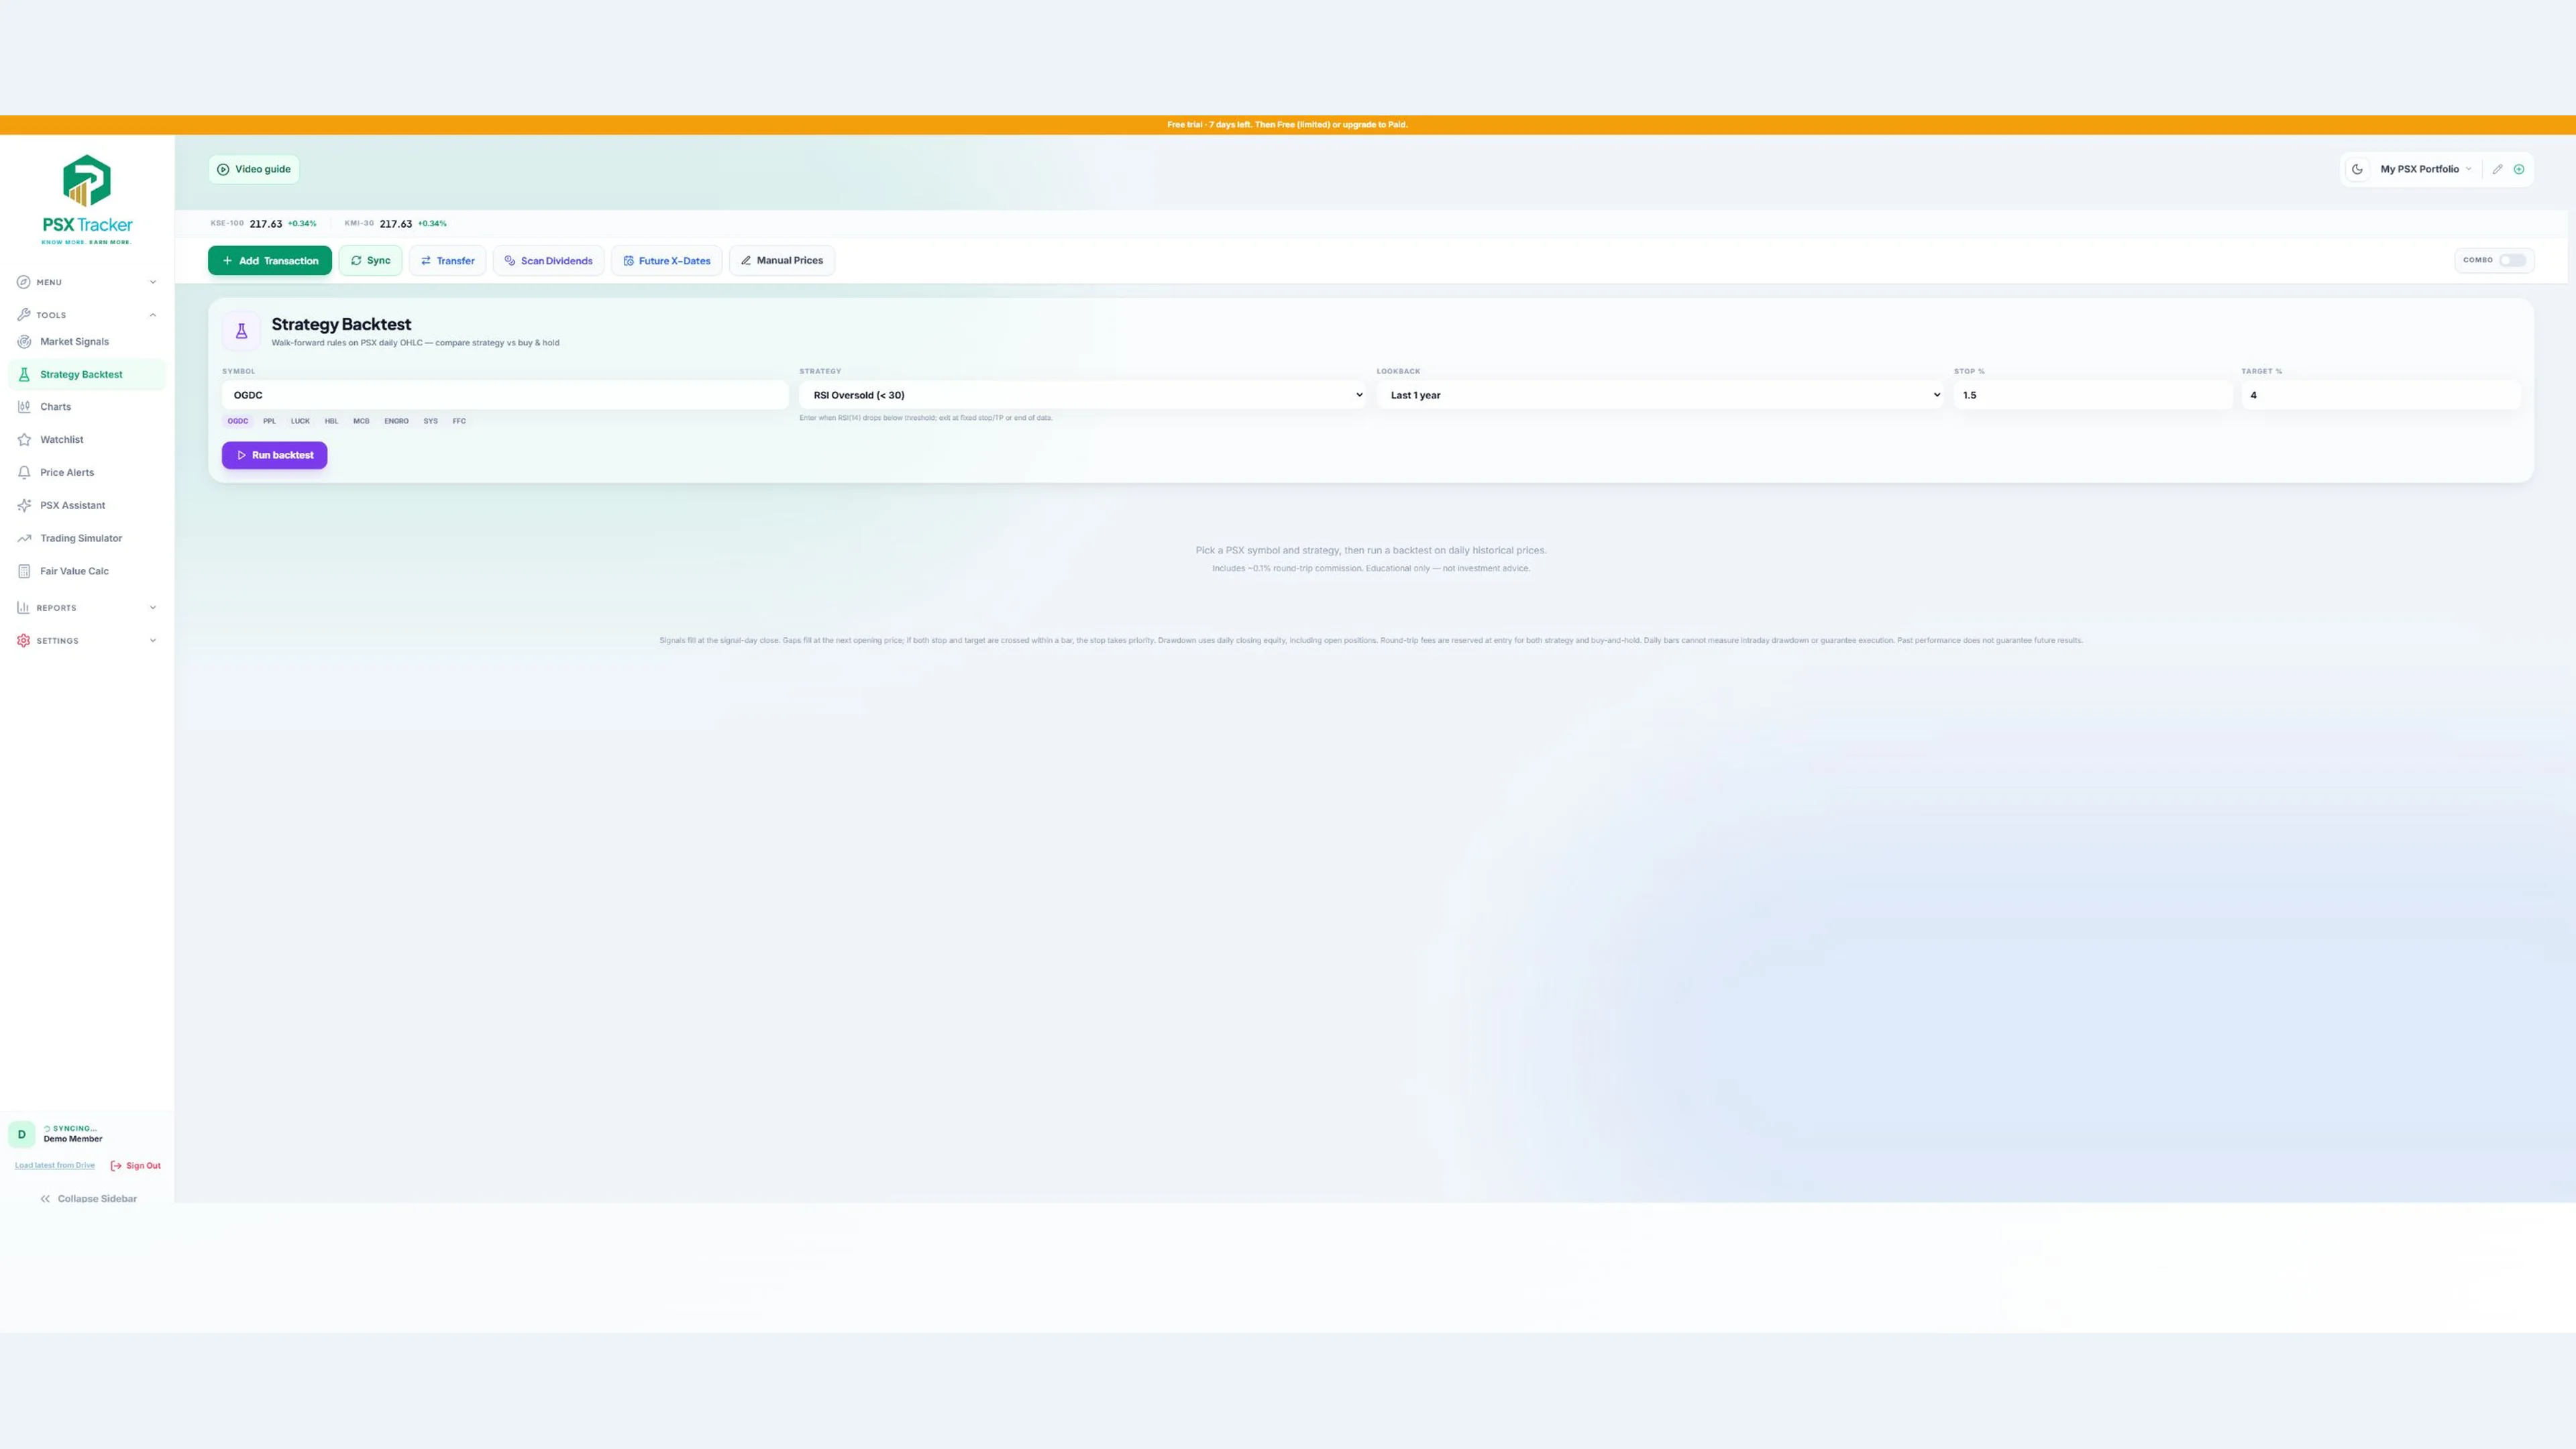
Use the market scanner and daily scan tools to narrow down a research list. Backtests let you explore a strategy against available historical data and assumptions. Results can change with costs, data quality and settings; simulated past performance is not a prediction.
Fair value tools, simulator and assistant
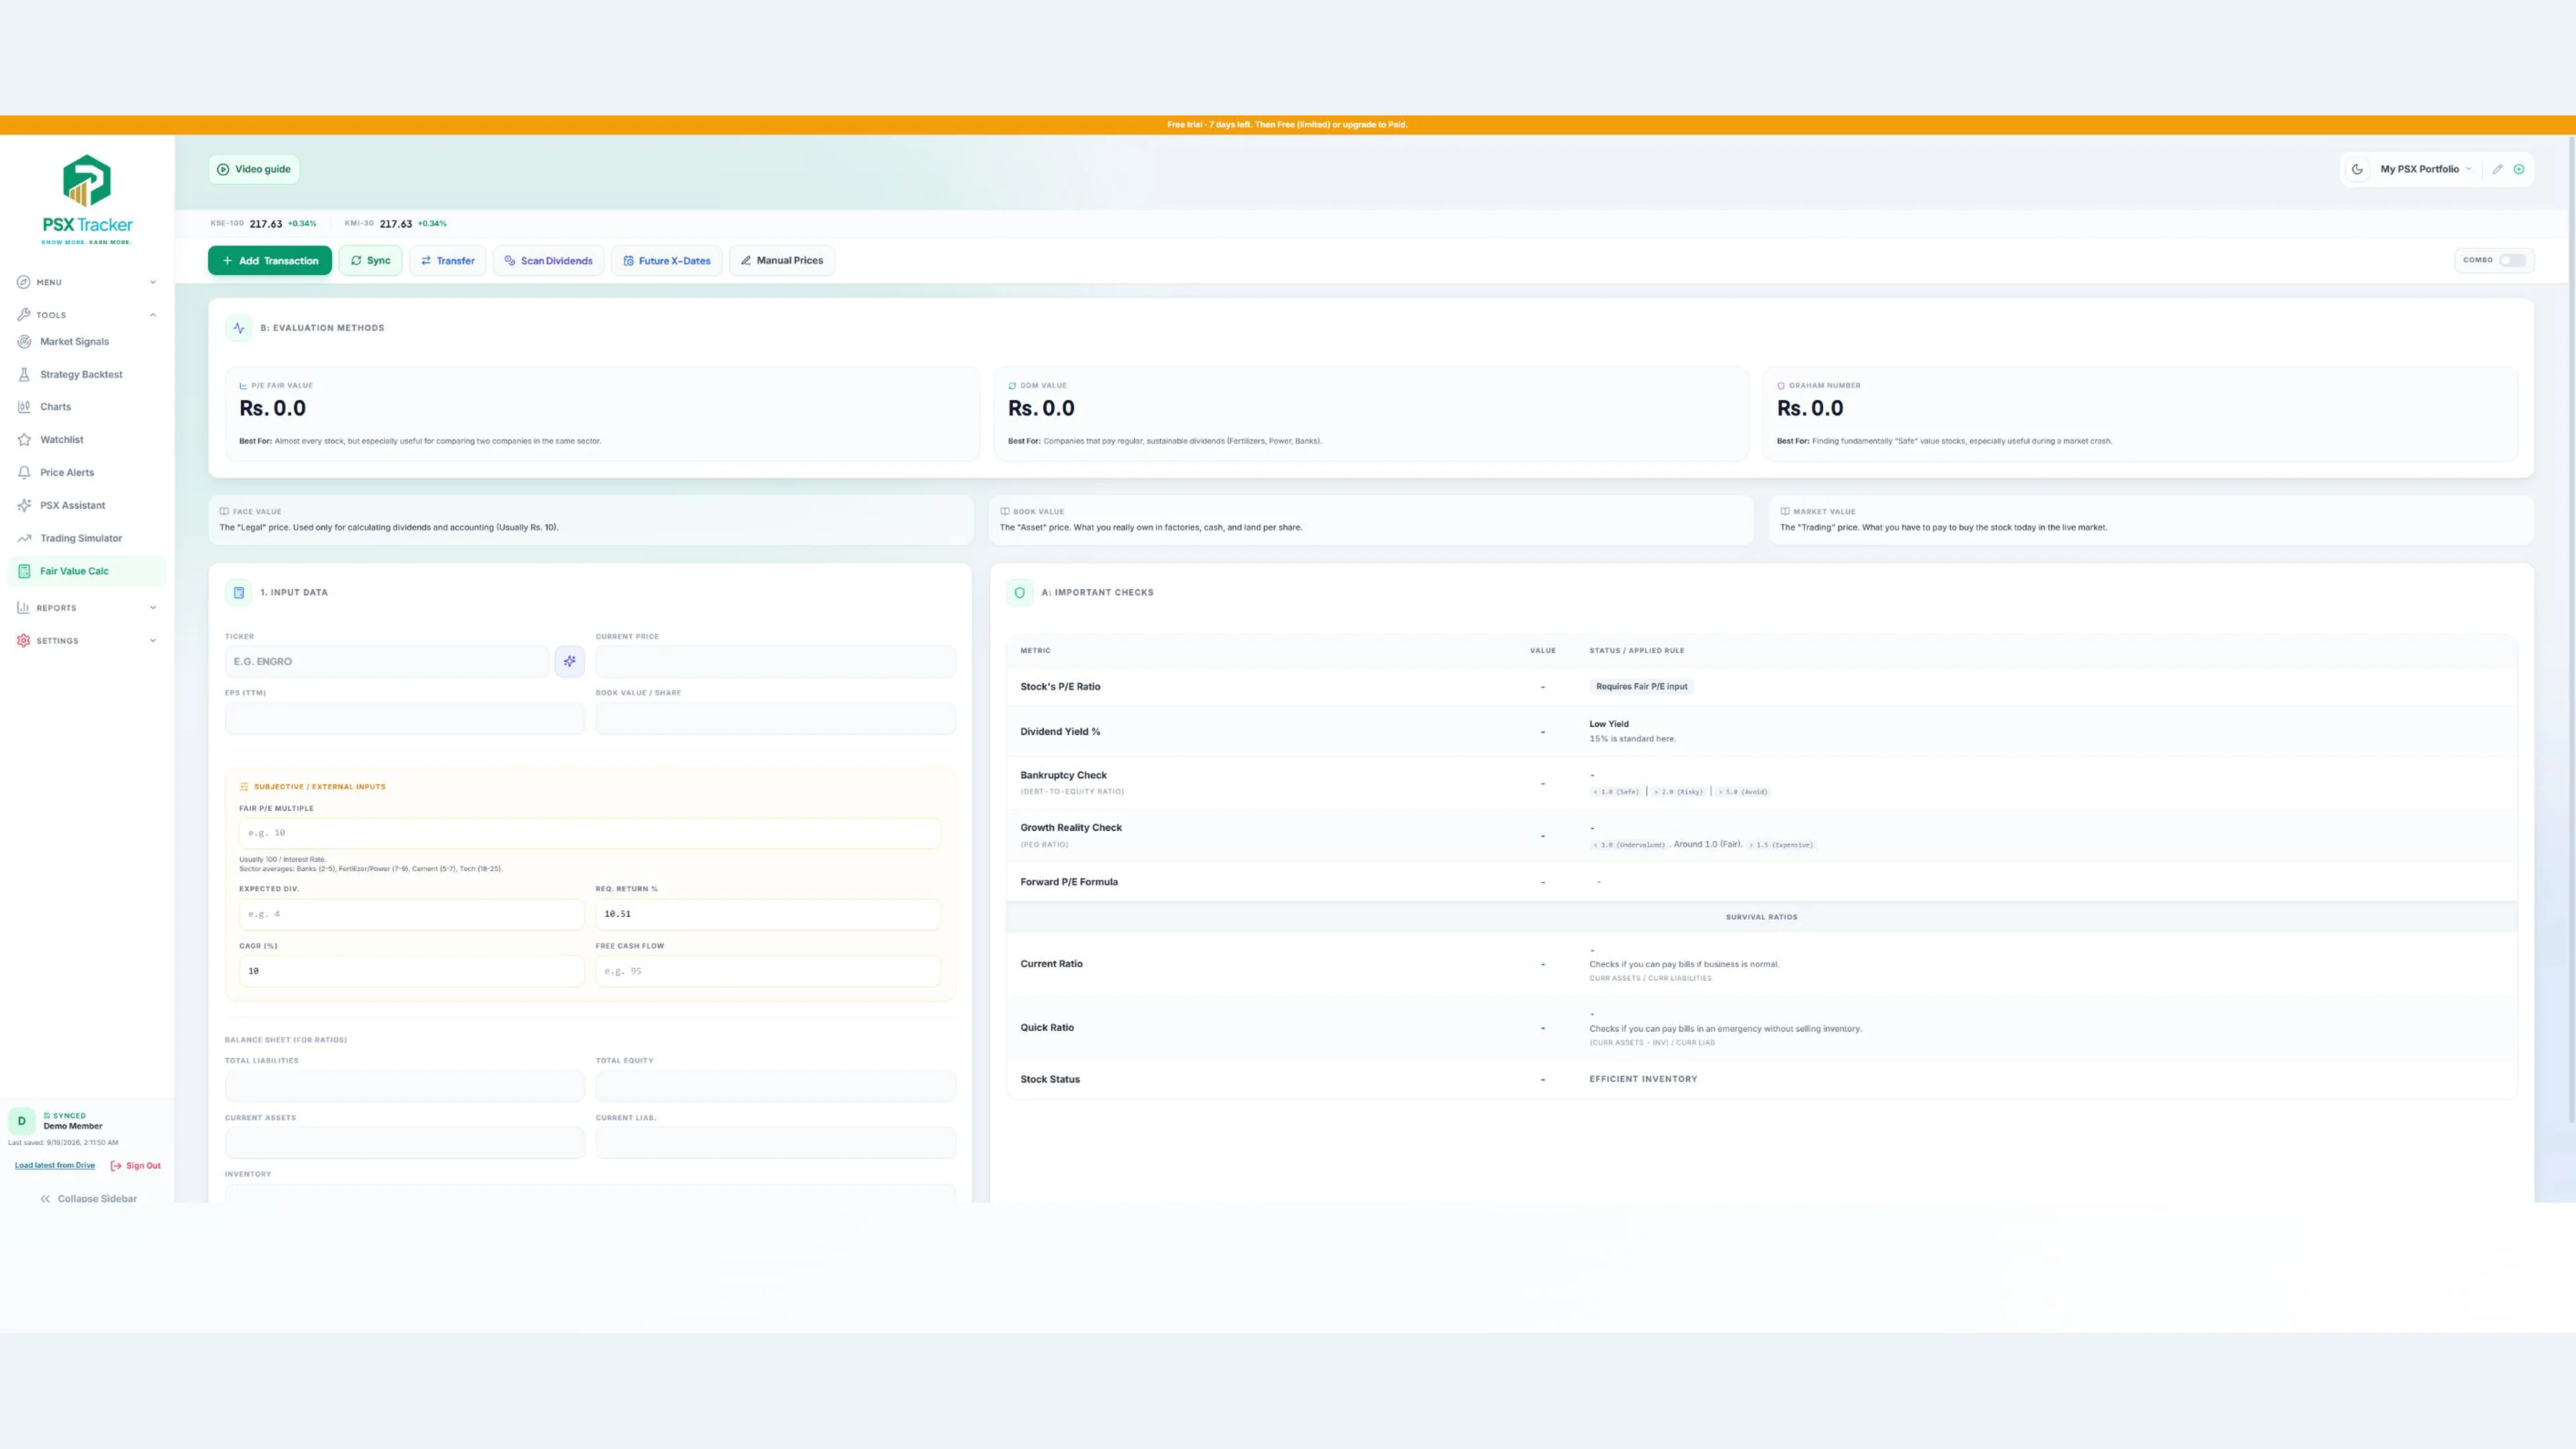
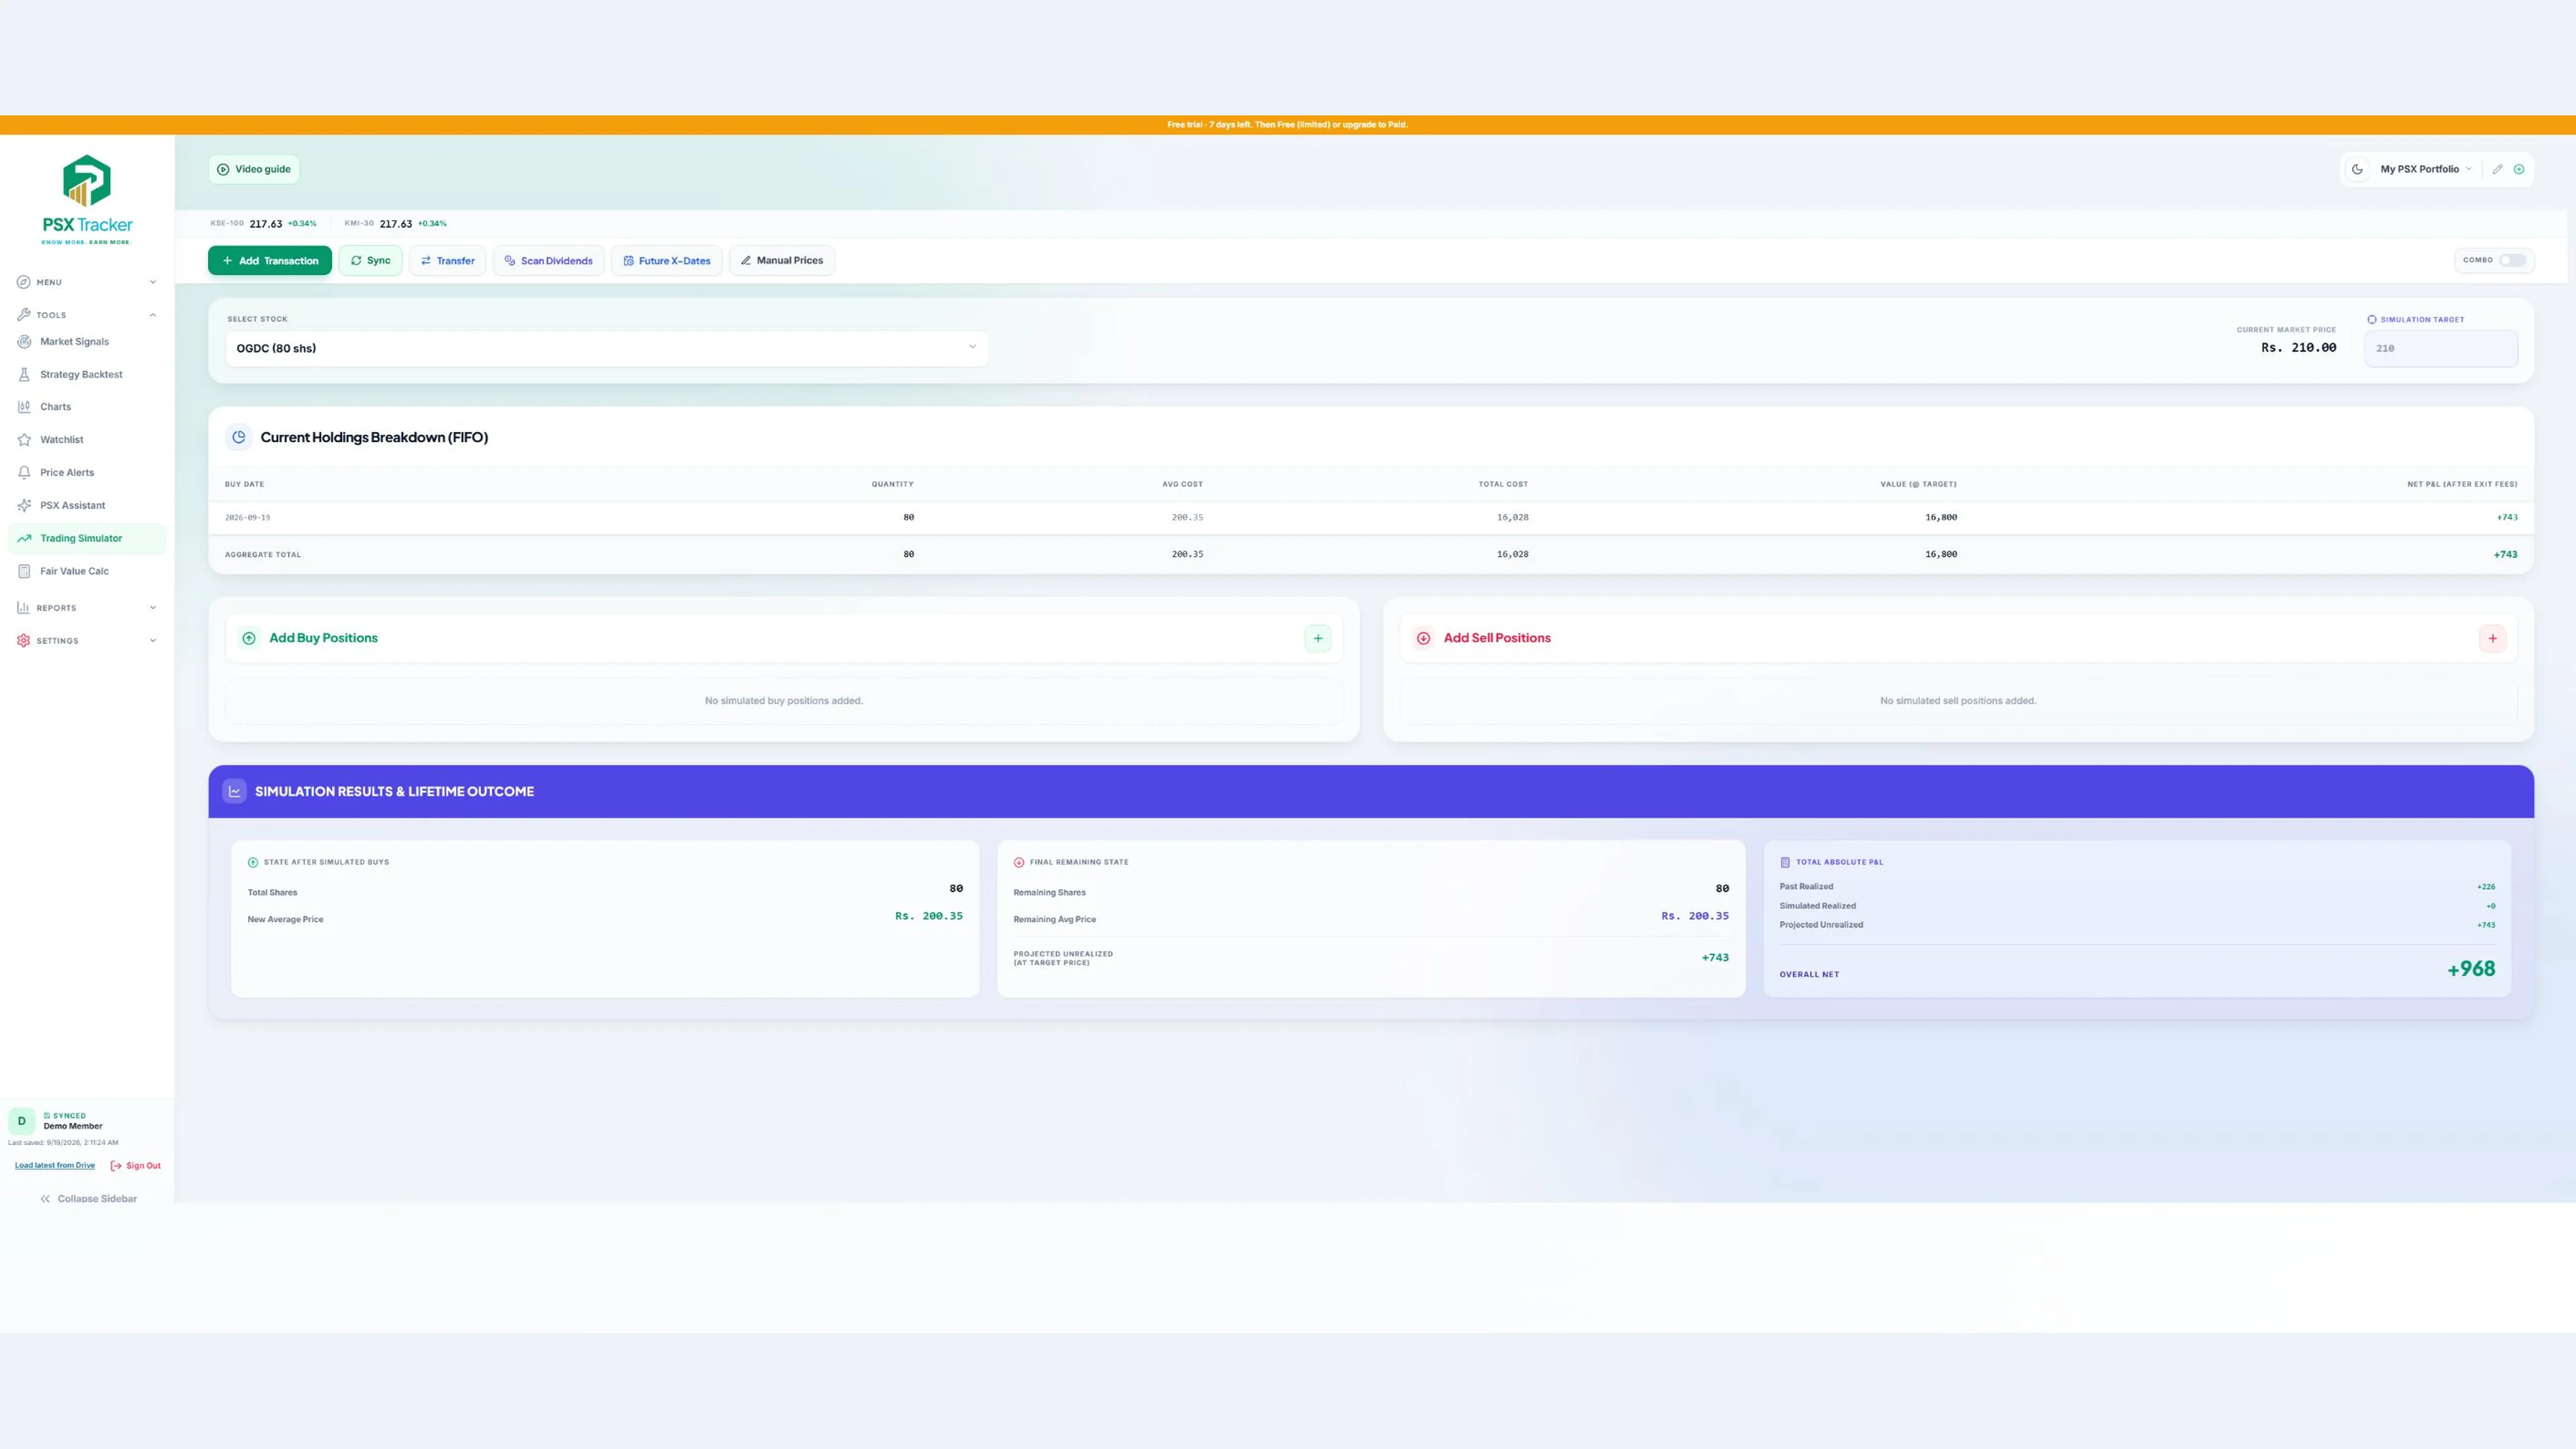
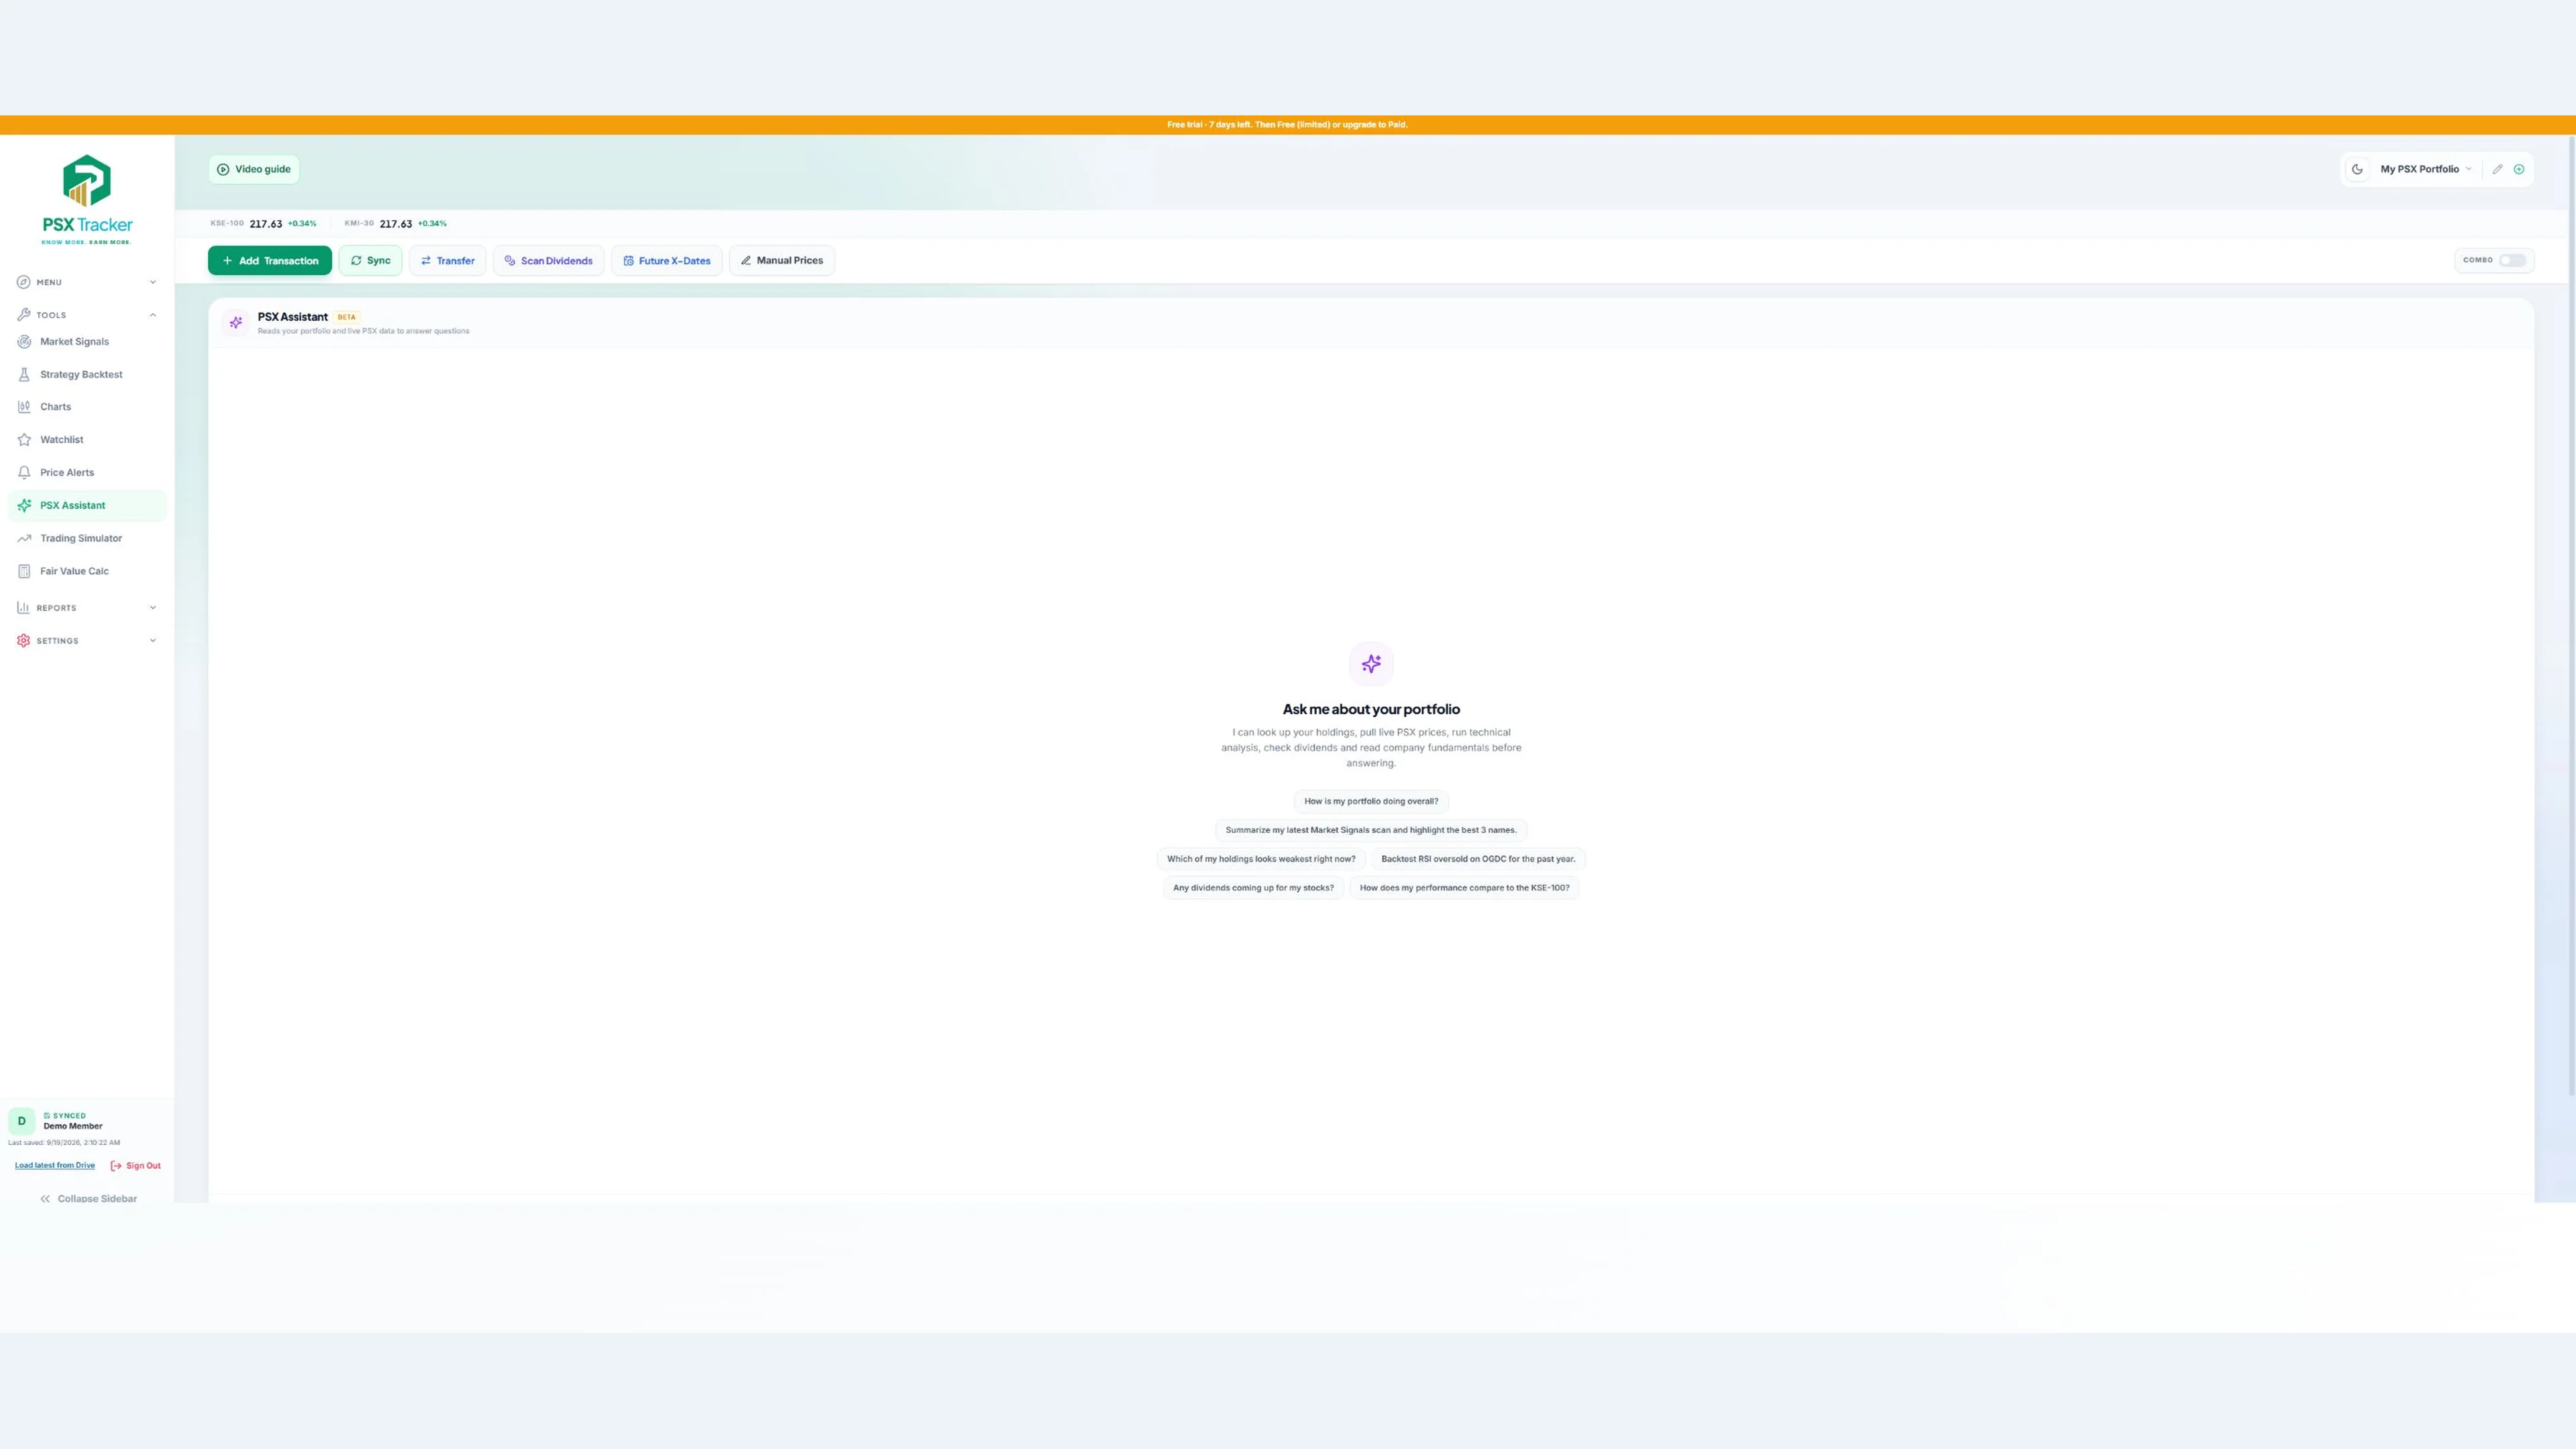
The fair value calculator helps explore assumptions, the trading simulator lets you practise with simulated positions, and the assistant supports available research workflows. Treat outputs as inputs to your own review. These tools do not execute real orders or replace independent verification.
Account, security and support
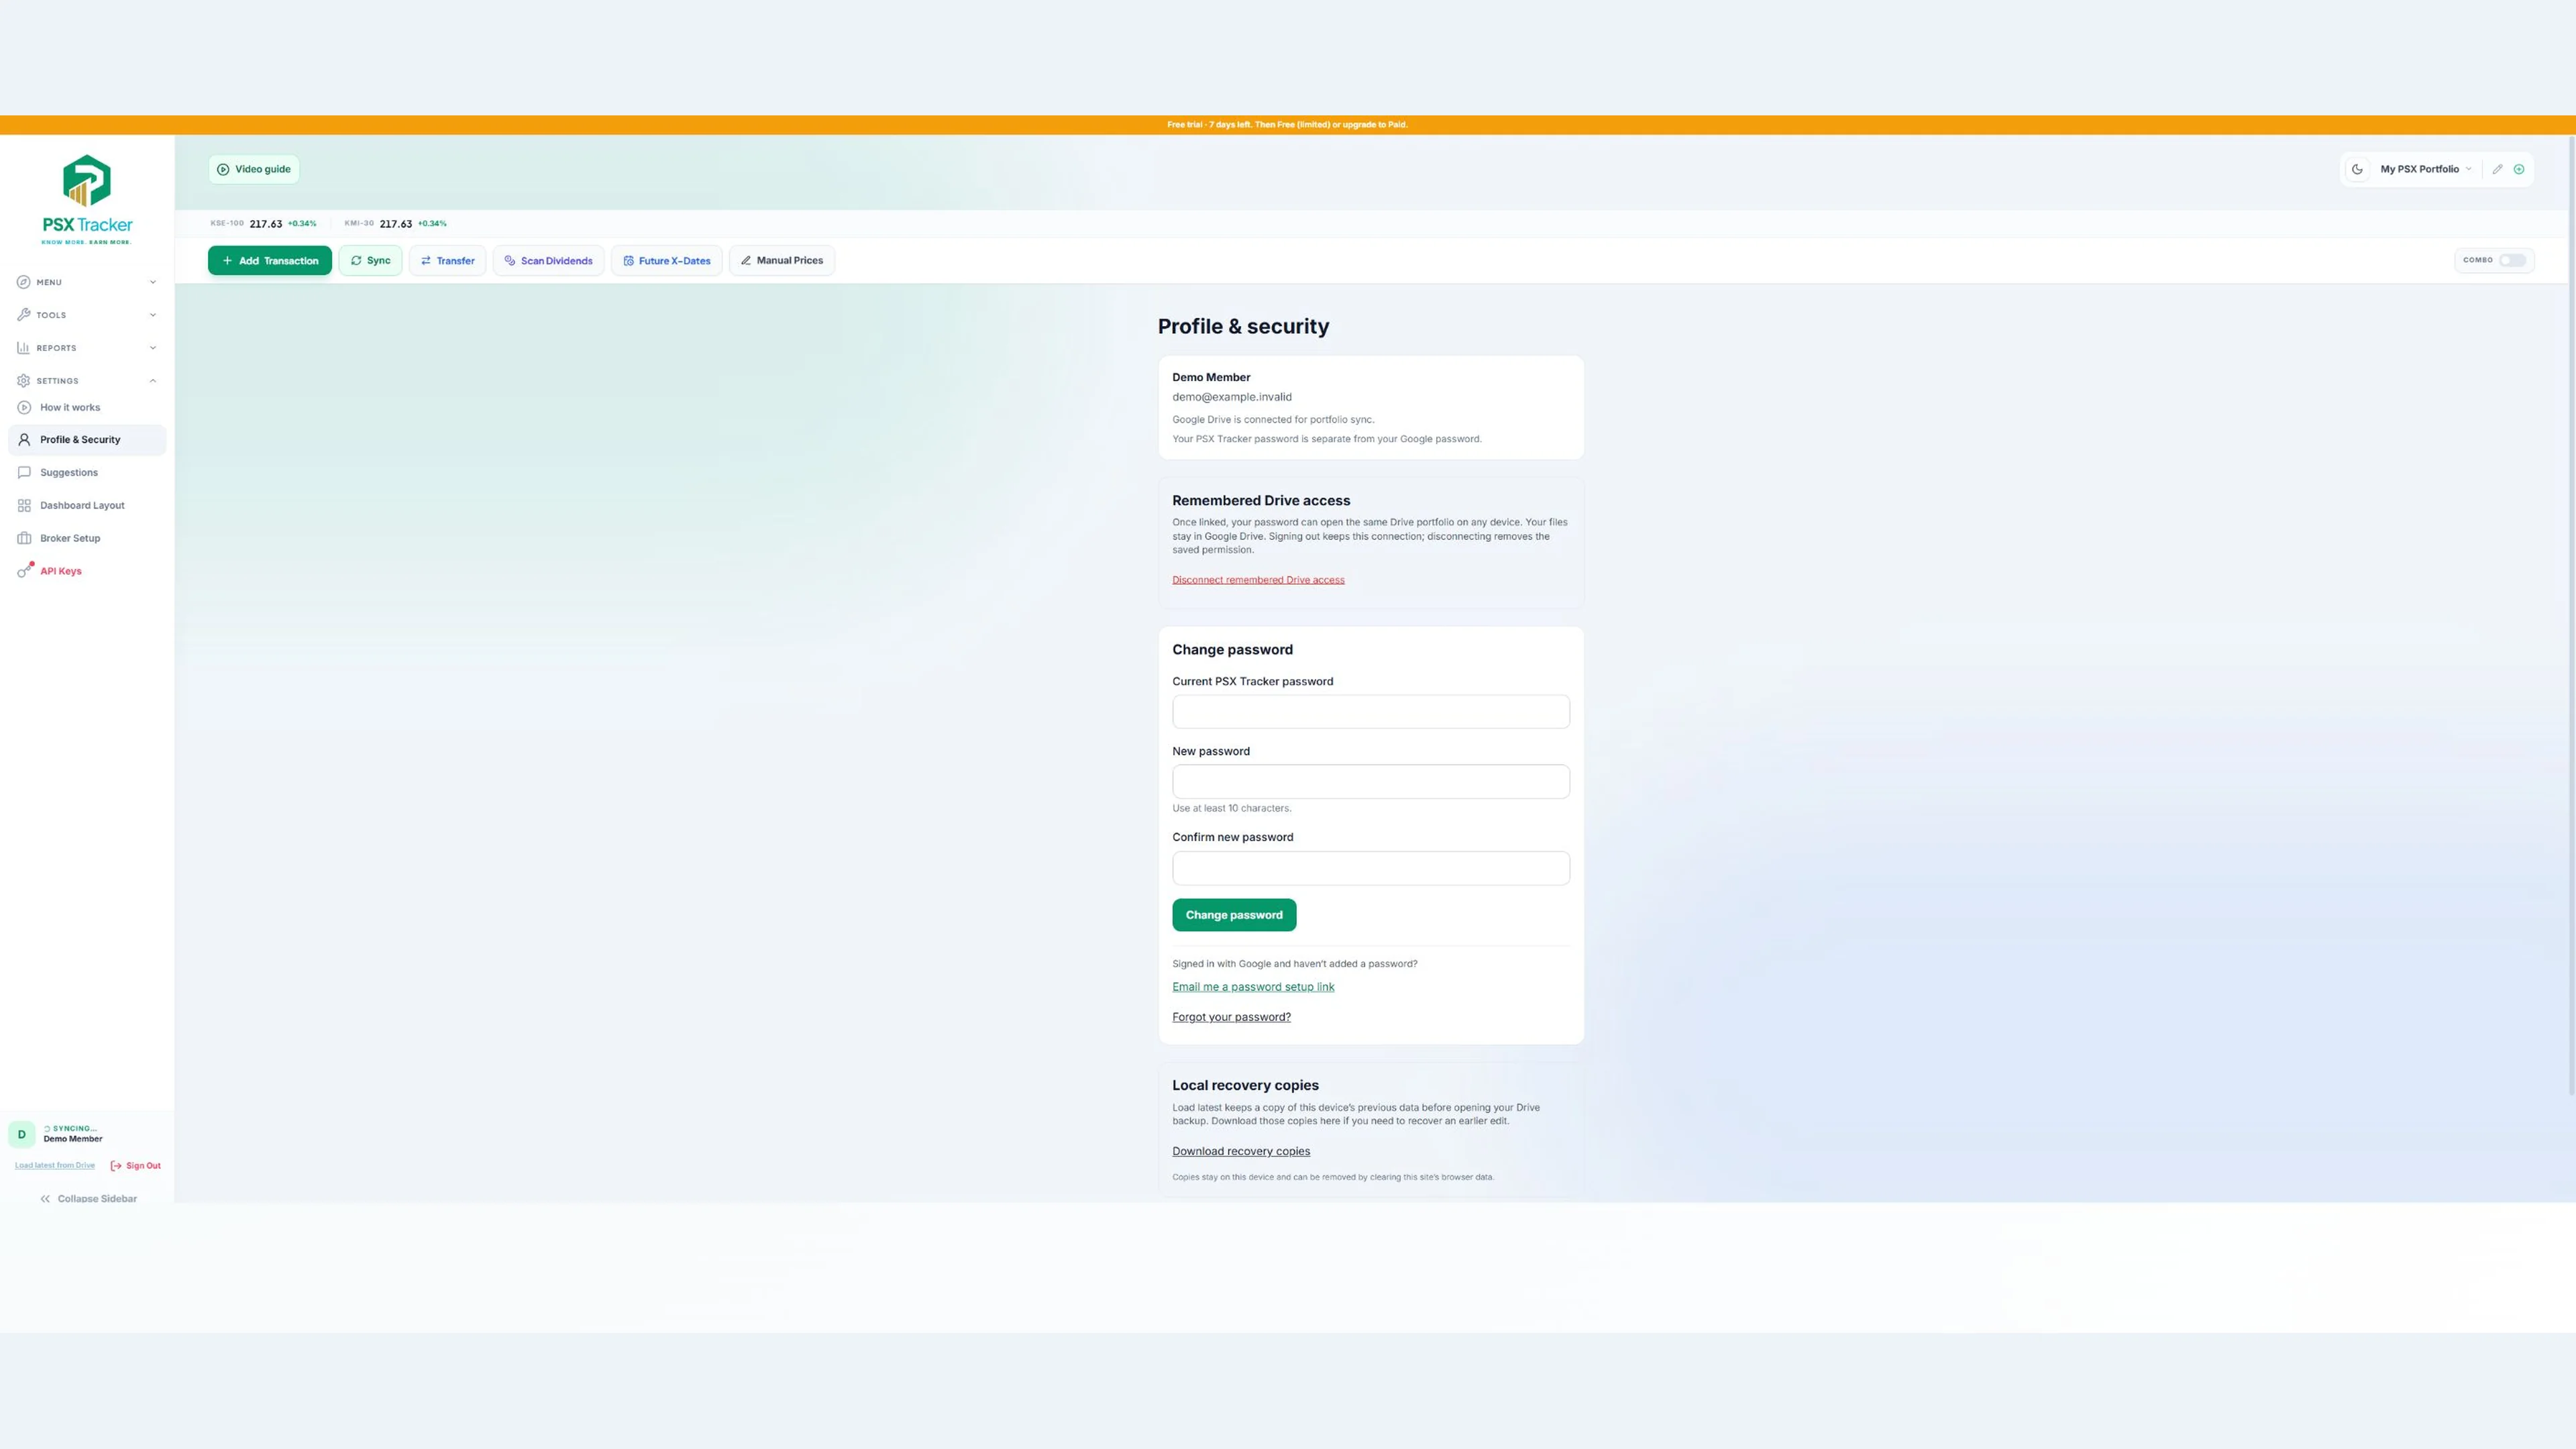
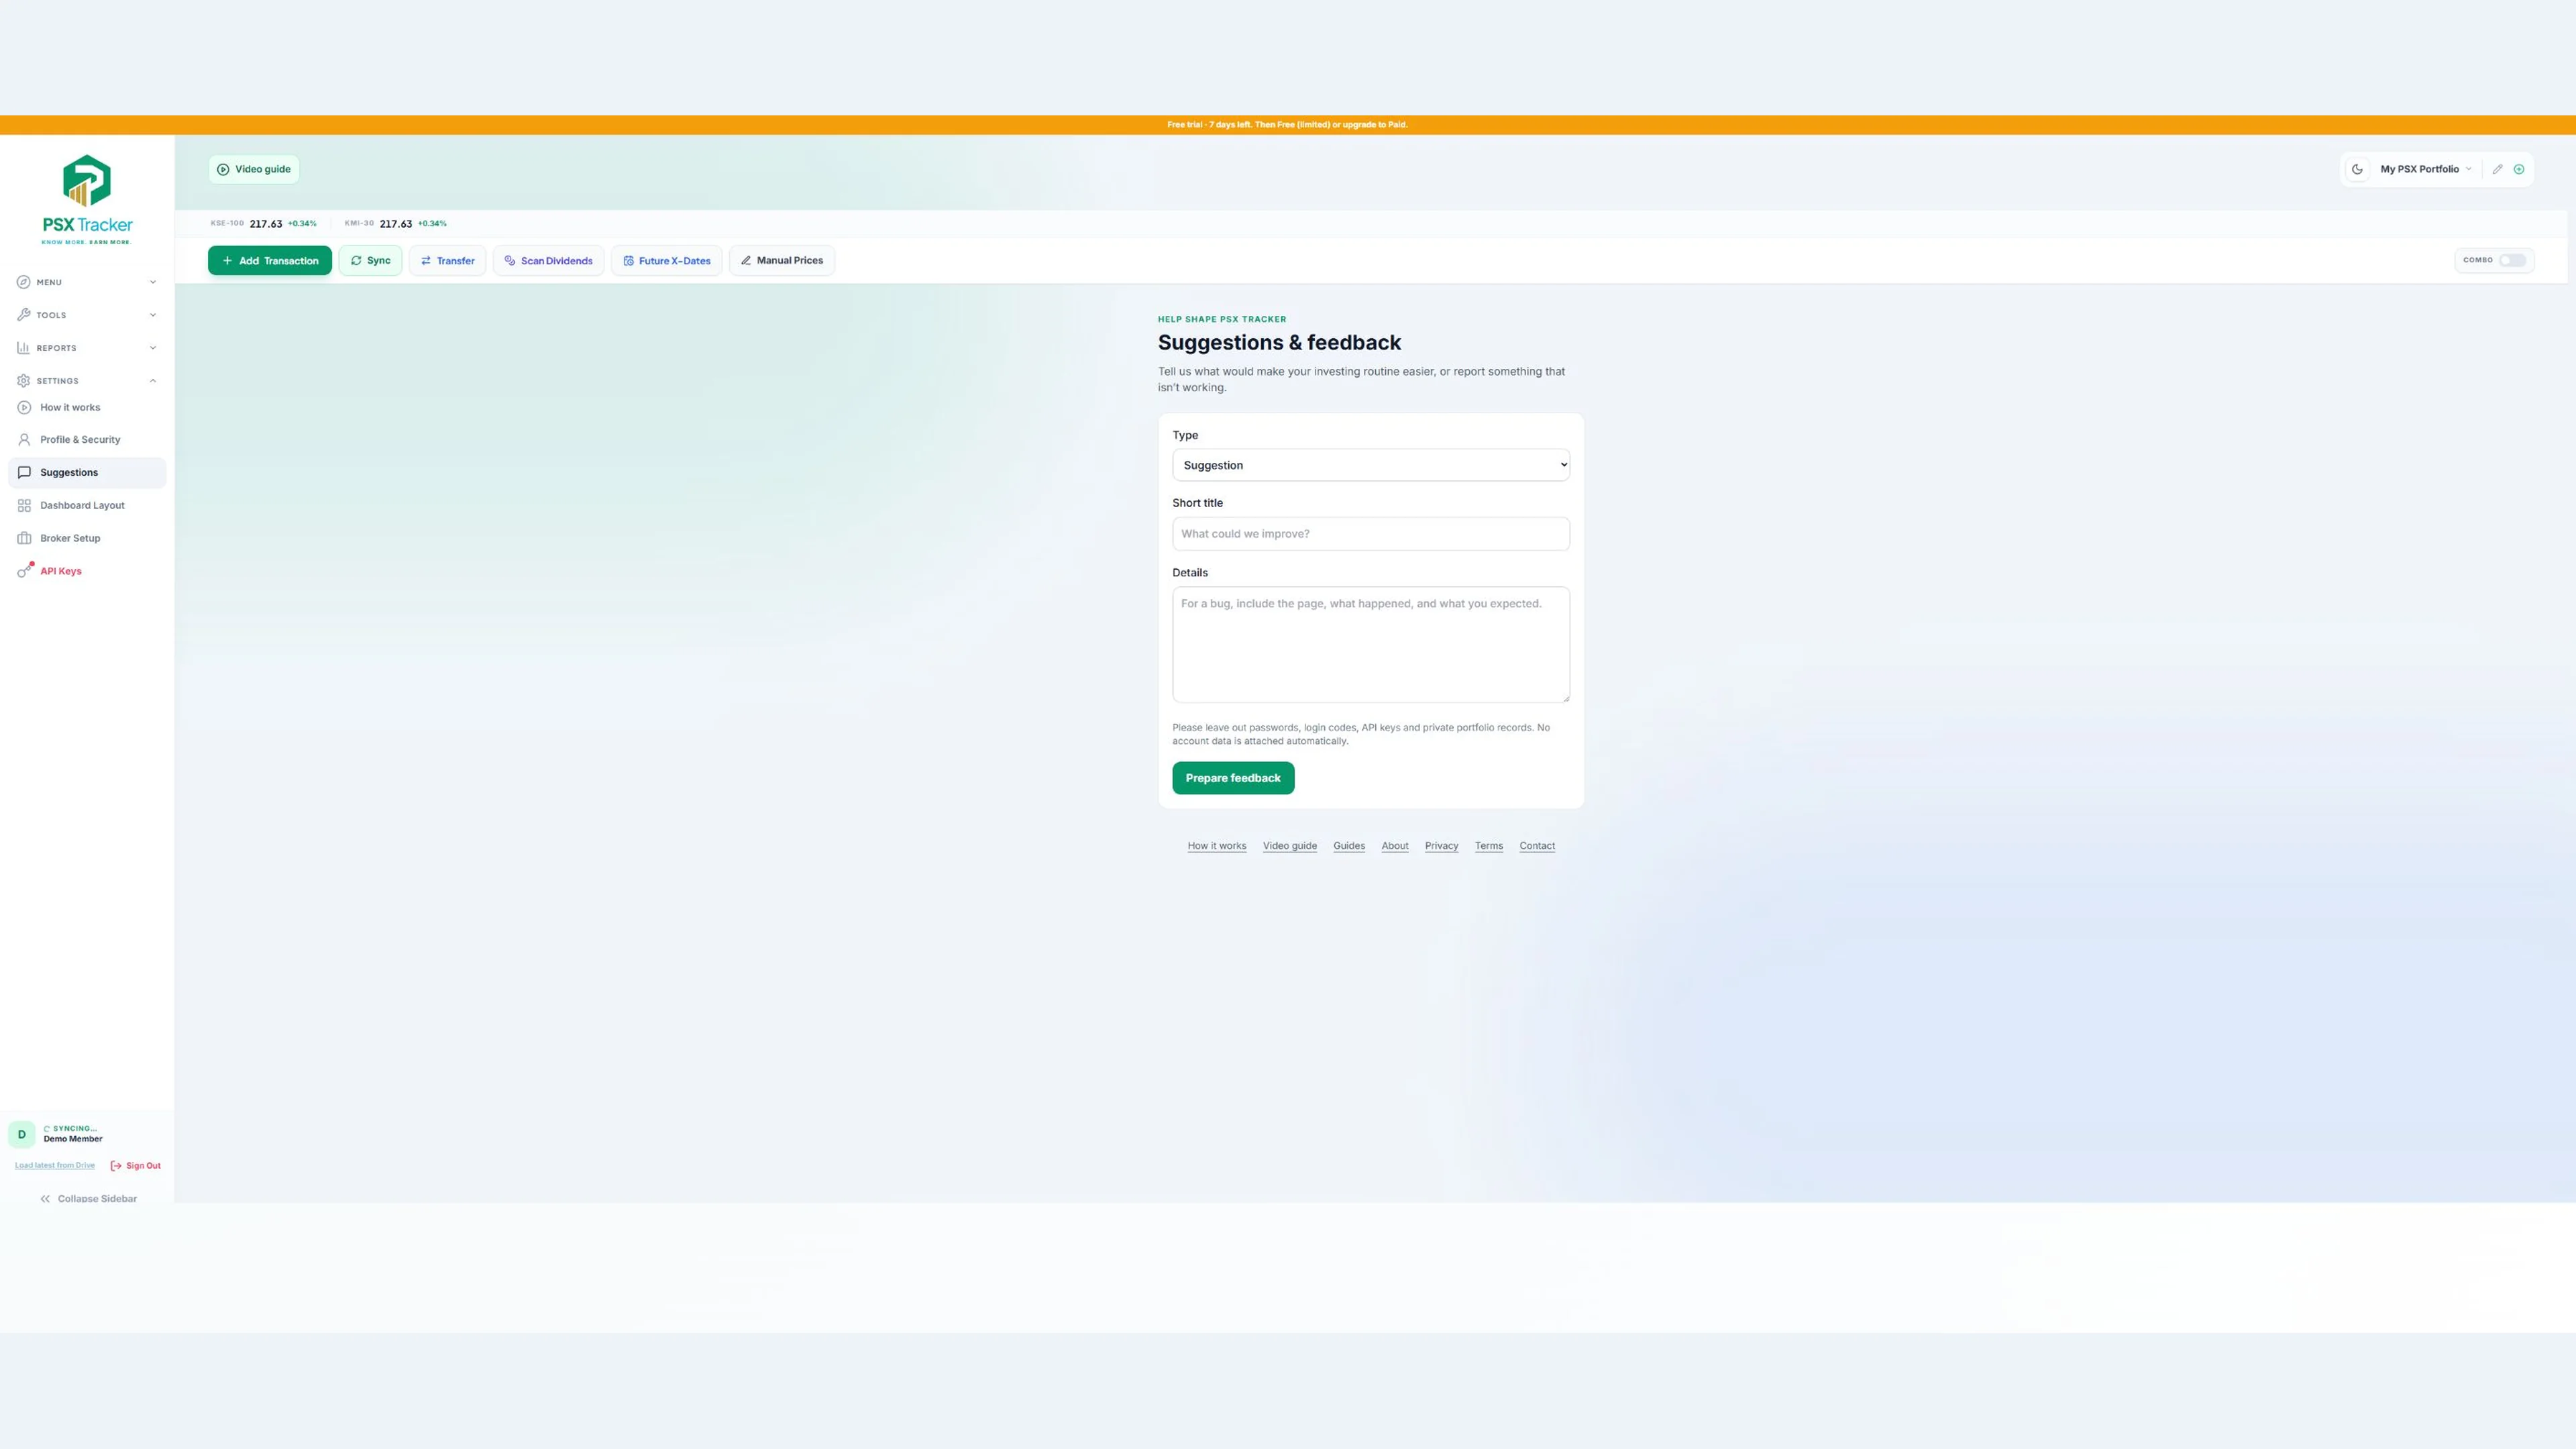
Use Profile & security to manage the password options available for your account. You can sign in with Google or supported email/password access; Drive and Gmail permissions are separate Google authorisations. Use Contact for help and Suggestions when signed in to share improvements or report an issue.